Knitting heel socks with knitting needles: a description of the straight, French and peasant method
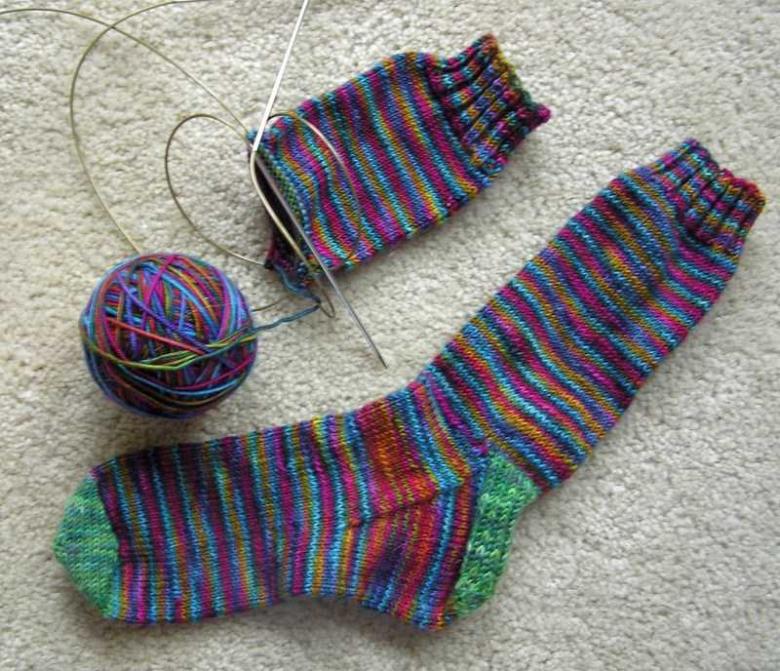
It is well known that learning to knit with needles most often begins with socks. The fact is that to knit woolen socks with your own hands will not be very difficult, at the same time, such a thing can come in handy in cold weather. The only serious problem that many beginners face is the formation of the heel of the sock.
Regardless of which of the mentioned types of knitting heels for socks by spokes you prefer, it is necessary to remember about the need to correctly calculate the loops when knitting.
Without this, the quality of your work will be low, and the socks connected in this way will not sit well on the foot. Below we will take a closer look at how to knit the heel of the socks on the needles using different knitting techniques.

Straight Heel
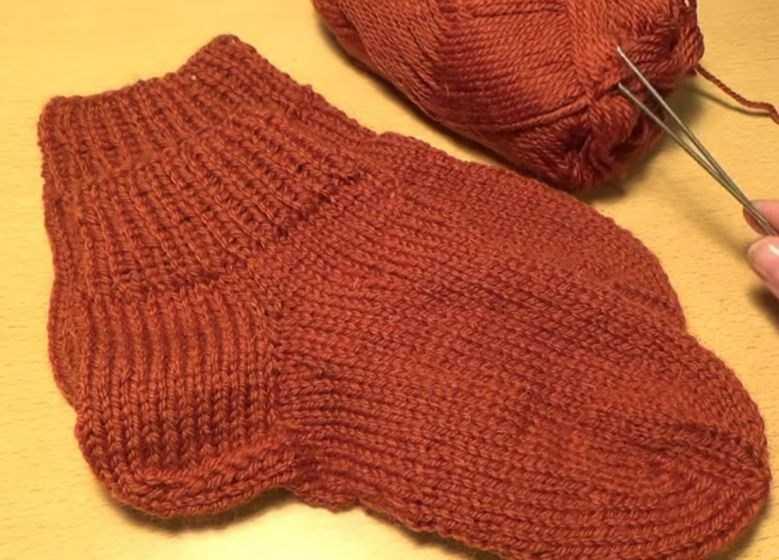
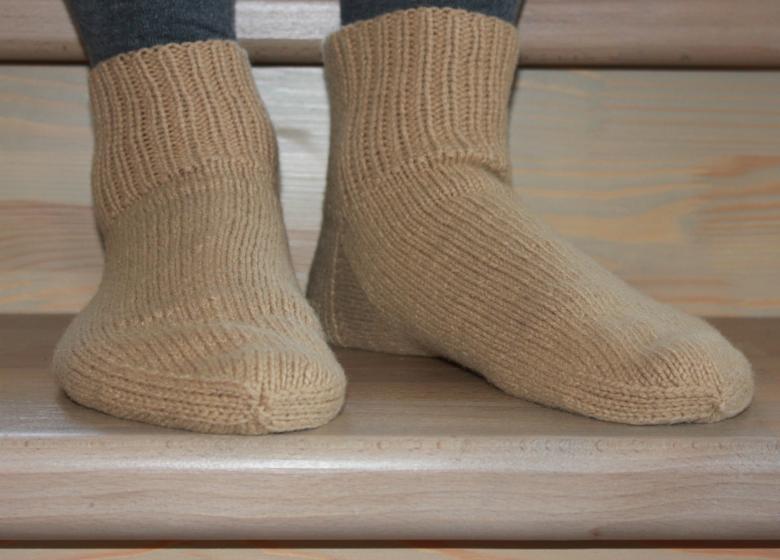
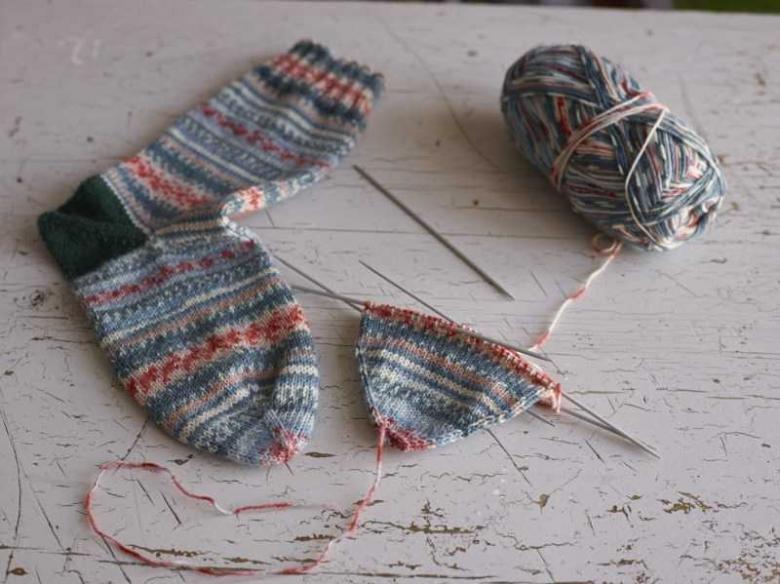
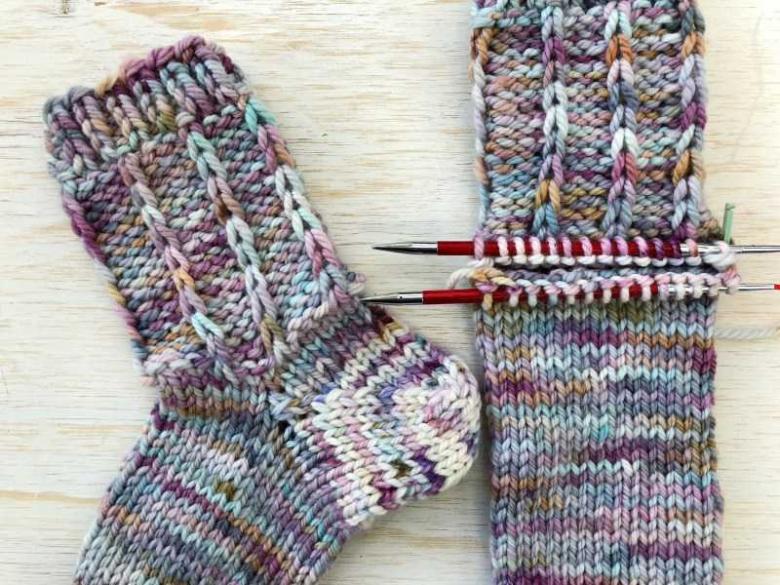
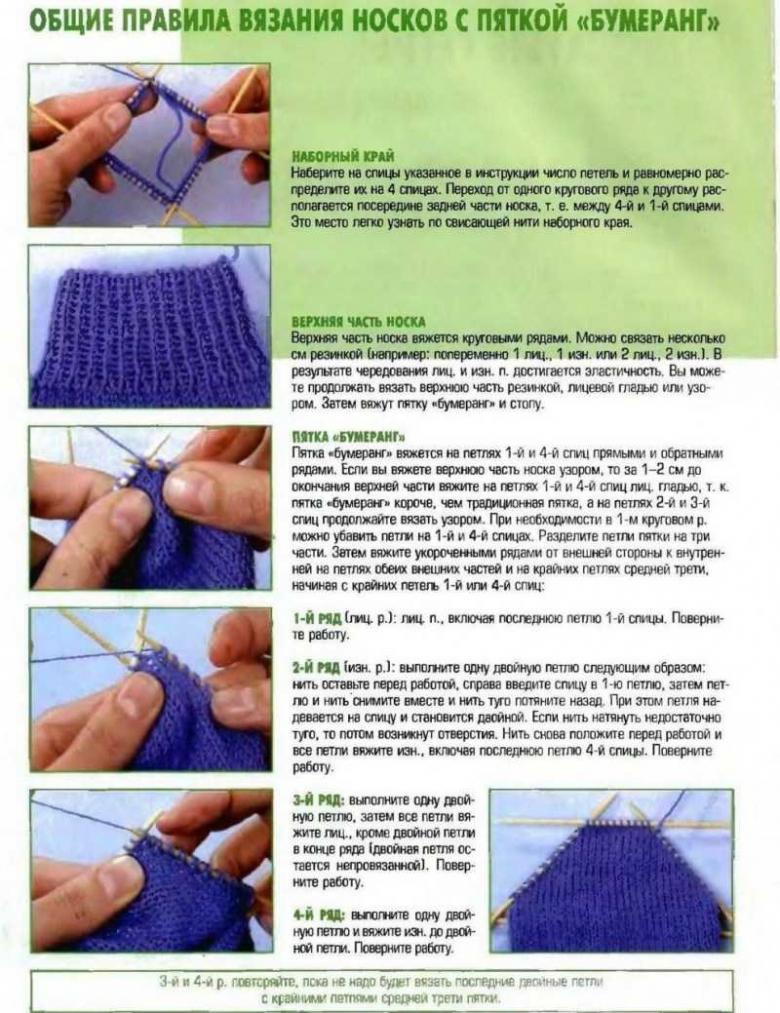
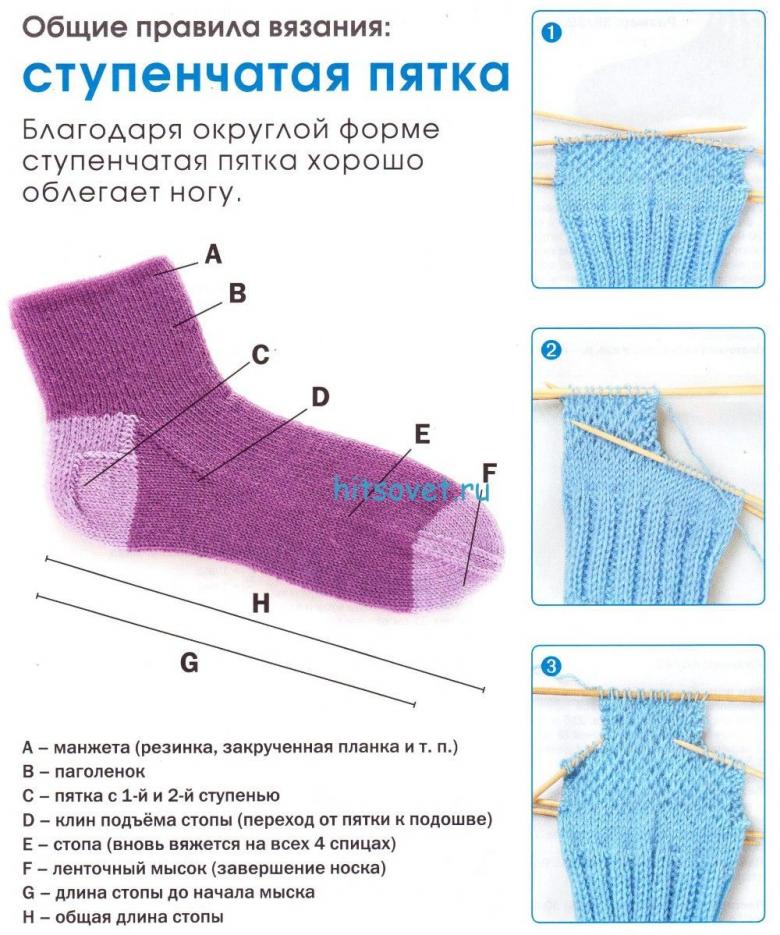
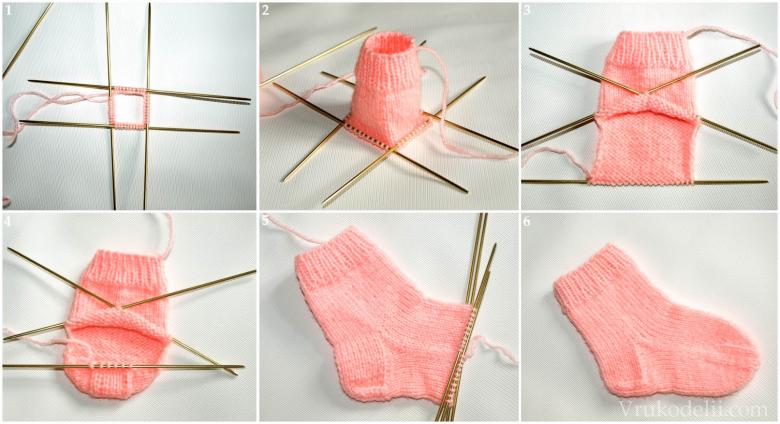
After you finish, knit ankle socks on 5 spokes, you can go to the formation of the heel of the product. To do this, divide the loops equally and knit not on 4, but on 2 spokes - the 1st and 4th. While the 2nd and 4th spokes will not be used in this case. In the front row, you will knit the front stitches, and in the back row, you will knit the back stitches.
By the time the desired height of the product will be reached, the work on the front row should be suspended. It's time to take up the reduction within a row, in order to give the part the volume she needs.
To this end, the total number of loops divided by 3. If for some reason this division is not possible, the remainder of the loop is added to the section in the middle.
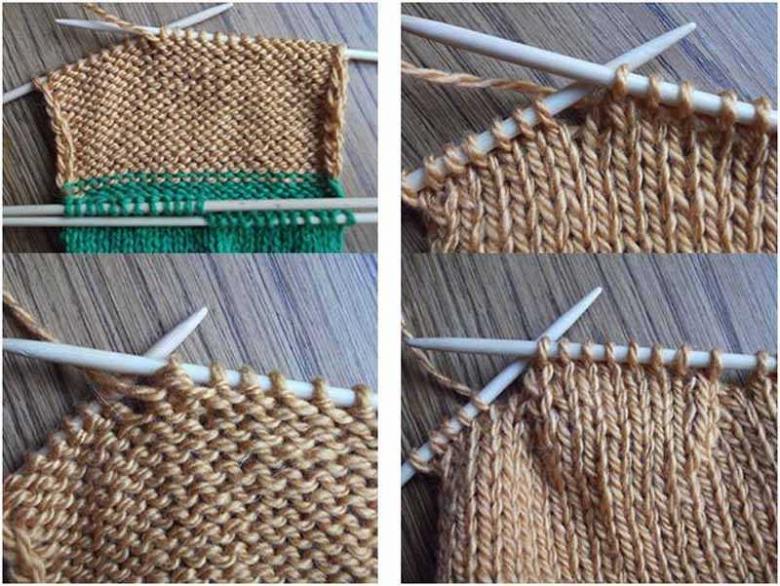
If 18 loops were formed on the spokes, then 10 should be left in the middle and 9 on each side. When decreasing, the first row on the wrong side is formed. After that, it will be possible to move to the central area.
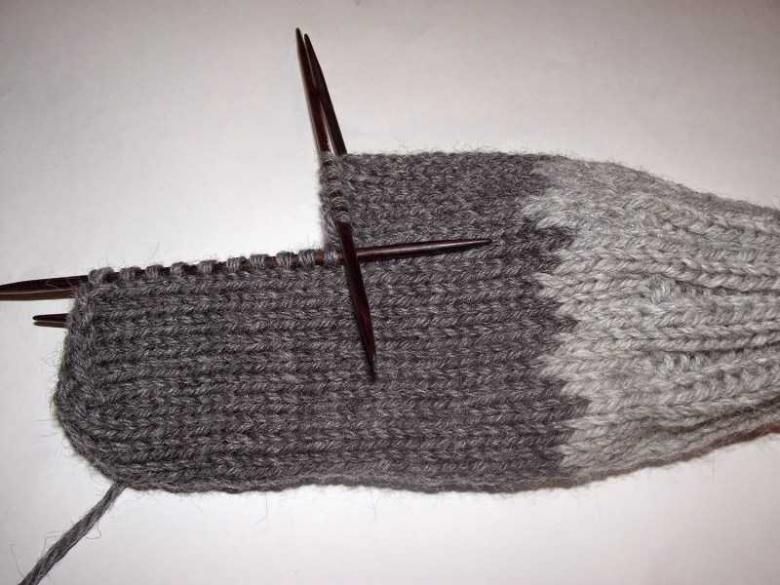
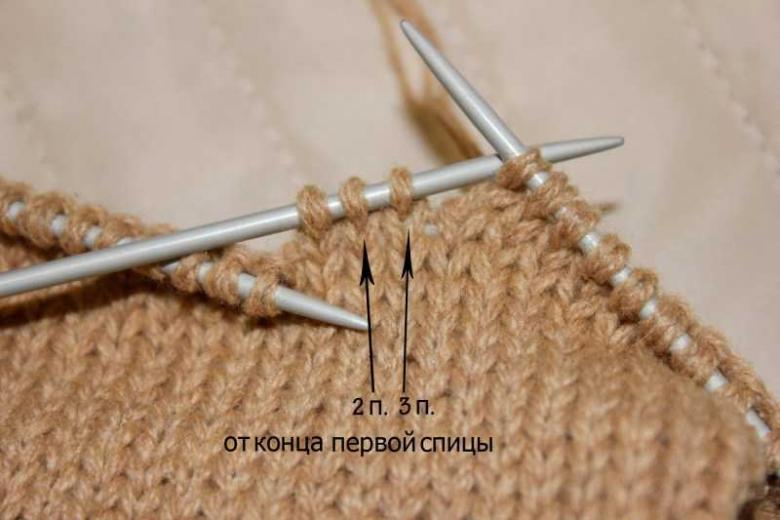
In the front row, you should focus your attention on the third section, which should eventually become the first. Everything is done in the front knit. The last stitch of the central part should be tied with the first stitch of the side segment.
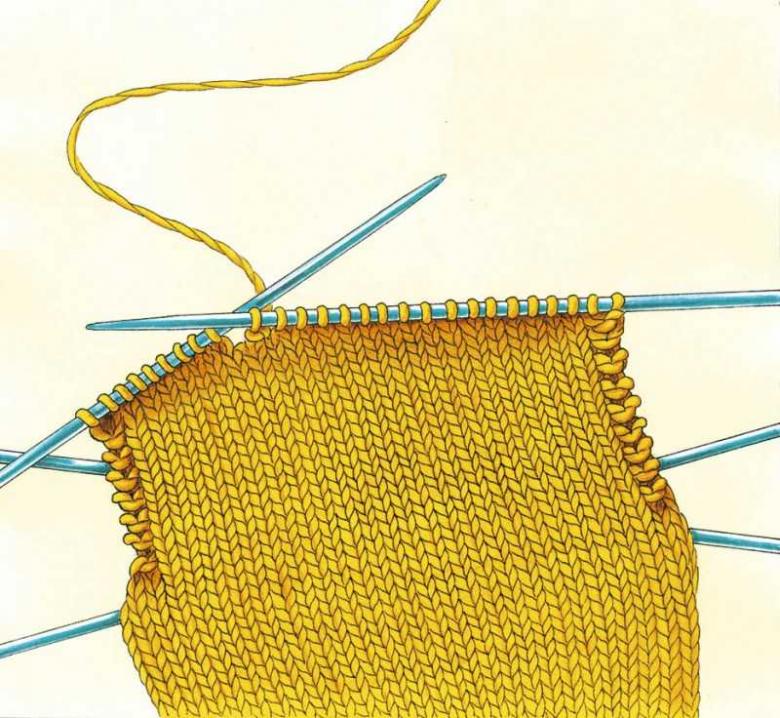
Thus, the work will continue until the entire set of side parts with the last stitches of the central part. When the last center piece is left on the needle, the heel segment will be finished with a front row.
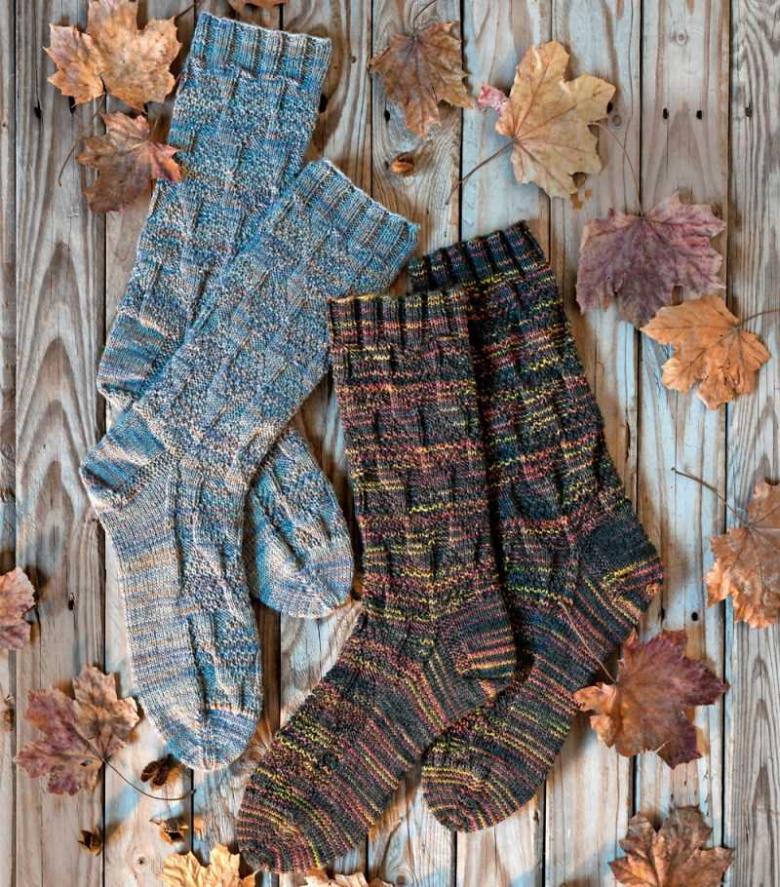
French Heel
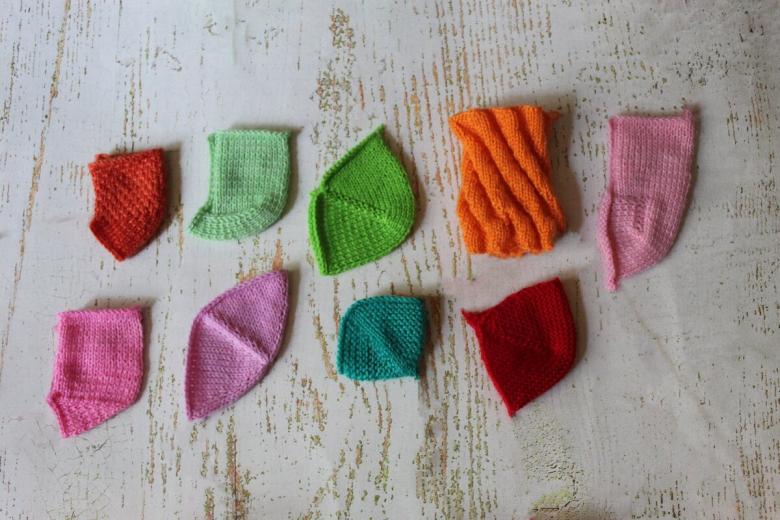
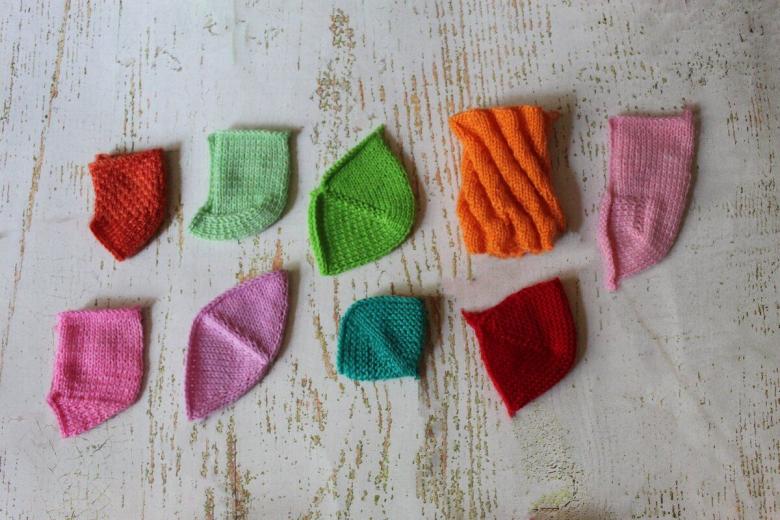
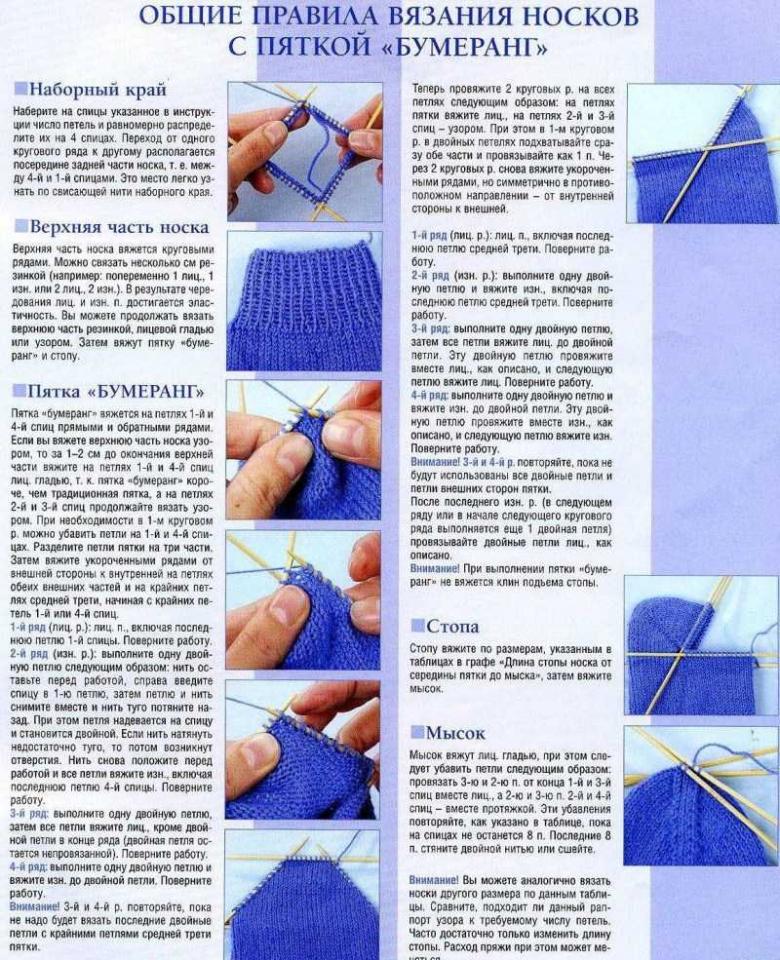
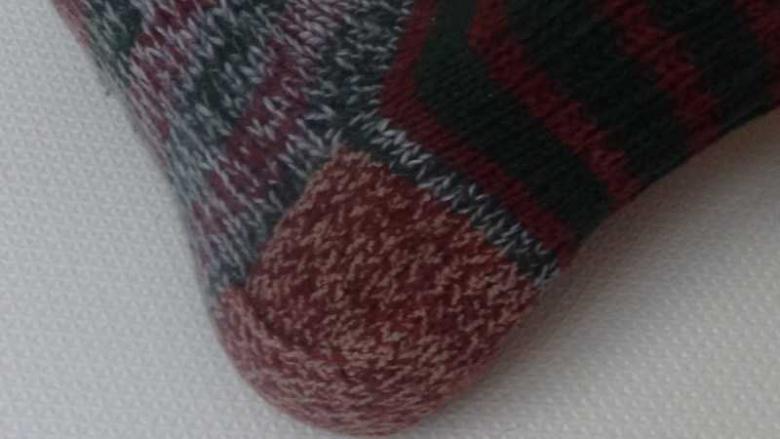
This method is probably the most popular. Despite its popularity, if we consider it in a little more detail, it turns out that it is not as aesthetic and easy as it may appear at first glance.
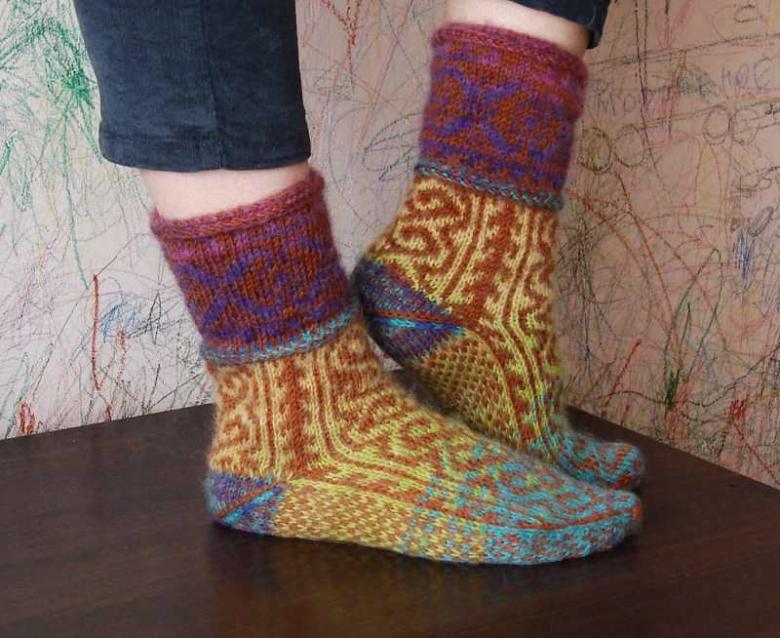
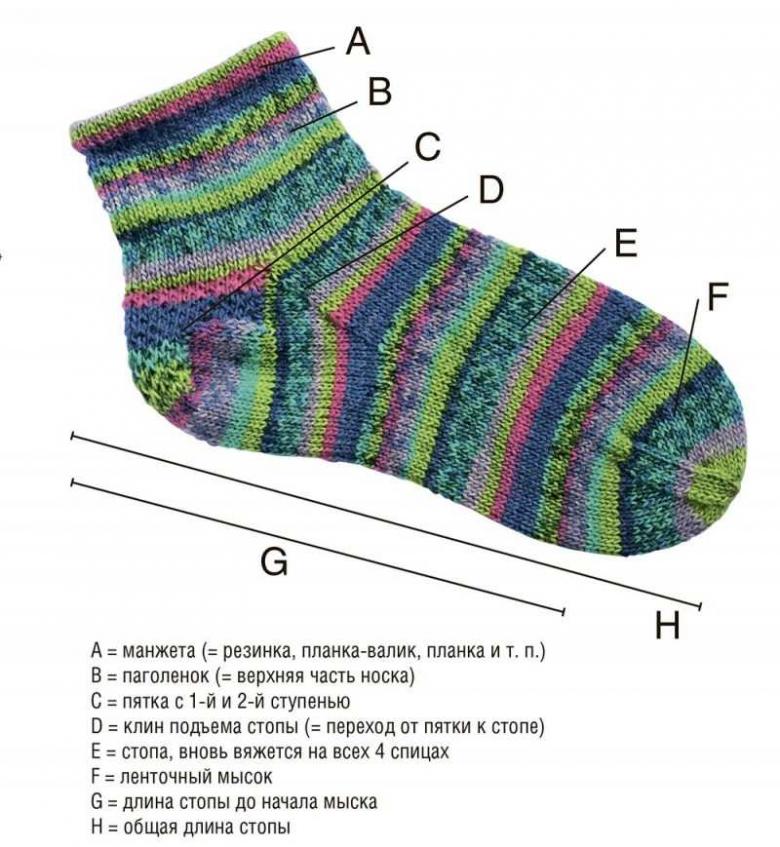
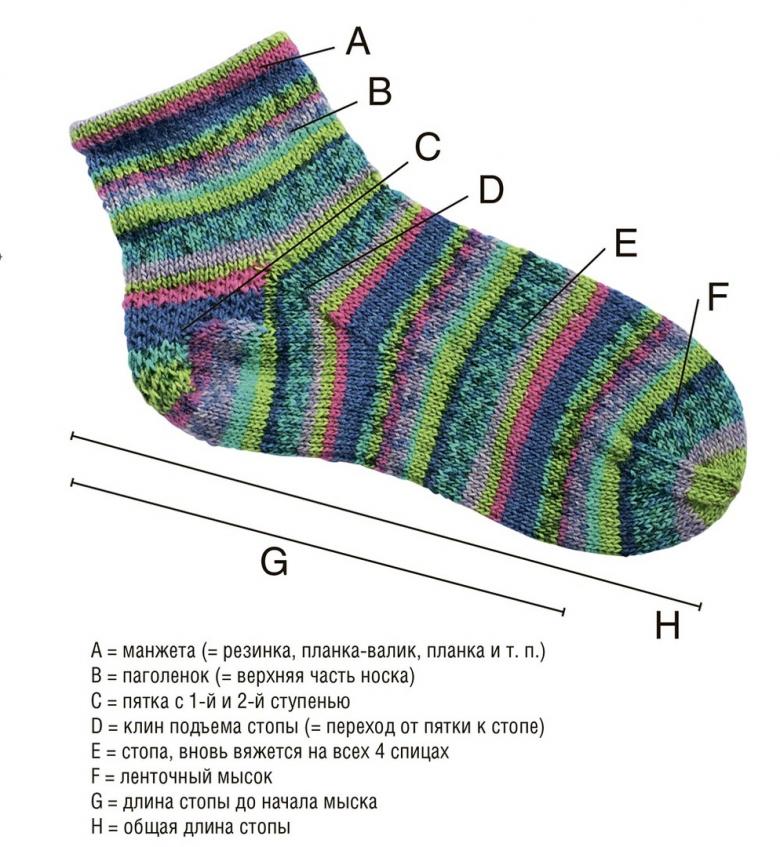
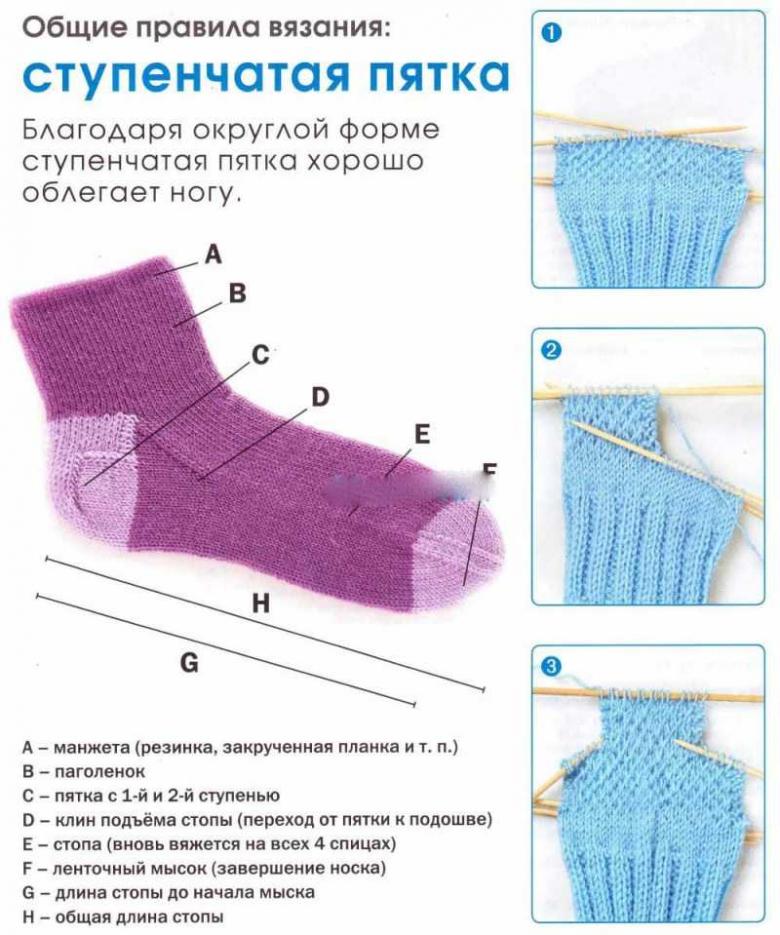
Nevertheless, by all accounts, this technique is the most accessible and easiest of all existing ones! The elements of the round heel meet common standards: the heel wall and turn, as well as the wedge of the rise of the foot.
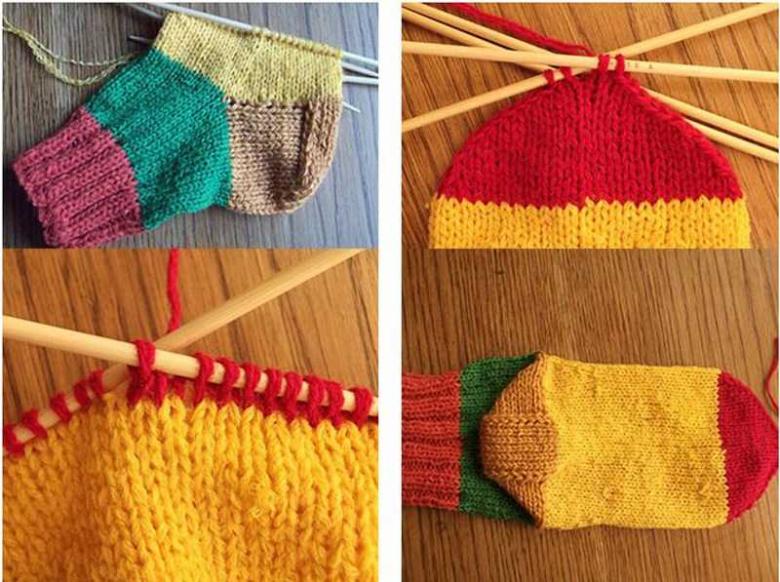
Knitting method.
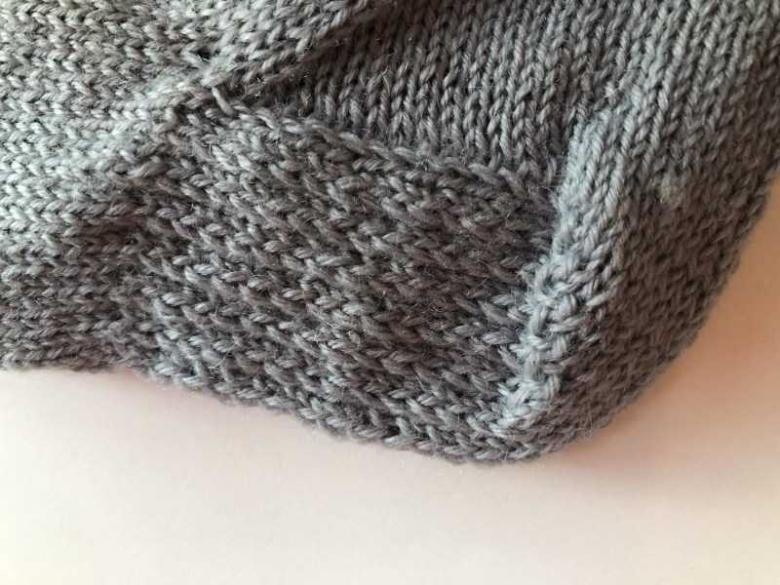
In order to make the heel wall, this method involves selecting half of the available sock loops. In order to make the place of the sock as dense as possible, masters resort to all kinds of tricks.
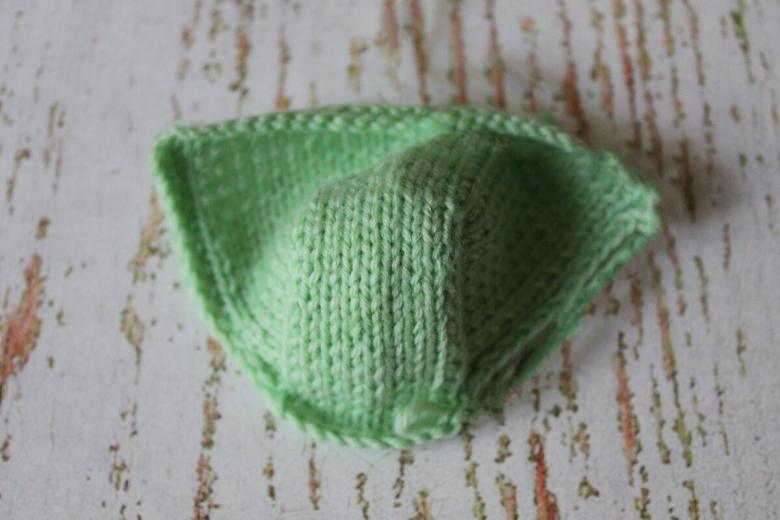
As is known, the heel wall, like nothing else is subject to abrasion, forcing knitters, to work on its sealing. More often than not, the height of such a heel will be the same as the number of loops allocated to it.
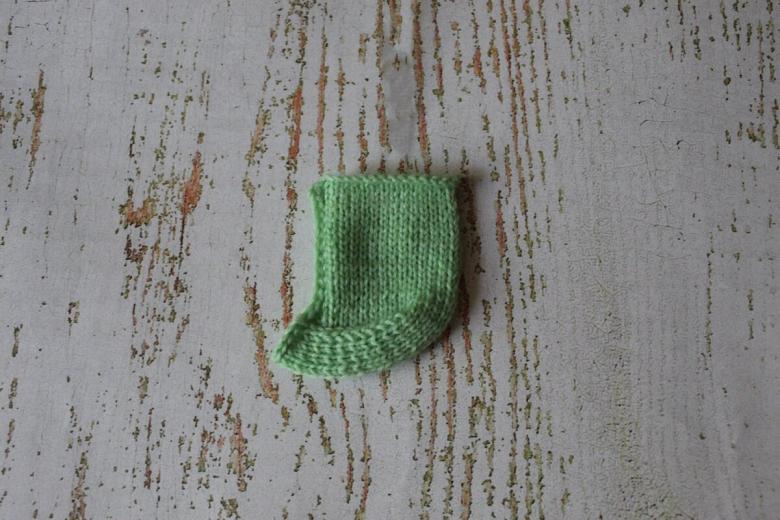
For example, if there are about 40 loops for the whole sock, it will mean that only 20 loops were left for the heel, and 20 rows were formed from these loops. The turn of the bottom of the heel is shaped so that it can take the shape of a bowl.
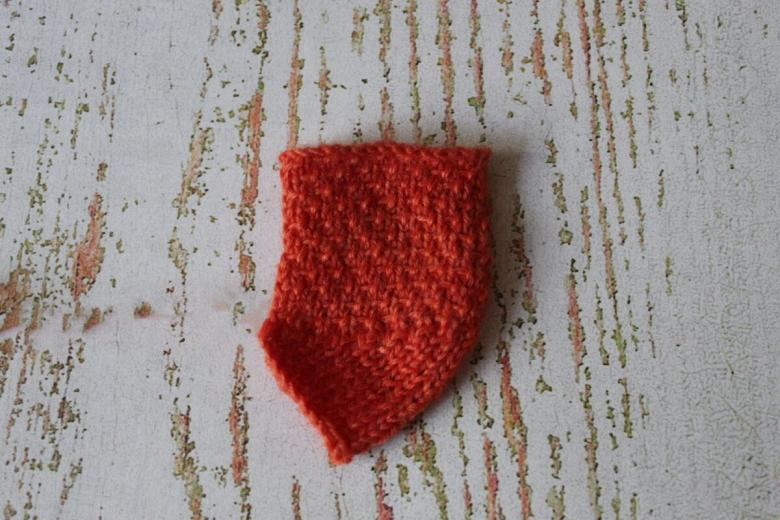
This effect is achieved by using a specialized technique of shortening the rows. According to this technique, the heel loops available to us are divided into 3 parts.
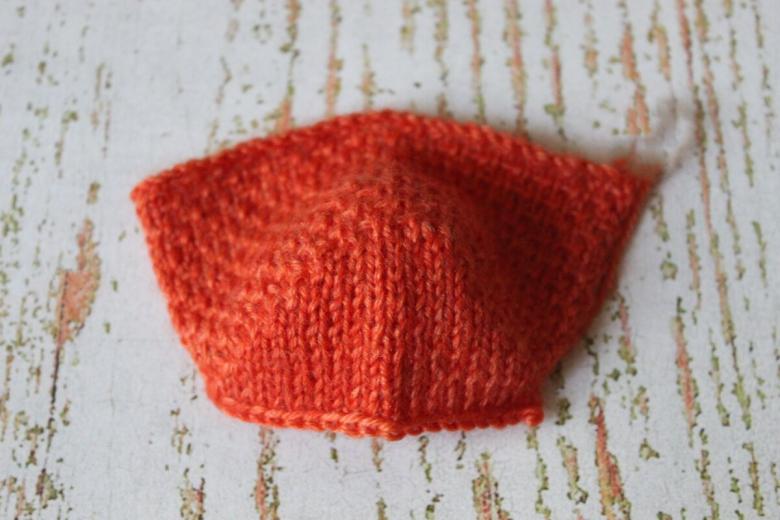
While the middle part is knitted with the usual front smooth, the rise of the foot is connected to the heel with the help of wedges. To make such a wedge, you will have to make loops of wall loops. As a rule, such loops come out twice as few as the number of rows of wall.
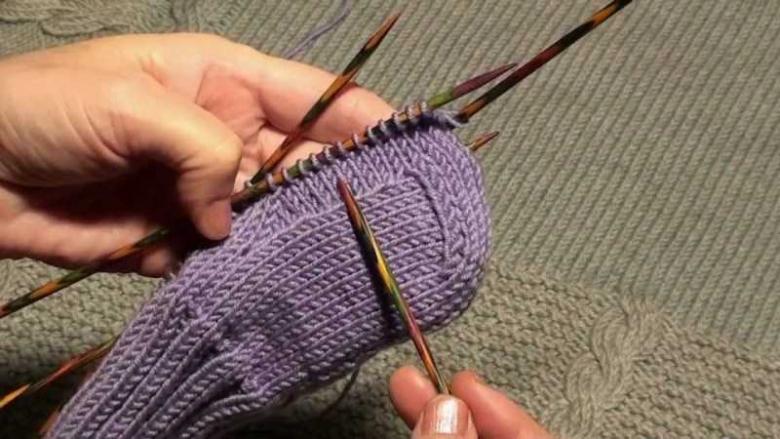
Also, professionals create another loop in the corner, between the heel wall and the place where the foot starts to rise. This prevents the appearance of a small hole at the junction of the foot, the appearance of which spoils the appearance.
Peasant Heel
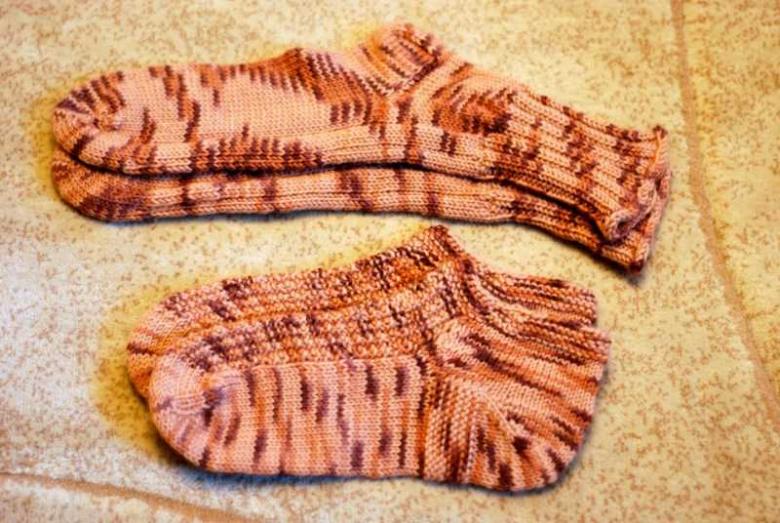
A very practical and comfortable heel, at the same time not distinguished by particular aesthetics. Nevertheless, it has one significant advantage over its counterparts. It can be very easily repaired.
If necessary, it can be simply not easy to re-tie, without causing significant damage to the main fabric of the sock. That is why the peasant heel is often found in home or "ski" socks that do not require special aesthetics.
Knitting method
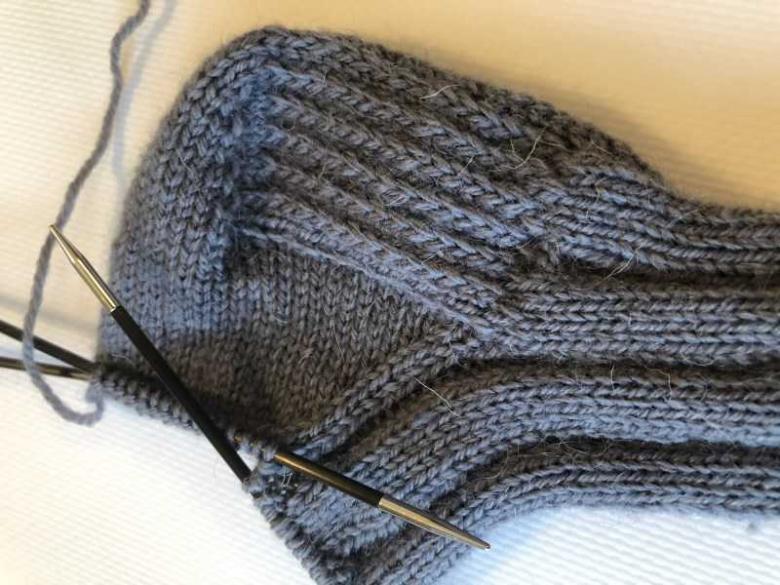
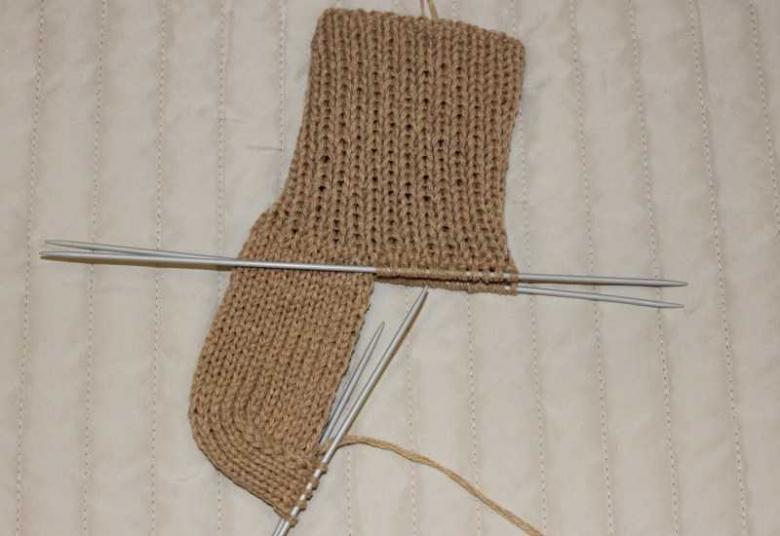
The essence of the technology is that the intended place for the heel, knitters transfer about half of all the loops of the sock on the throw thread, in order to proceed a few rows later, again to the gradual formation of these loops.
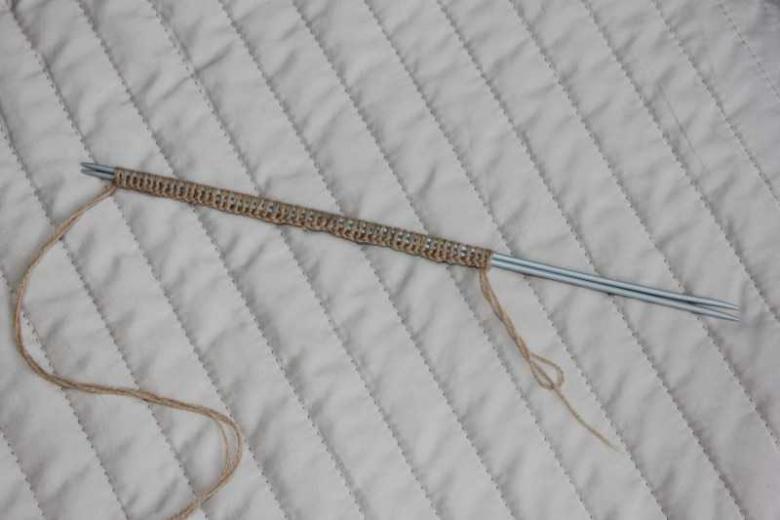
The work continues until the sock is completely finished. By the time the product is finished, the knitter can return to the remaining heel stitches and knit them leisurely with four spokes.
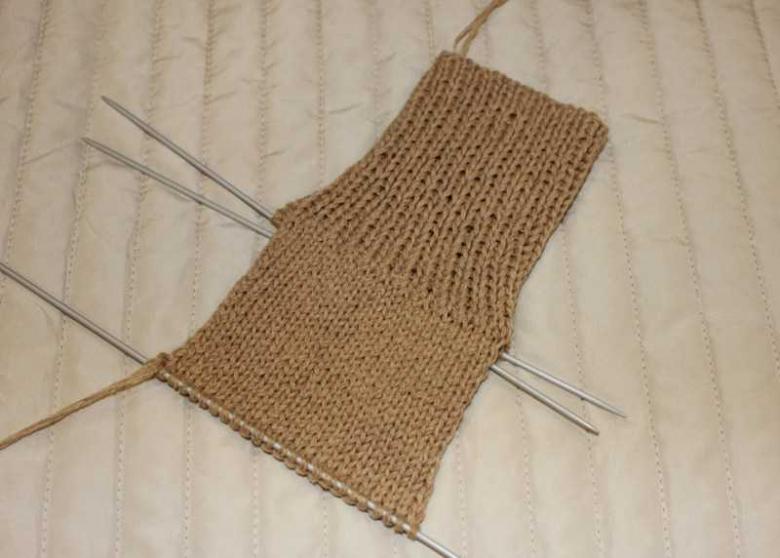
Then knitting continues in a circle, gradually reducing at the joints between the top and bottom of the sock by 2 stitches in every second row, respectively. The size of the loops to be reduced can be individual.
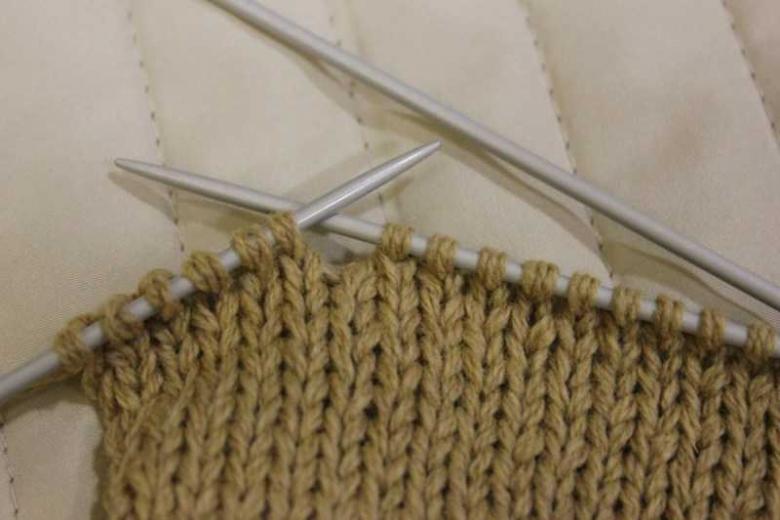
It will have a direct impact on the size of the product. The loops may be reduced until about twenty percent of the number of loops that were originally left in the center. As a finishing touch, the open loops are joined with a knit stitch.
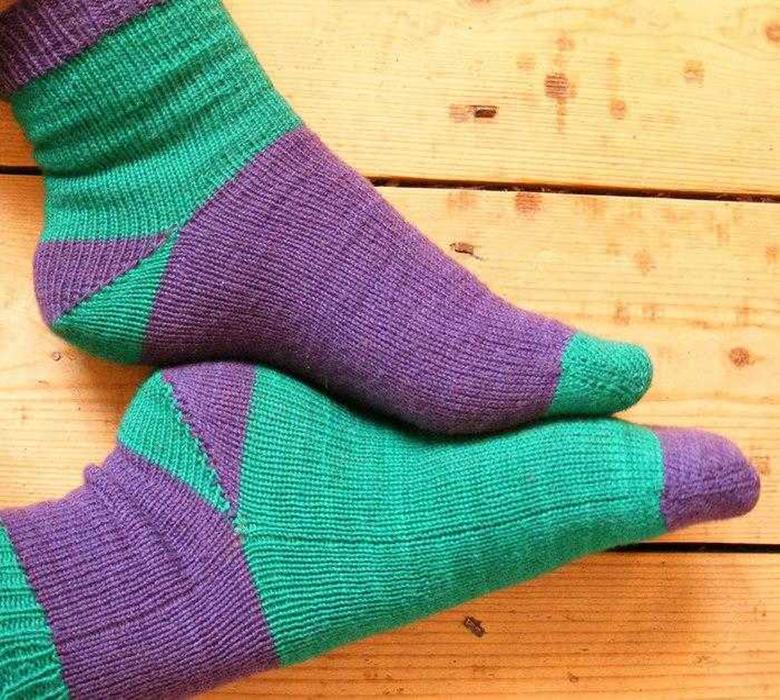
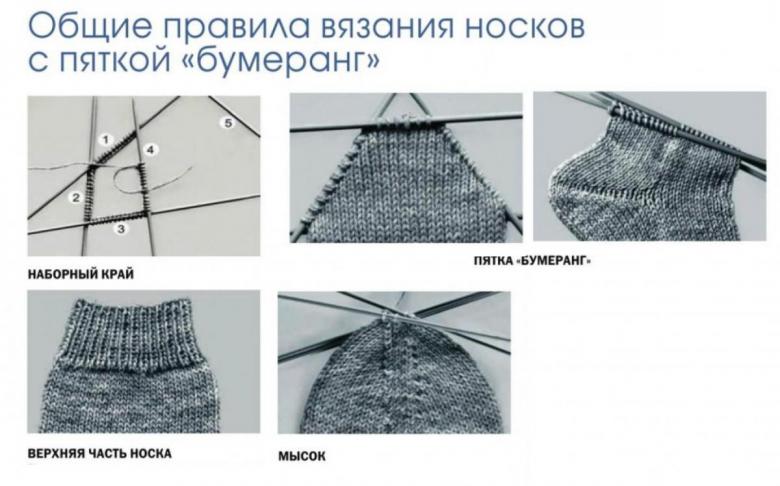
Of course, the ways of forming the heel of the sock are not at all exhausted by the techniques described above. As is obvious to any unbiased reader, the scheme of knitting heel socks by needlework is quite simple.
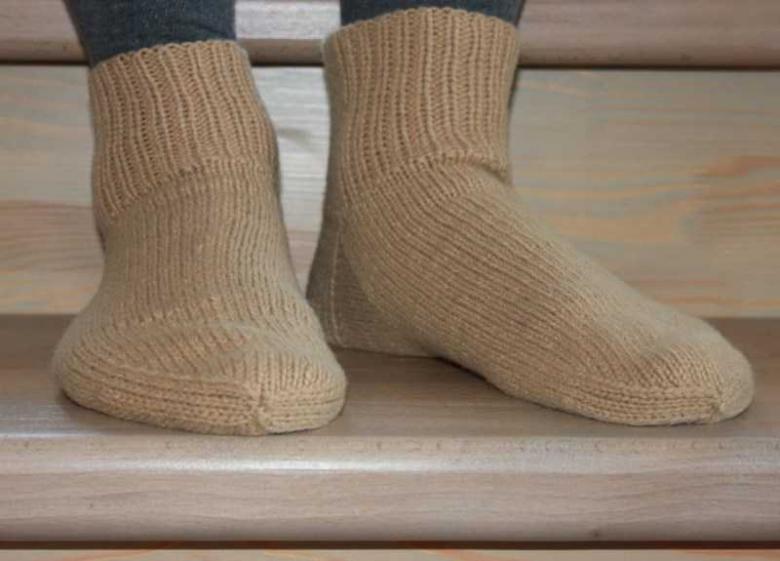
Having mastered this affordable knitting technique, you can knit a whole collection of socks of almost any design that are suitable for all occasions. Wool socks can keep you warm not only in winter, but also perfectly replace the traditional house slippers.
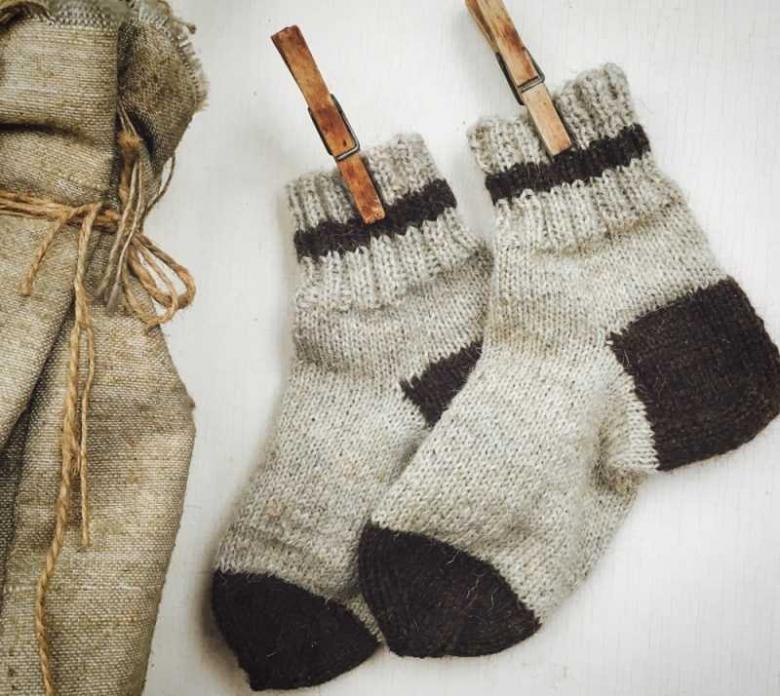
The only thing that will be required for success in this business is patience, also a willingness to sacrifice some free time for the sake of achieving a positive result.
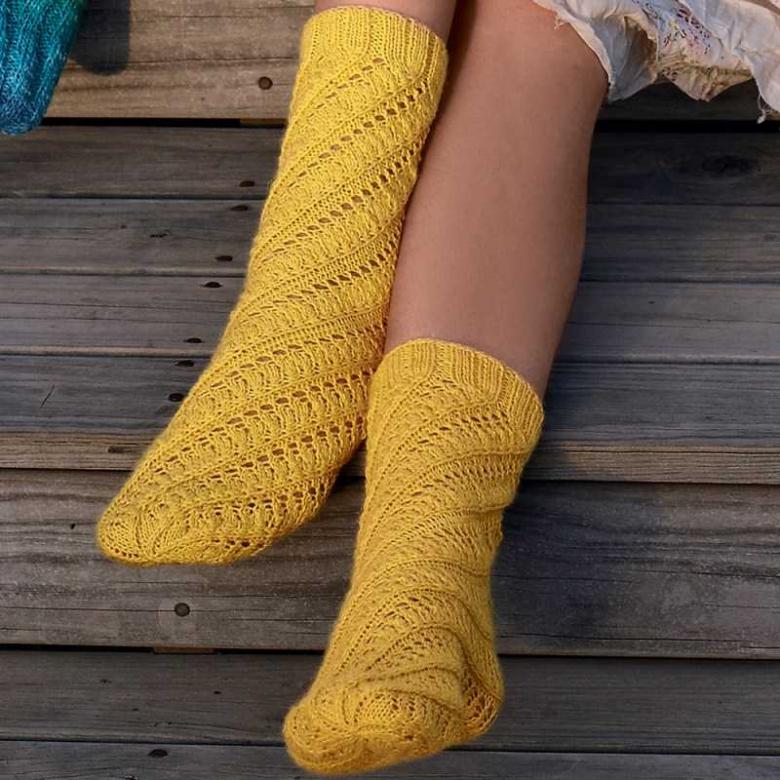
By practicing heel knitting, a novice knitter has a great opportunity to gain the necessary skill that can be used for more complex tasks. Such as a few more complicated ways of knitting various kinds of sleeves and collars of products.
