Military crafts: unusual and interesting models of military vehicles
Military affairs from childhood touches the souls of boys to the core. They like to play shooting games, plan camping trips, make something with their own hands. So why not combine several activities at once, getting the most out of them? Consider a few easy ways to make a craft.
The easiest thing you can make at home for war games is to make a rifle. If a child will make it on their own, it is recommended to work with cardboard, since they do not yet have the skills to work with wood. In addition, it is much easier to make a three-dimensional figure out of cardboard.
Rifle
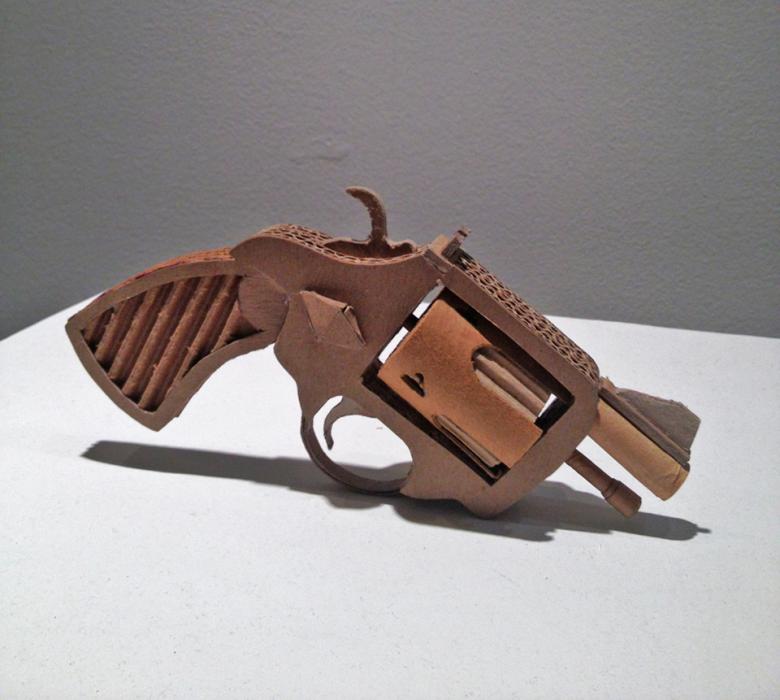
The classic assault rifle in the hands of boys in all games is the Kalashnikov assault rifle. Making it is extremely easy. Initially you need to take a large sheet of chipboard. On the chipboard to draw the rifle itself, its outline. Then, using an ordinary wood hacksaw, cut along the contour of the rifle.
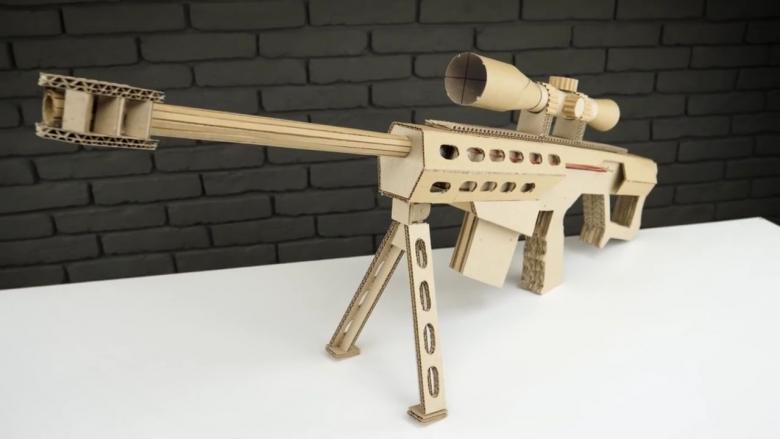
Next, you need to give the handicraft volume. For this purpose, corrugated cardboard is perfect. From it are cut out details for the rifle, such as the fore-end, butt, magazine, pistol grip, the rear sight and the front sight. The barrel does not need to be cut out of cardboard.
Then, when the parts will be cut out, you need to glue them to the outline of the automatic rifle from chipboard. Thus, the automatic rifle will gain volume, will become more realistic.
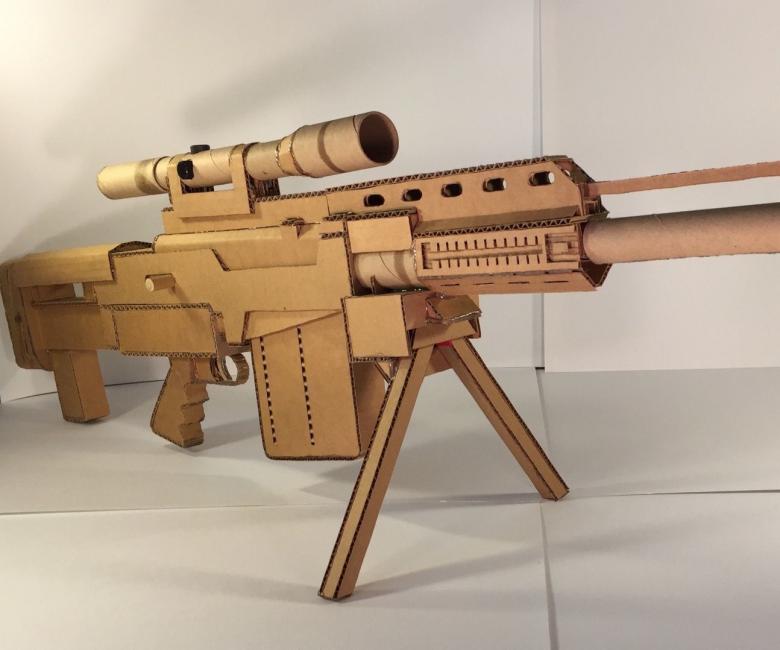
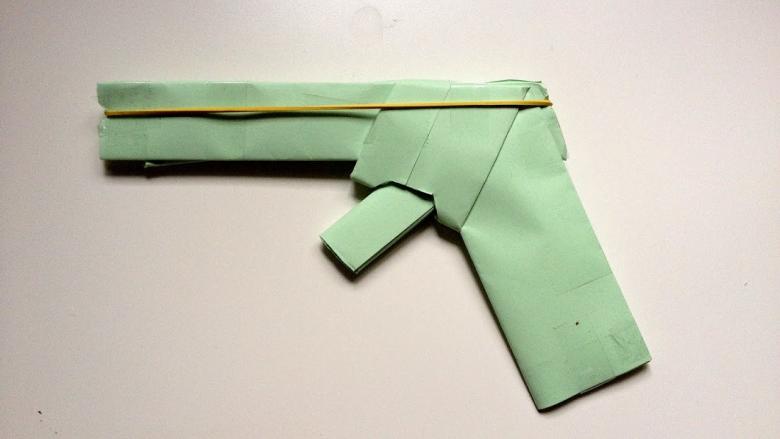
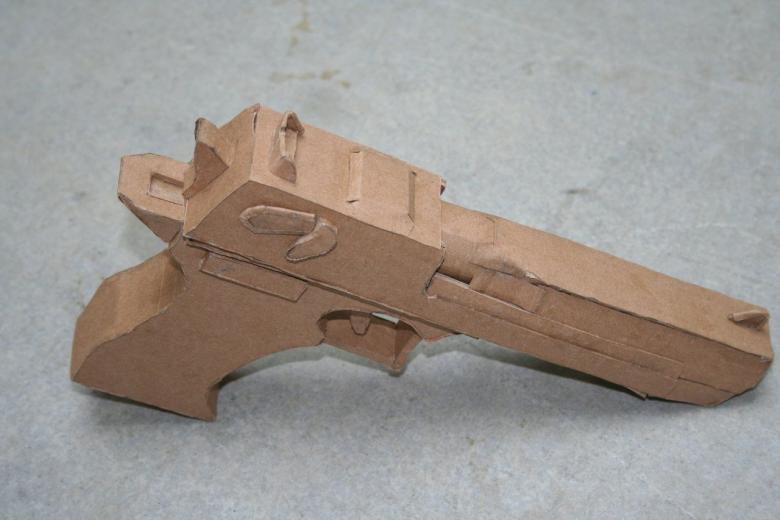
Gun .
One of the easiest military-themed crafts to make with your own hands. You can use the method outlined above, or do even easier, immediately start assembling from cardboard parts.
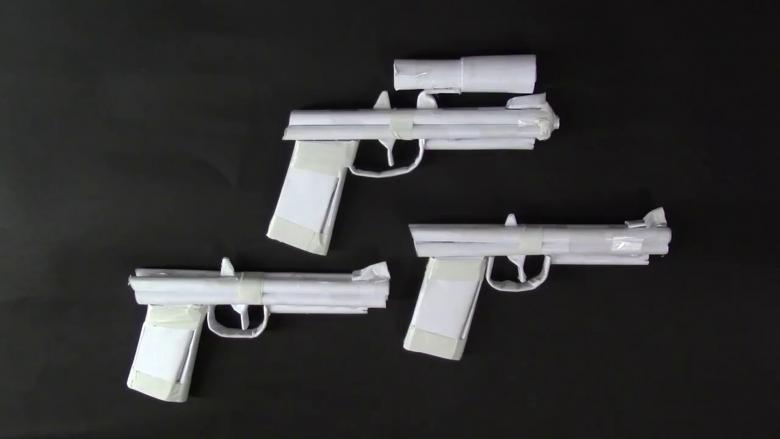
Note, in this case, the handicraft will be fragile, so it is recommended to cover it with putty to make it hard.
For the craft you will need to cut out the reamers of the bolt and the pistol frame with the handle. Then, when they will be cut out, you need to bend and glue them so that they are one piece.
Next you need to glue them together, let them dry. Apply putty with an even layer, level all corners and borders, apply some elements for entourage: the front sight, rear sight, ribbing on the bolt. When the putty dries, you can paint the toy to give it a more realistic look.
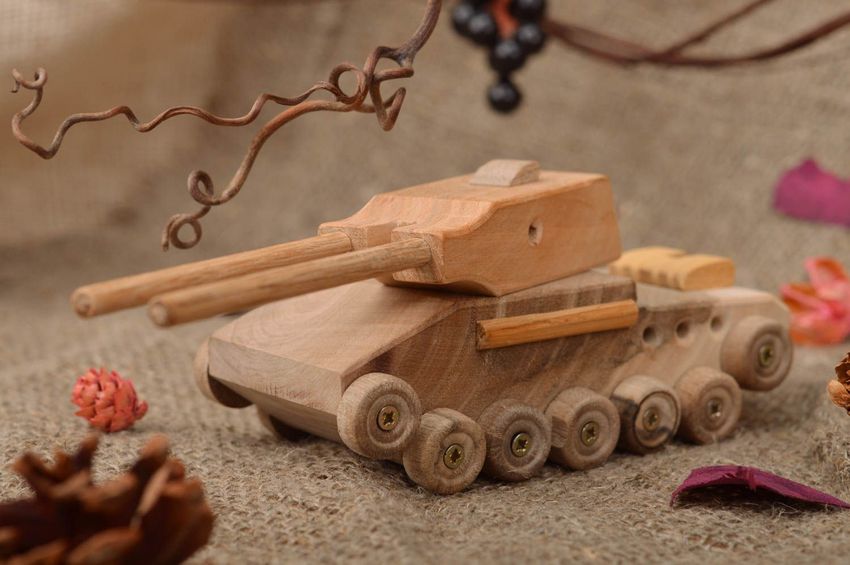
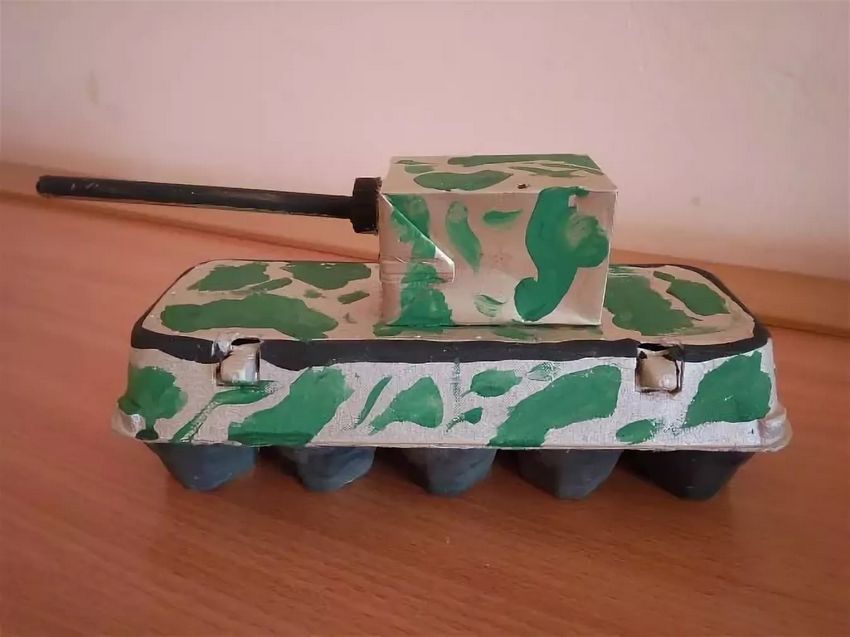
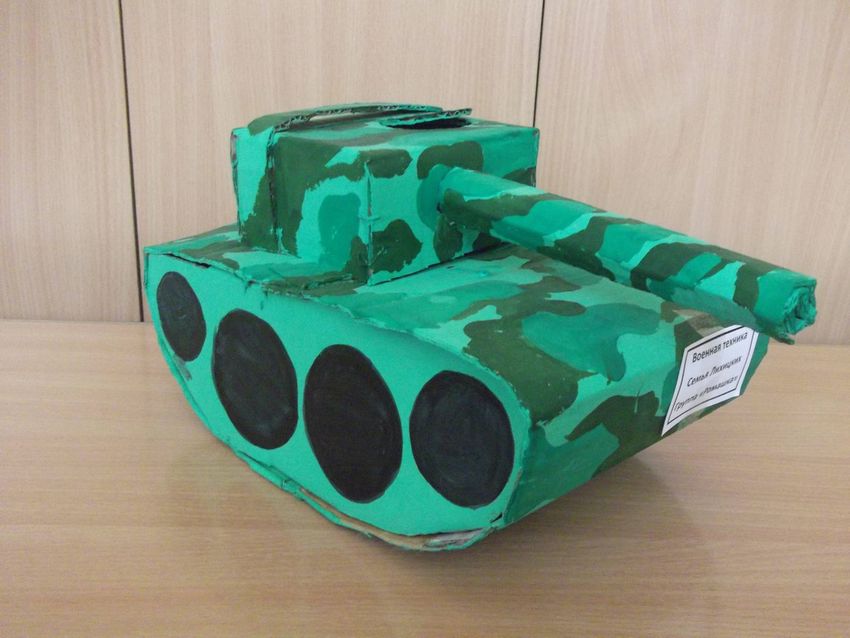
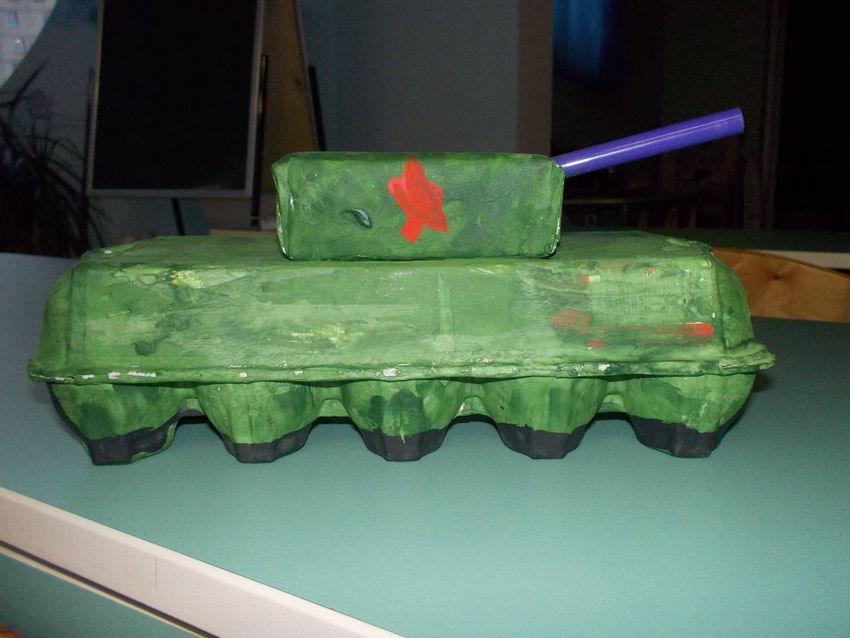
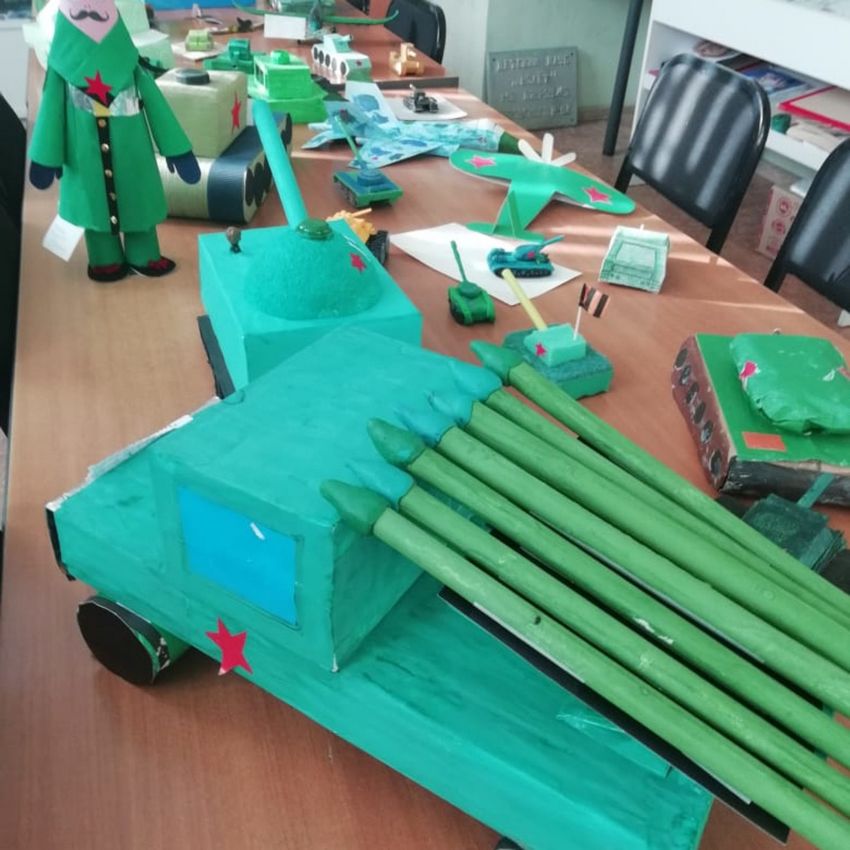
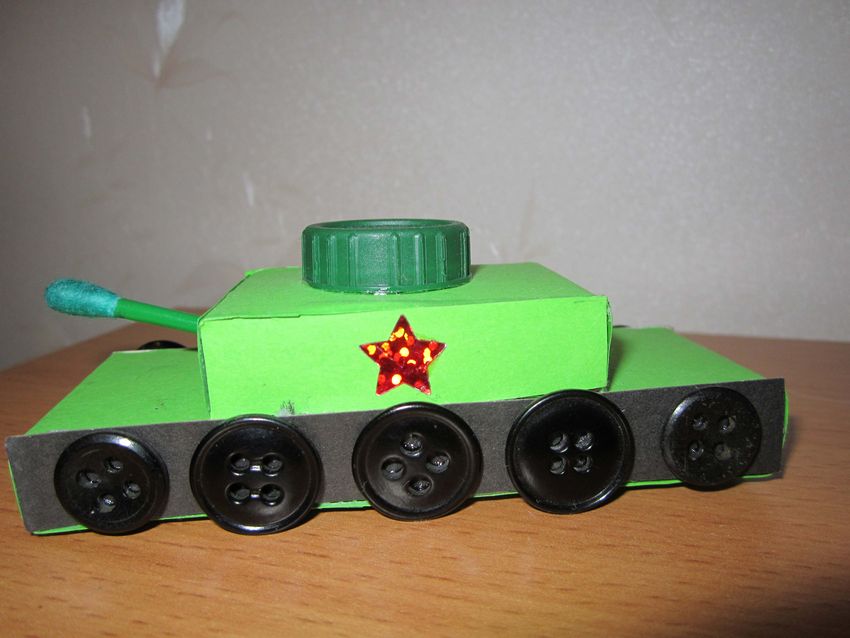
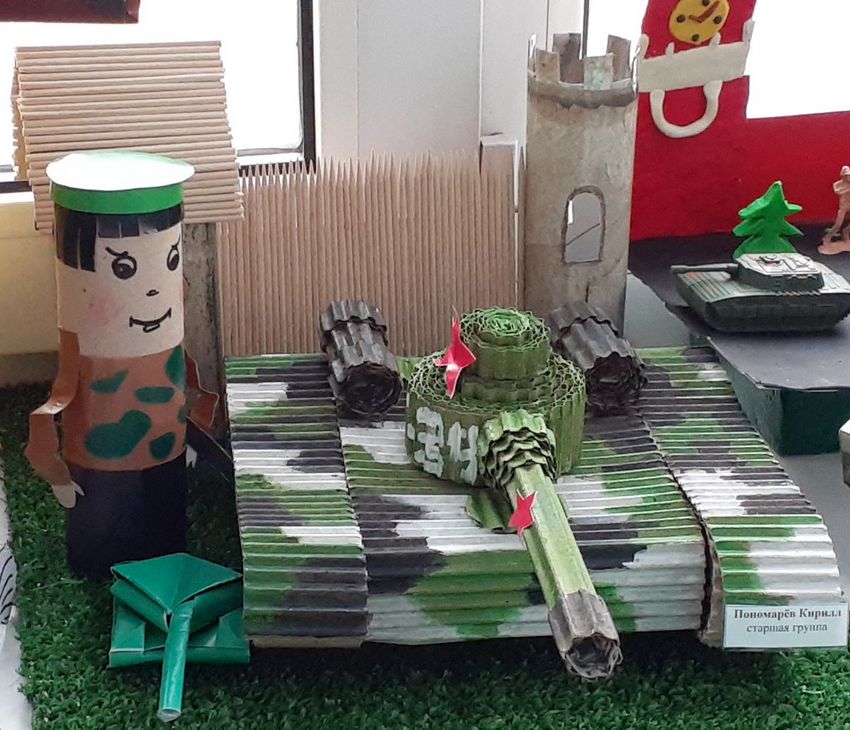
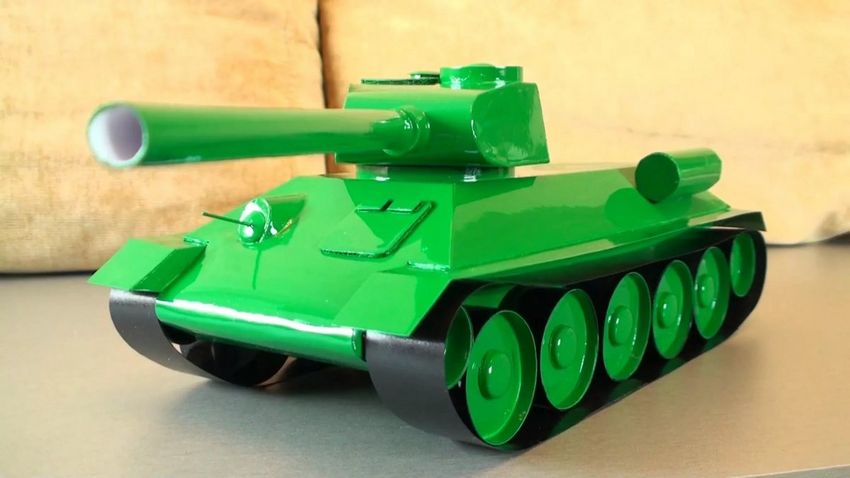
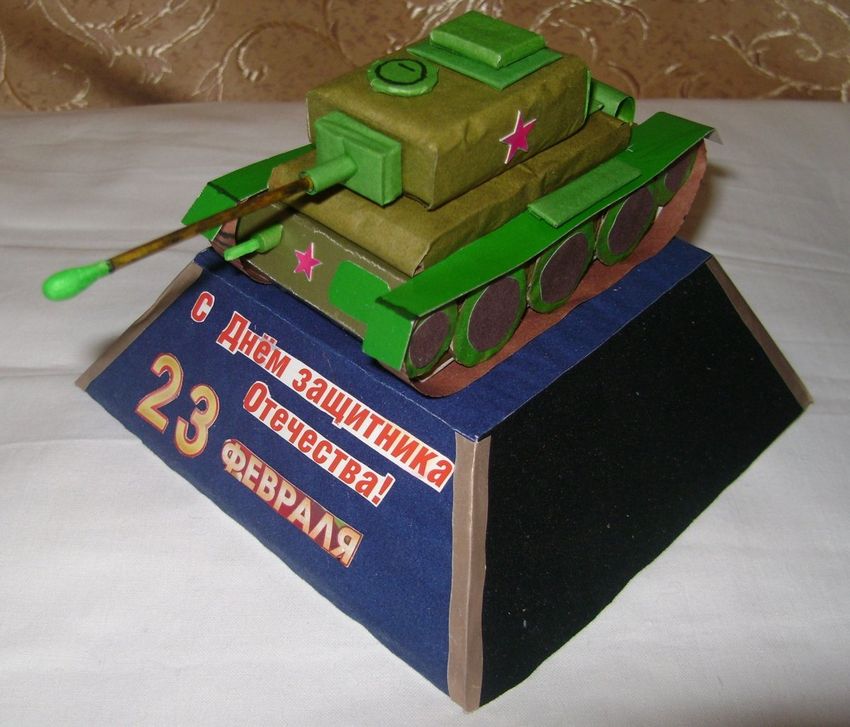
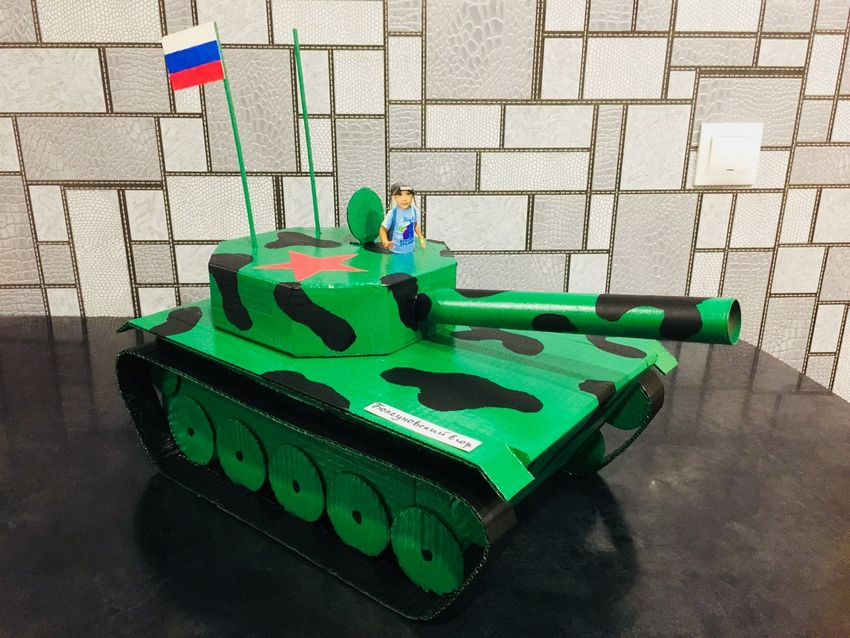
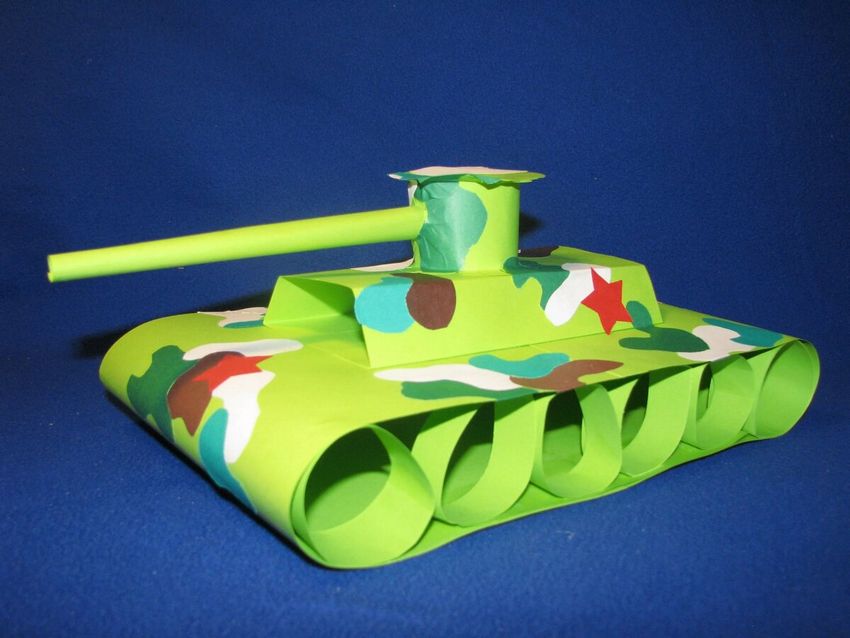
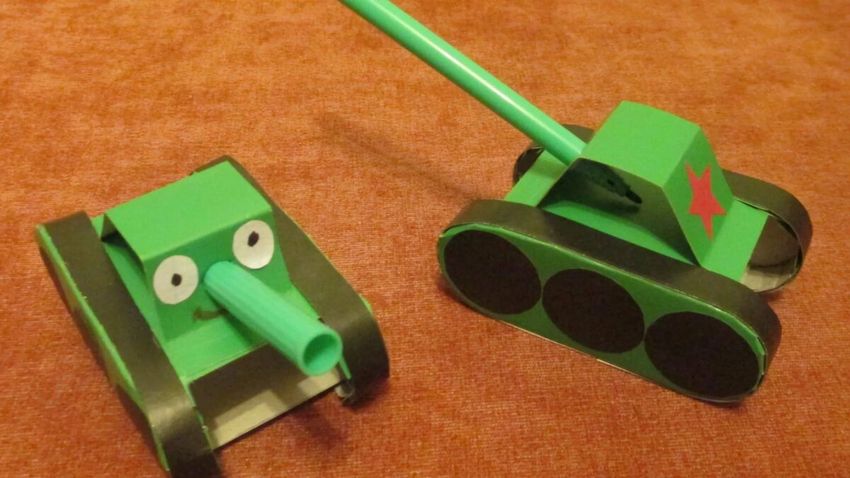
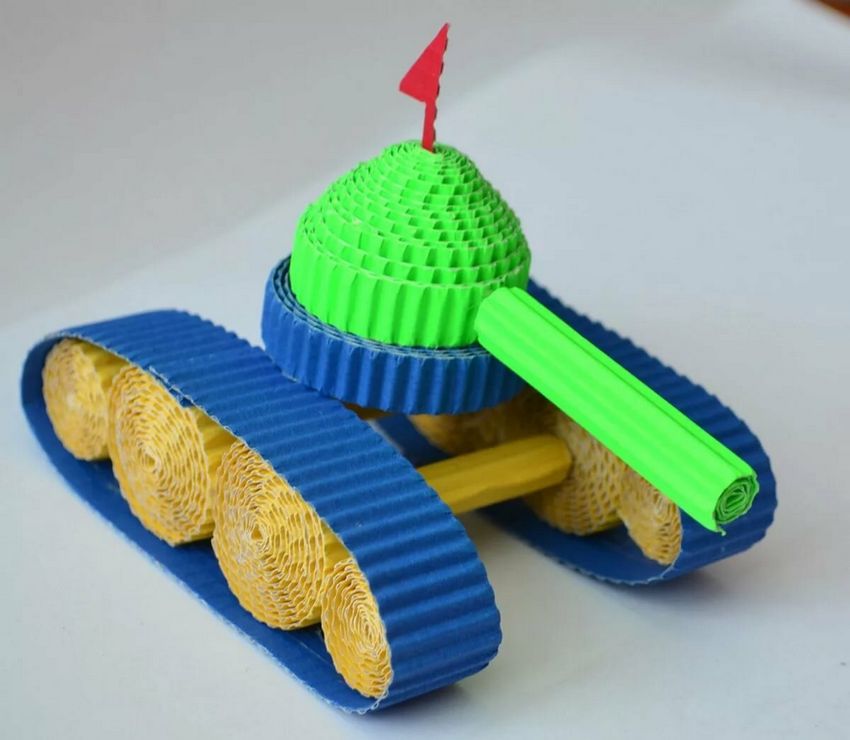
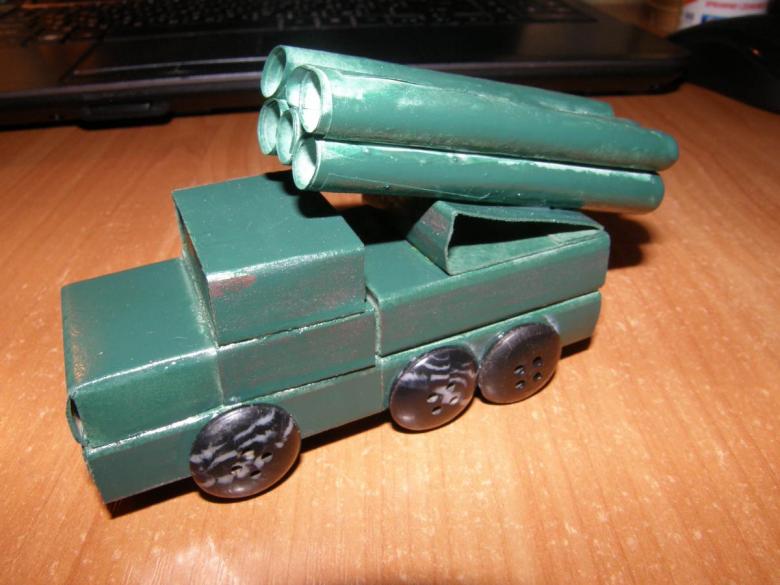
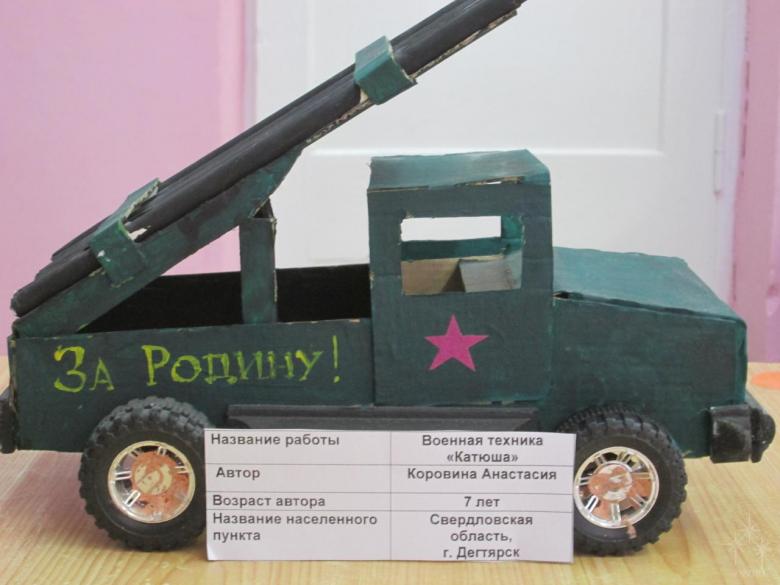
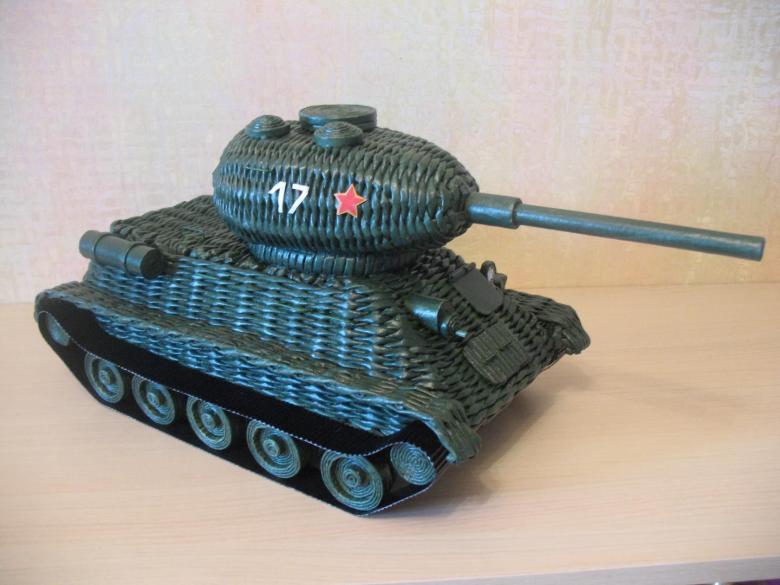
Tank
Great for a craft contest at school or kindergarten. As the basis is suitable cardboard box of a small size, for example, from a computer mouse.
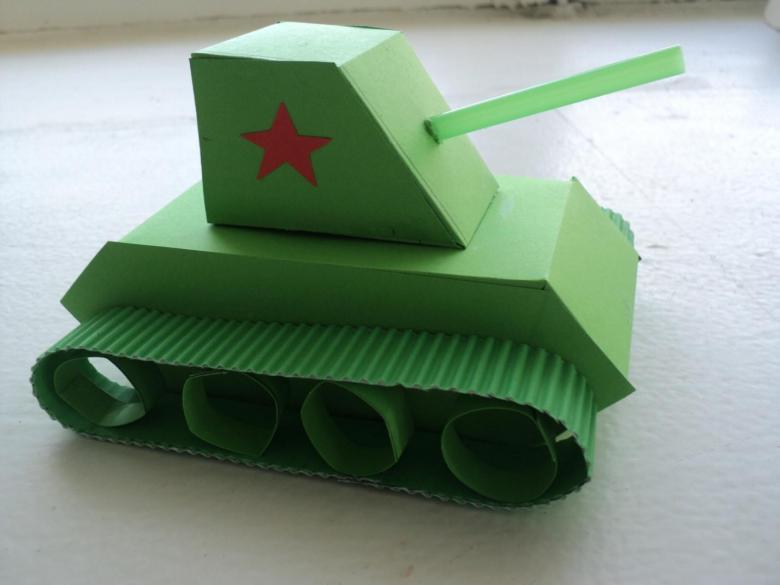
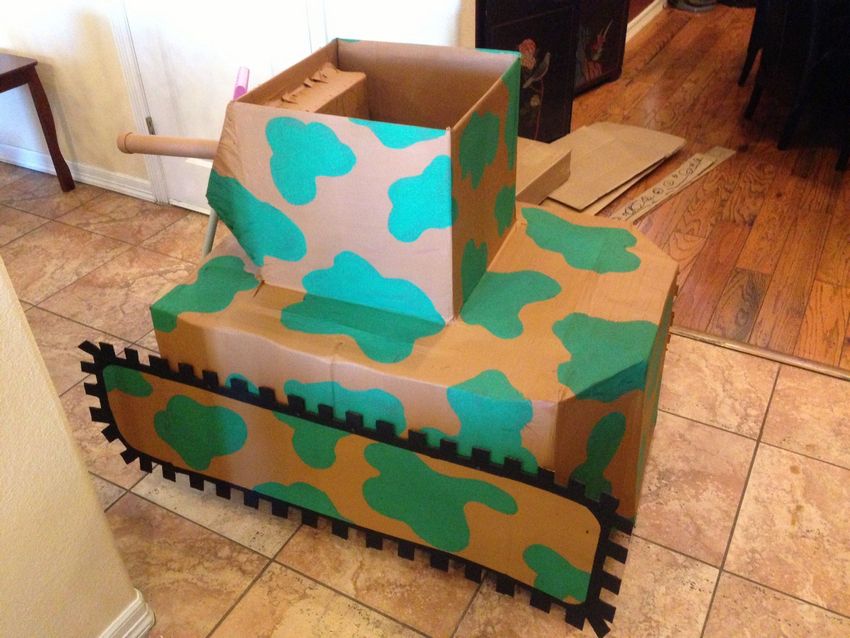
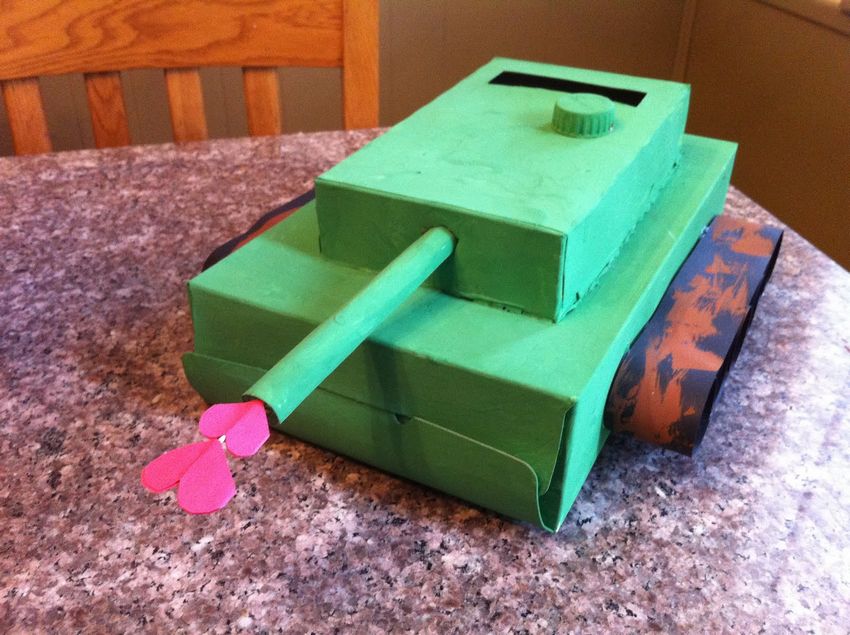
The outside of the box should be lightly rubbed with sandpaper so that it can easily be painted later. When the base is ready, you need to proceed to the manufacture of the tower. To do this on a sheet of A4 sheet is necessary to draw a sweep of a rectangle.

Having assembled the rectangle, from the rest of the sheet you need to cut a flat wide strip of sufficient length, roll the barrel of the tank from it.
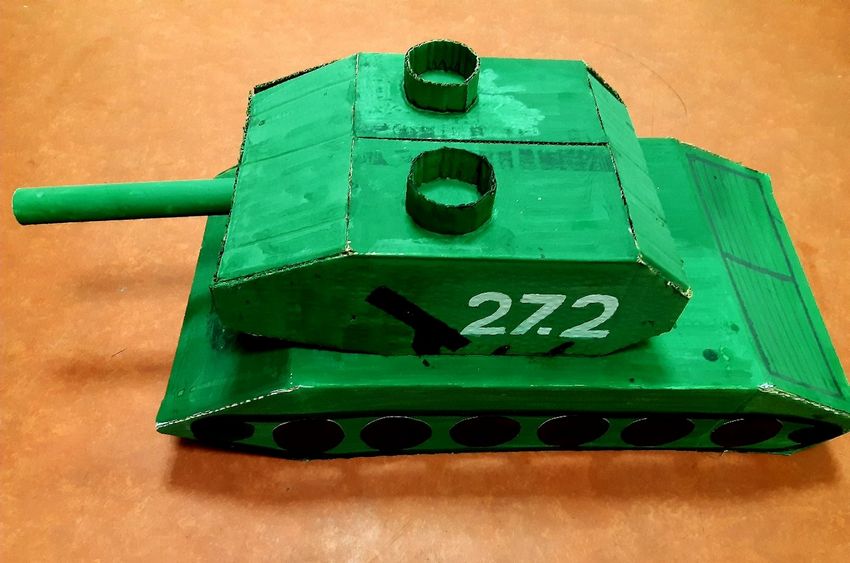
Further, the front of the cut rectangle to make a neat hole for the gun. Rolling a tube for the gun, it should be inserted in the turret to connect the two parts together. Then you have to cut out of cardboard a small circle, it will serve as a hatch in the tower. In the turret itself, on top, you need to cut a similar circle. Then glue the edge of the circle of cardboard on the tower, so it was in the form of an open hatch.
Then you need to glue the tower to the main part of the box. Glue medium-sized buttons on the sides, and glue paper tape around them to imitate caterpillars. It only remains to paint the product in the desired color, and the handmade model of military equipment for kindergarten is ready.
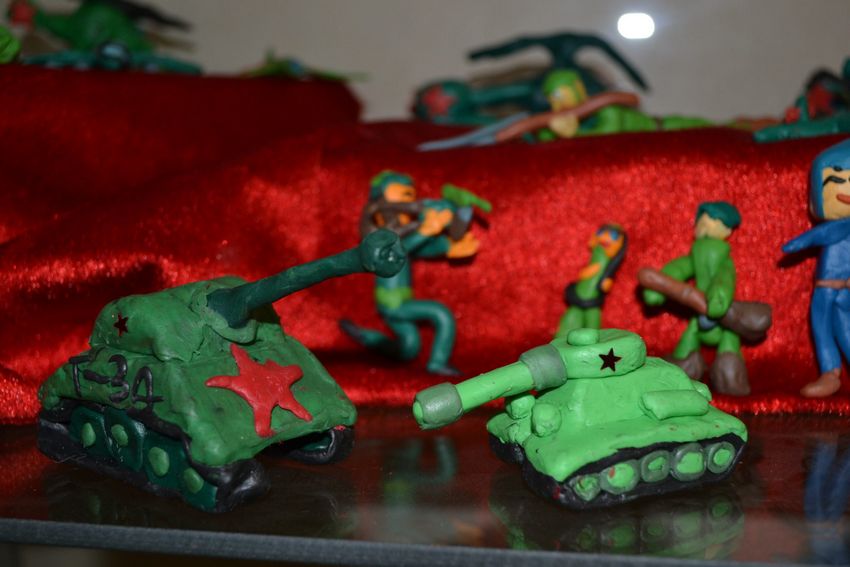
Soldier out of clay
Every child can find plasticine, and besides, it is easy enough to create something from it. Let's see how to make a beautiful soldier. To begin with you need to decide on the color of the mold. Choosing a color, you need to take some plasticine, make an oval, with a small extension on one side. He will fold the torso, and the widest side will denote the shoulders.
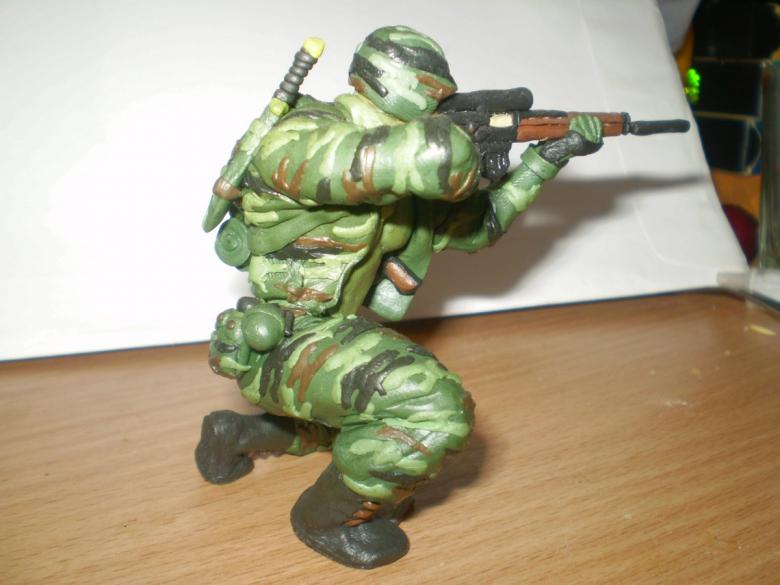
Next you need to make the legs. To do this, roll two equal sausages of plasticine with a thickening in one side. The thickened part will indicate femur, it should be connected to the body. It remains to make the hands and head. With the head everything is very simple, you have to roll a ball of flesh-colored plasticine and place it on the body. Then, taking some other plasticine, the color of the shape of the soldier, make a helmet on his head.
Arms are made in the same way as the legs, just a little thinner, but with thickenings on one side. The thickened sides are to be attached to the torso.
It remains with a toothpick to add details, such as seams on the clothes, mark the buttons. Ideal if there is a small weapon from the toy, bought a soldier. It can be handed to the plasticine, for more entourage. If there is leftover plasticine, it can be used to construct an environment for the craft, it can be a shelter, walls, rubble.
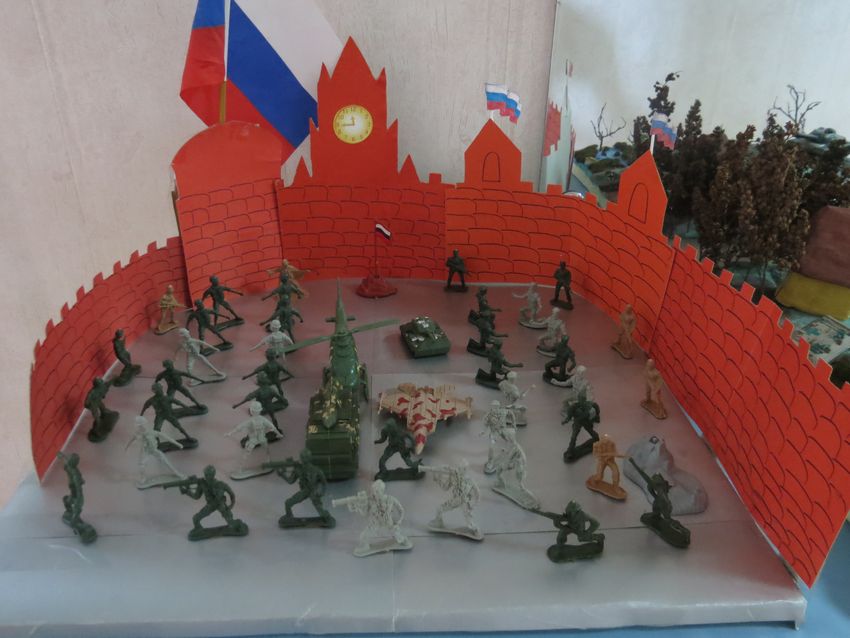
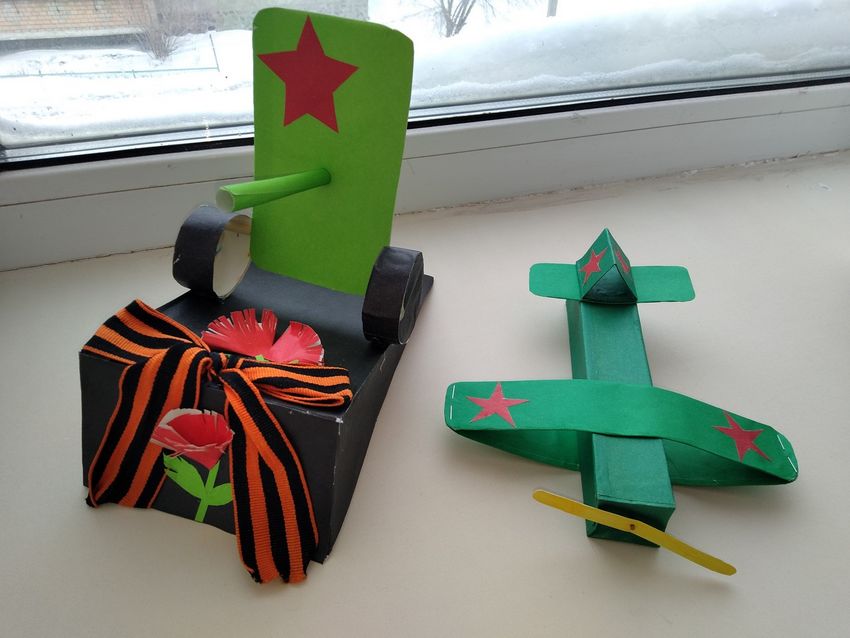
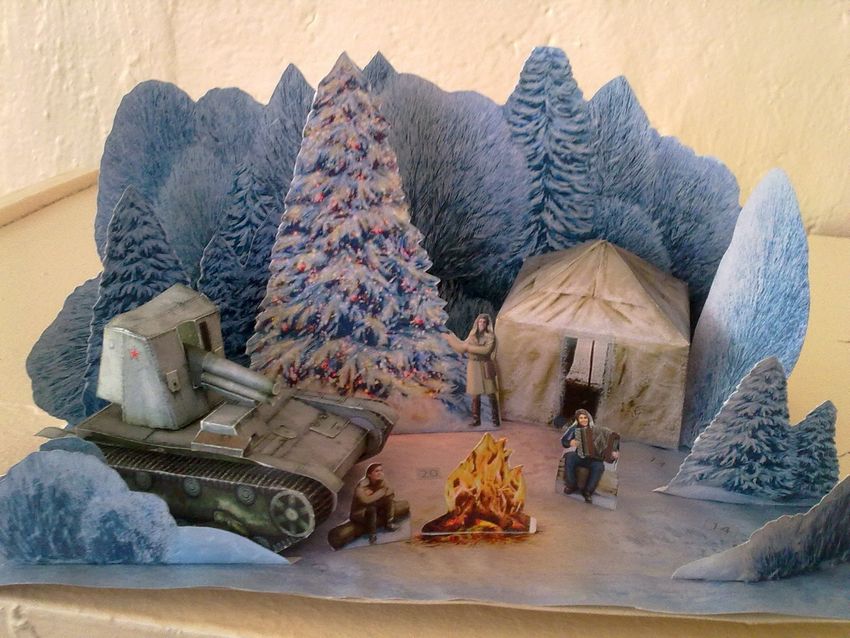
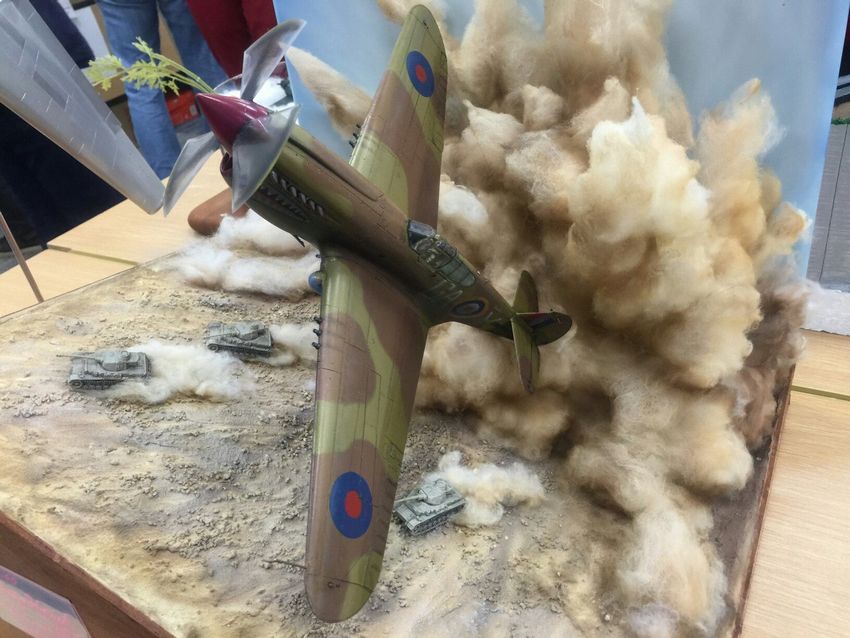
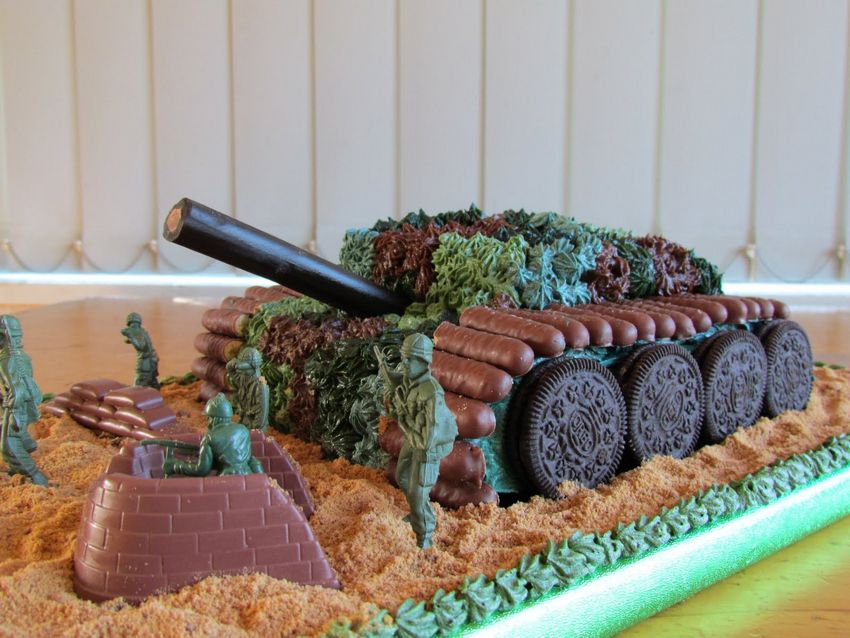
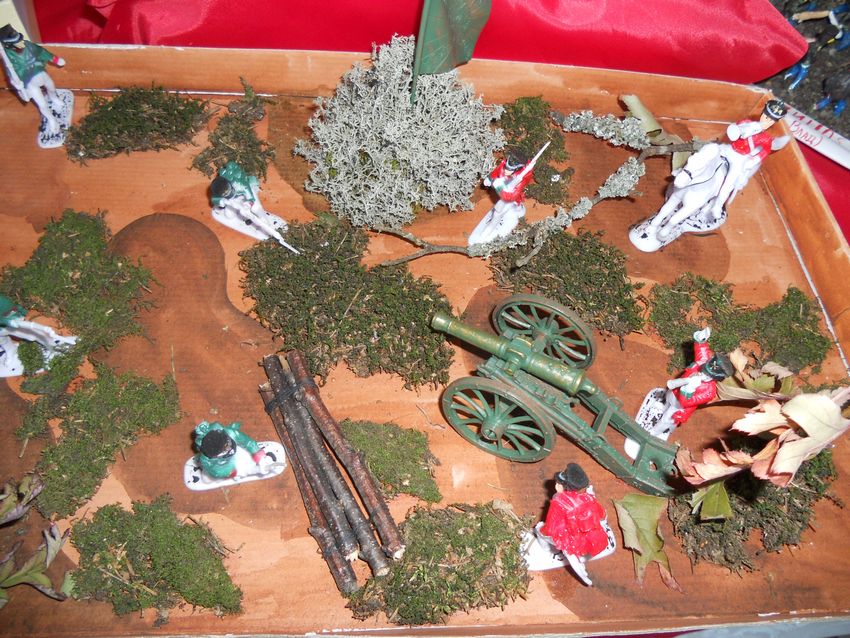
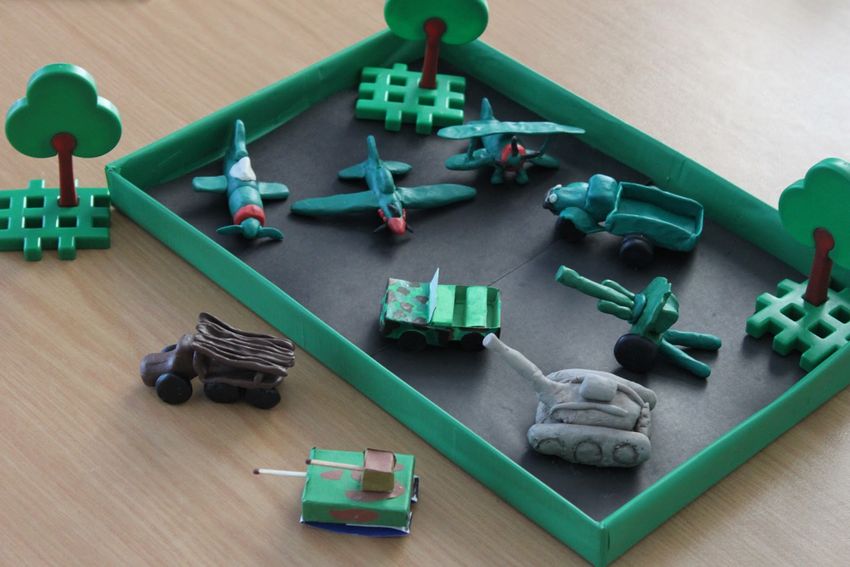
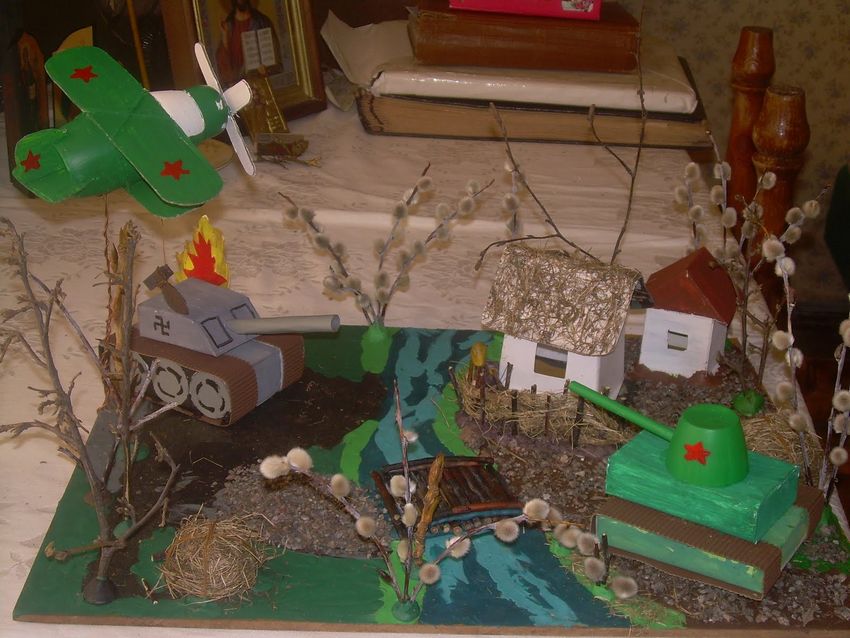
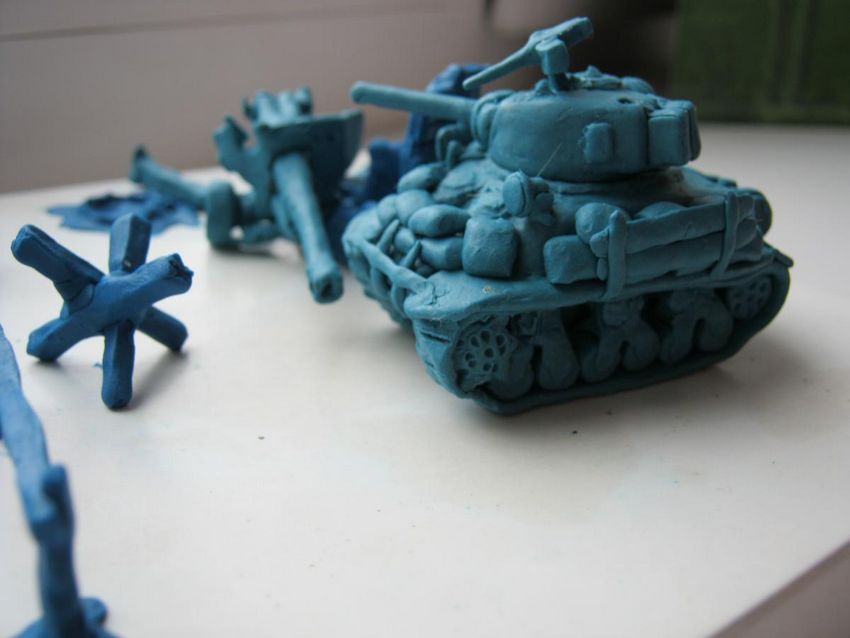
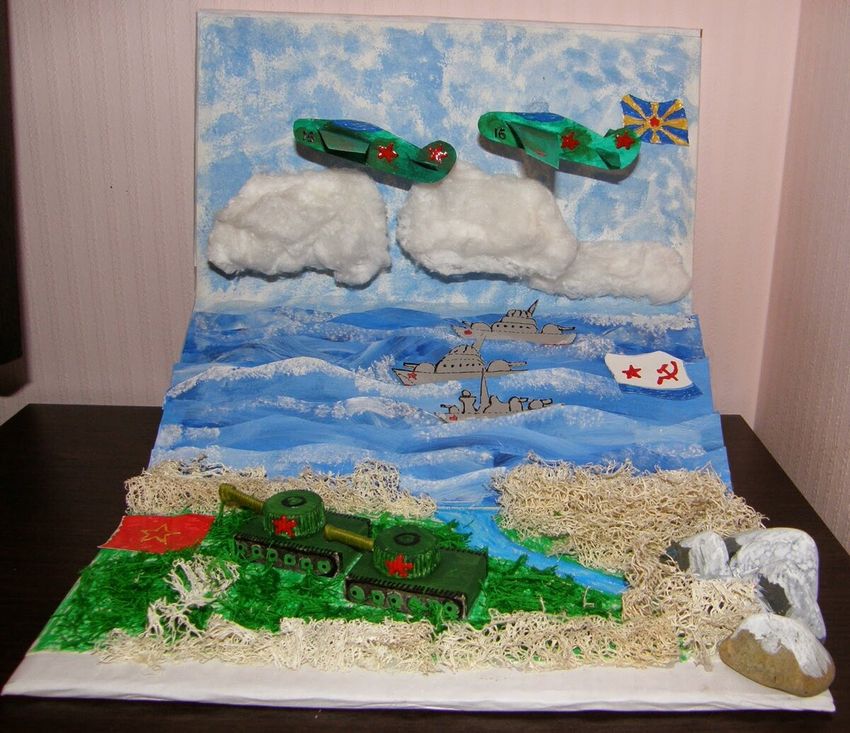
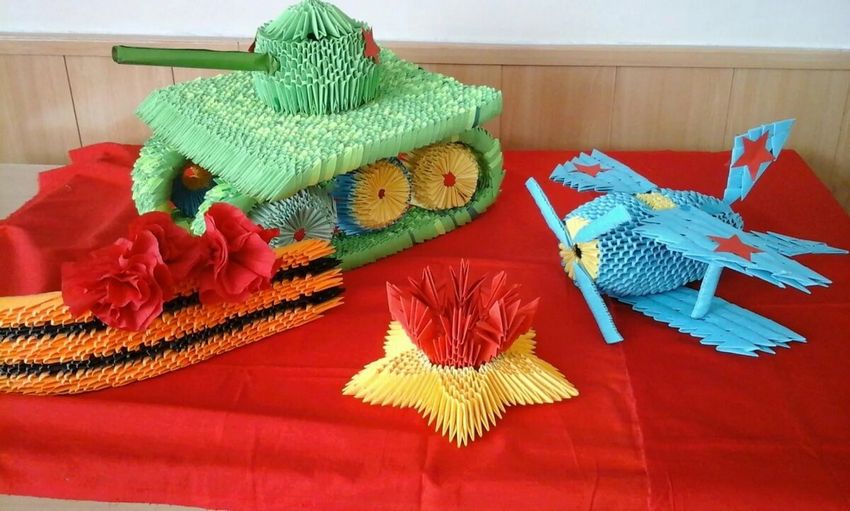
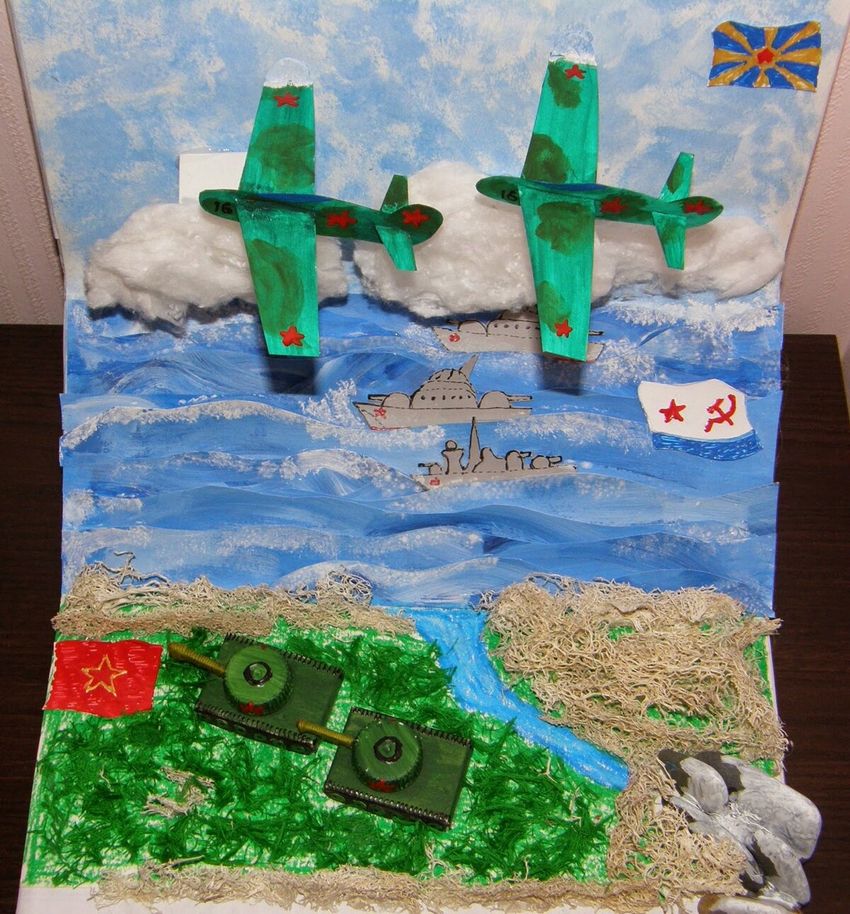
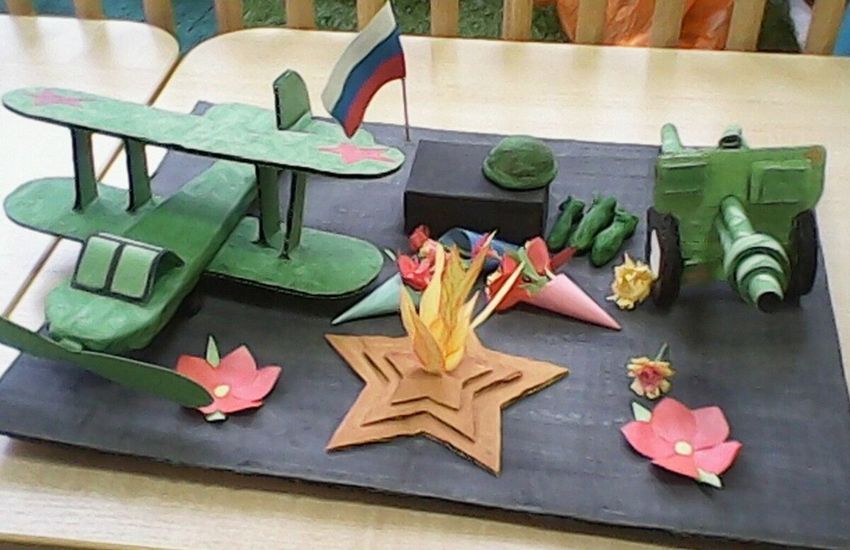
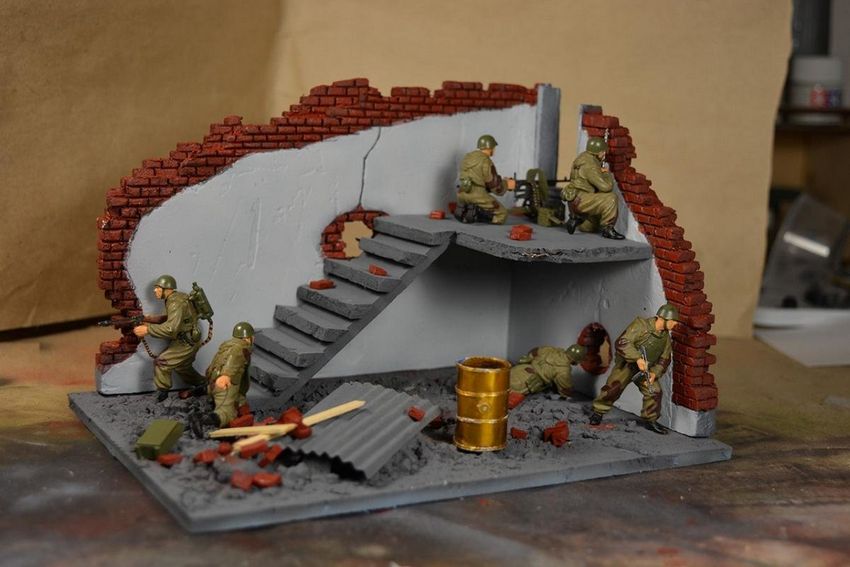
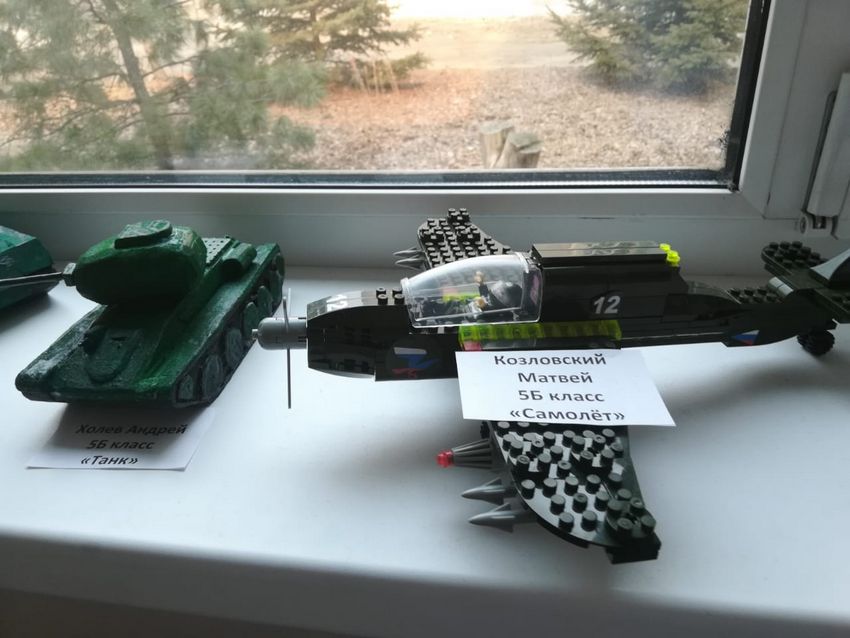
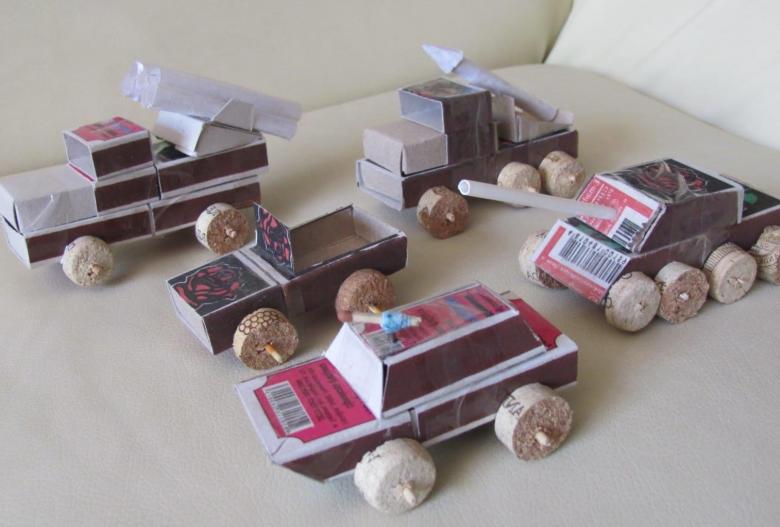
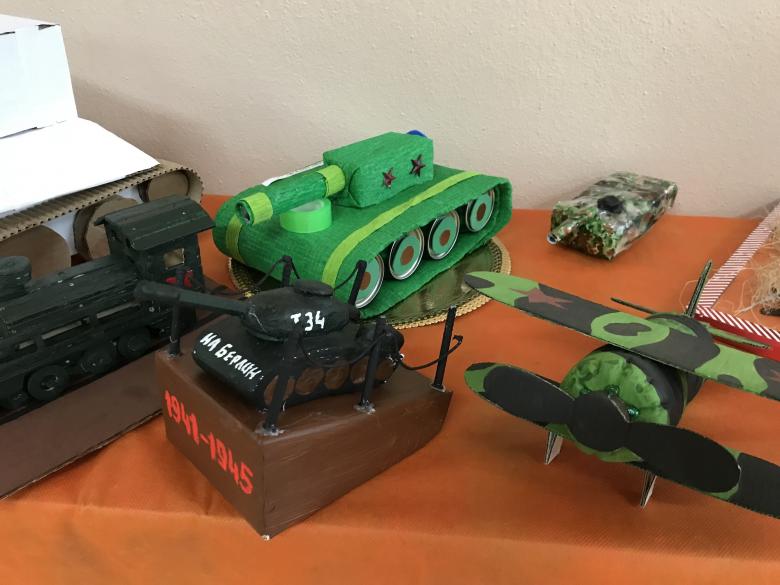
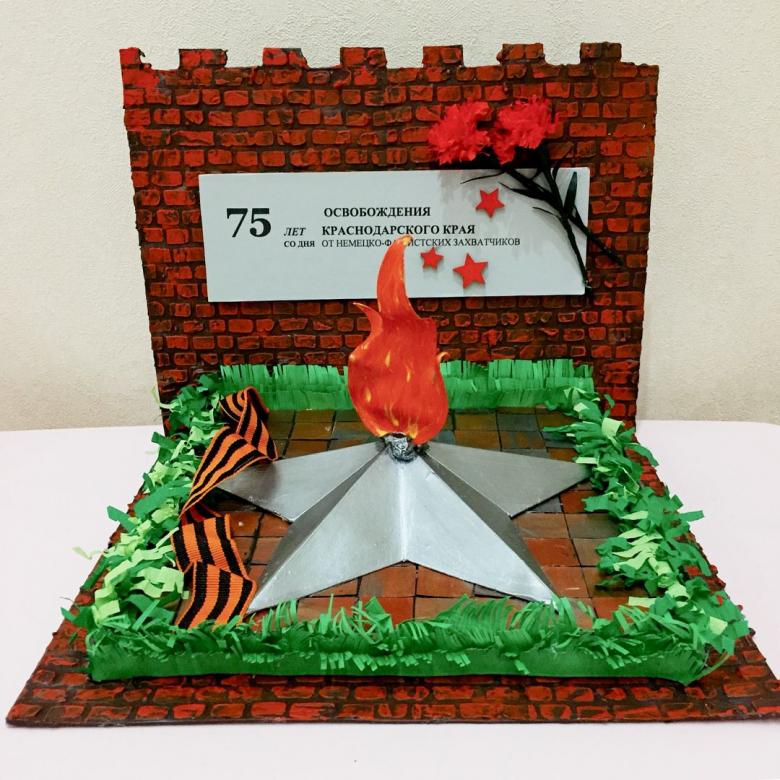
Installation
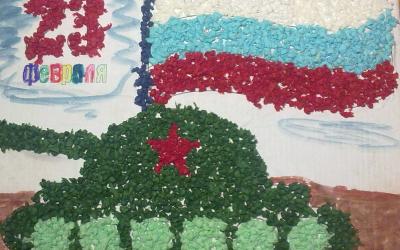
Making your own handmade crafts for school on a military theme, you can create a whole installation of already existing items. As a basis, it is recommended to use a thin, medium-sized board. On it place several crafts, imitating some event or battle. Smoke can be added with absorbent cotton, spreading it evenly over the installation.
Making a military-themed craft is easy, you just need a little free time and a few materials (cardboard boxes, plasticine, paper, glue and paint).
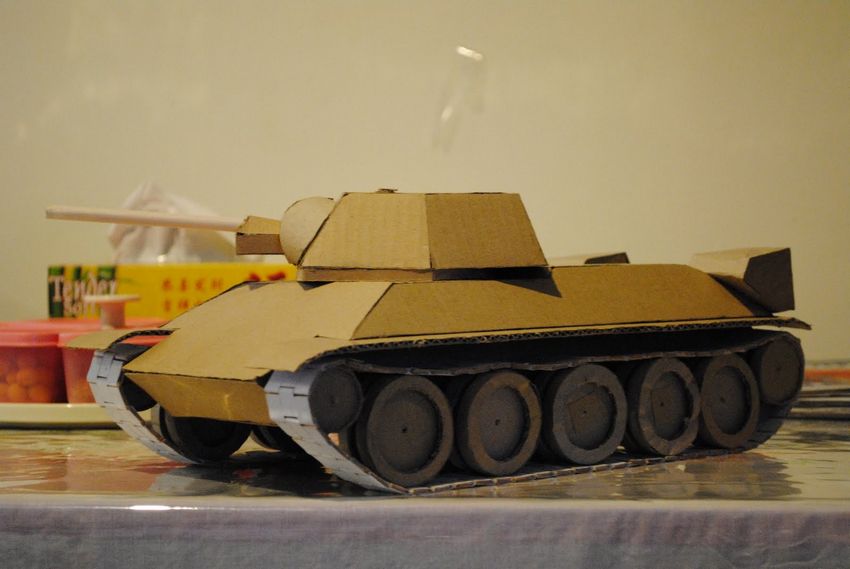
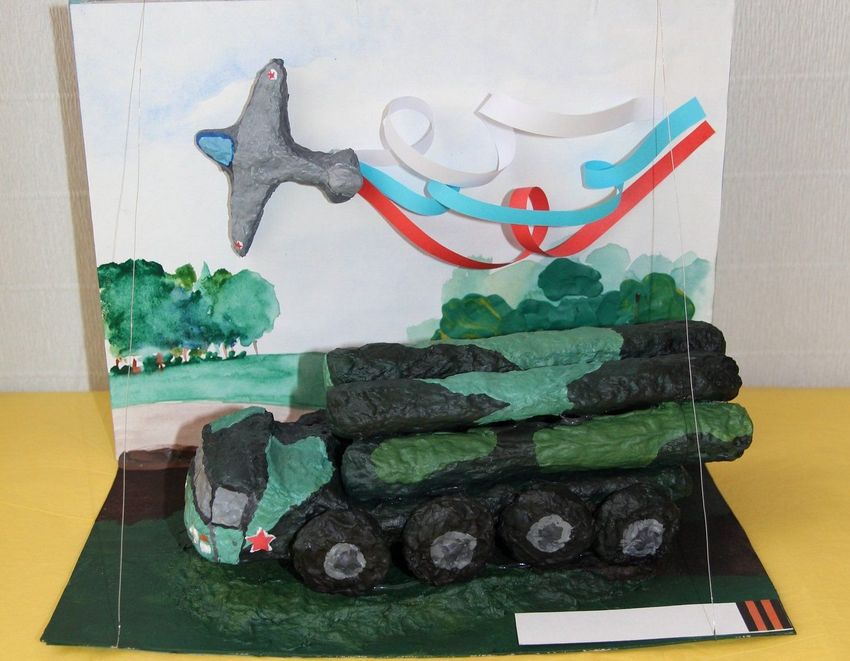
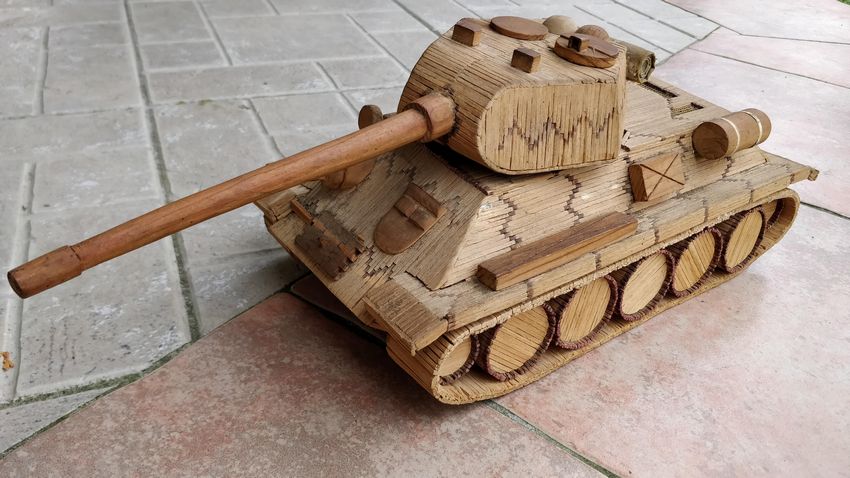
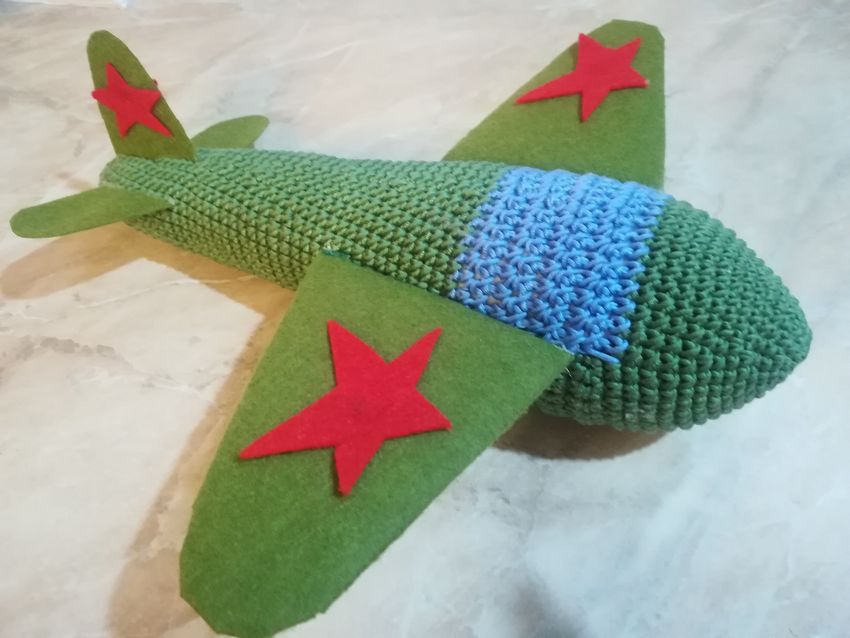
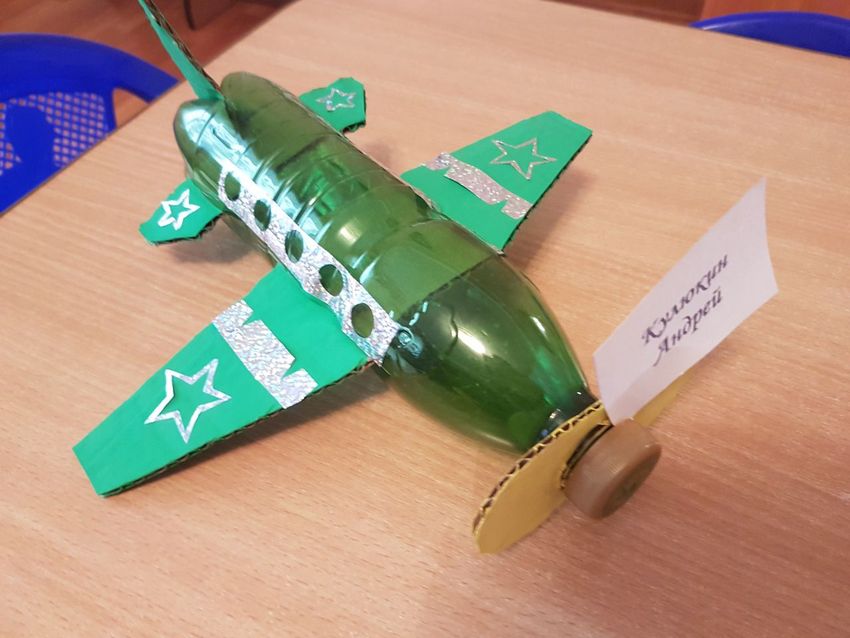
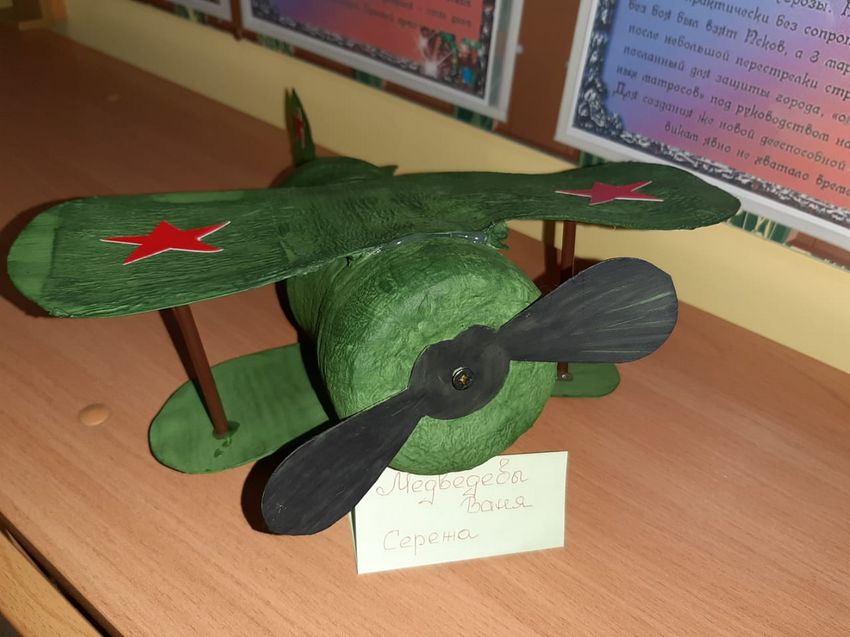
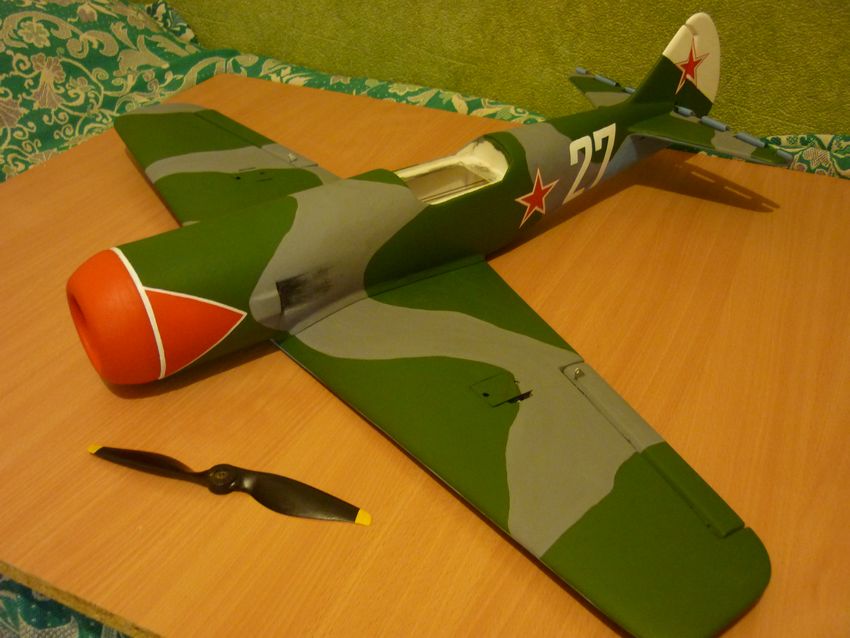
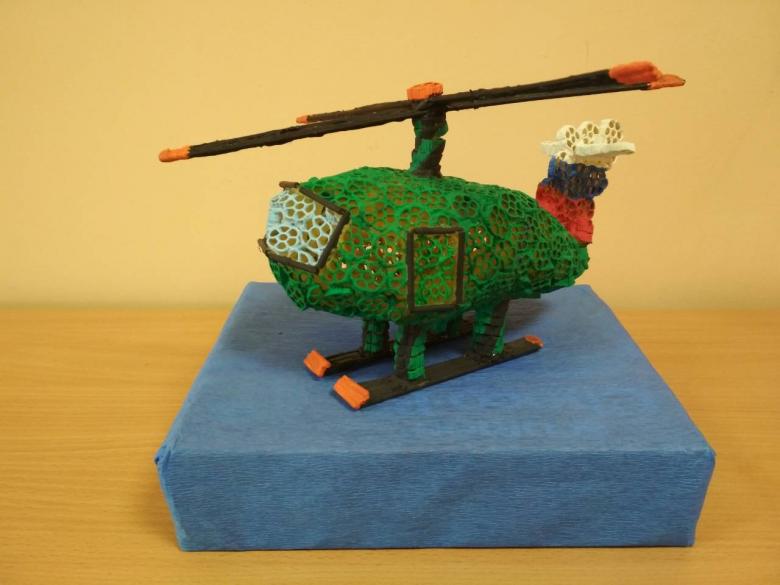
Photo ideas of interesting military-themed crafts