How to crochet stitches by crochet: step by step description for beginners
The column is a fundamental element of crochet. The way to create even the simplest products is through mastering it. Each of several types of columns is useful to learn and practice for any craftswoman.Basic rules

There are three popular techniques for performing the element:
- By the right, far loop;
- For the left, near loop;
- The two slices of the bottom loop;

The initial row is done by the back of the air loop, and for subsequent rows the two element walls of the previous row are used. The hook goes on the front side of the product. This technique is considered basic and is used in most cases. If the instructions imply a different approach, it is usually described.
The number of columns on the rows should be the same. In the first row of straight fabric, there should be the same number as in the last row. To make decorative elements like drawings, it is allowed to change their number.
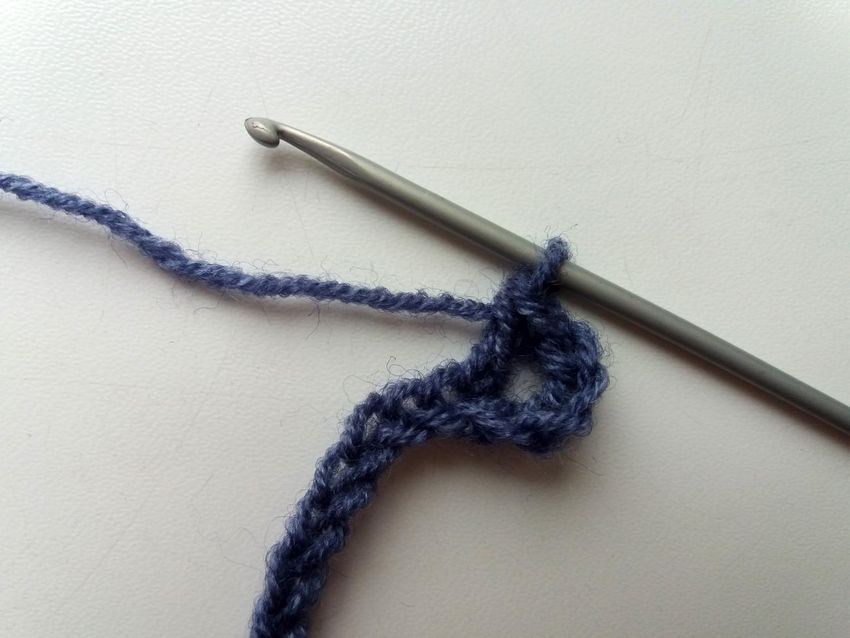
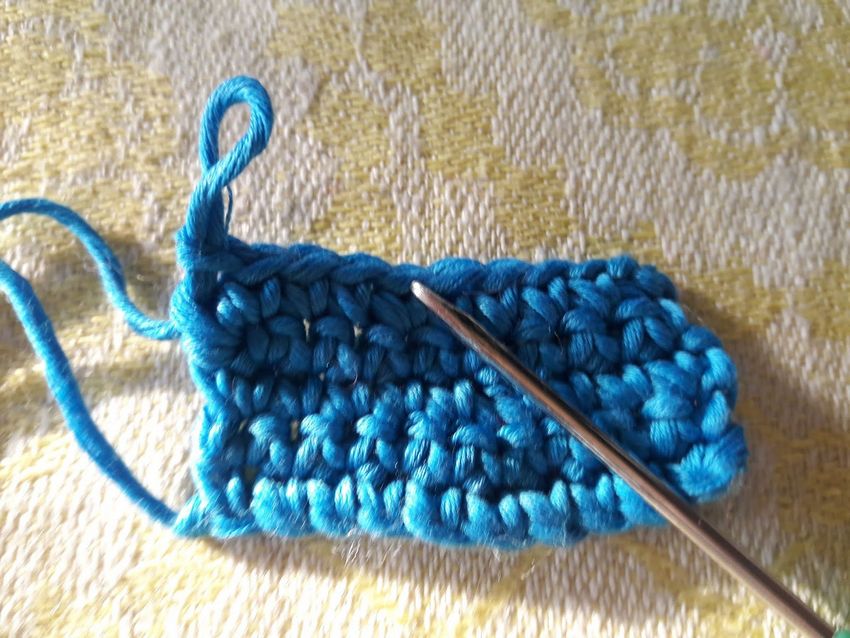
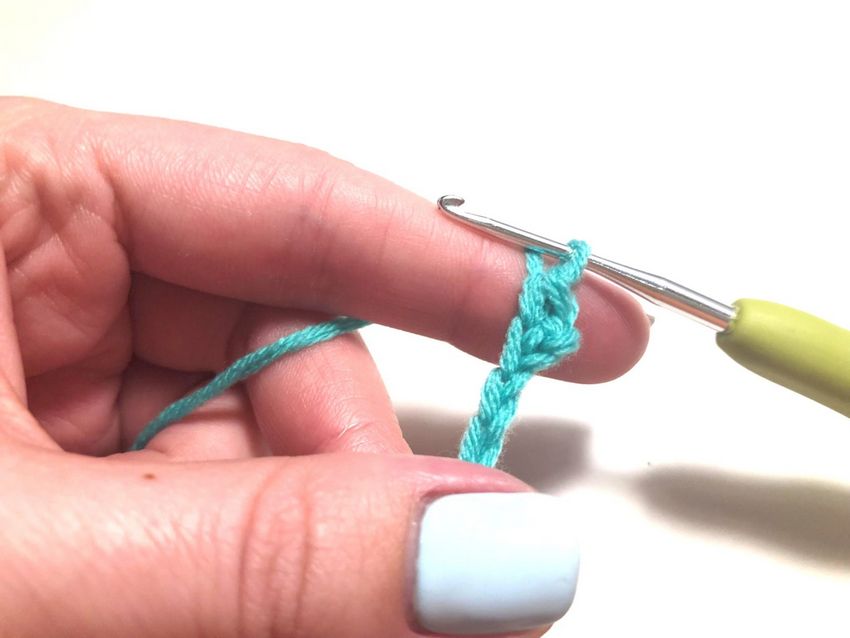
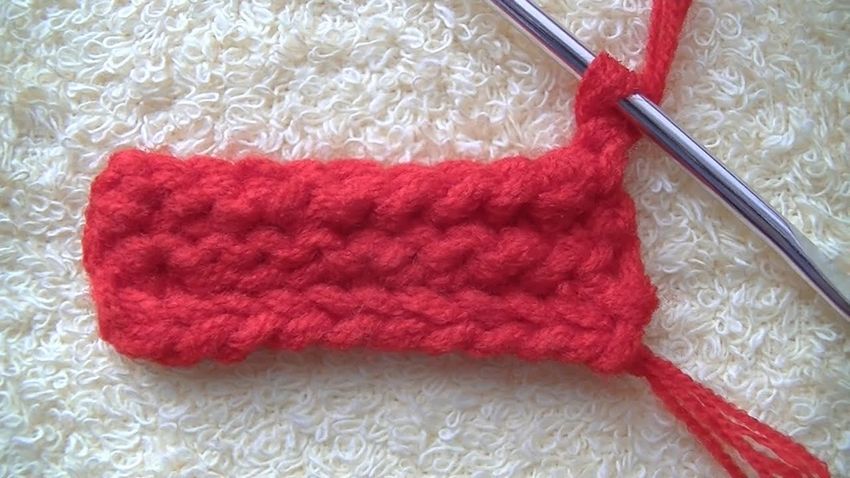
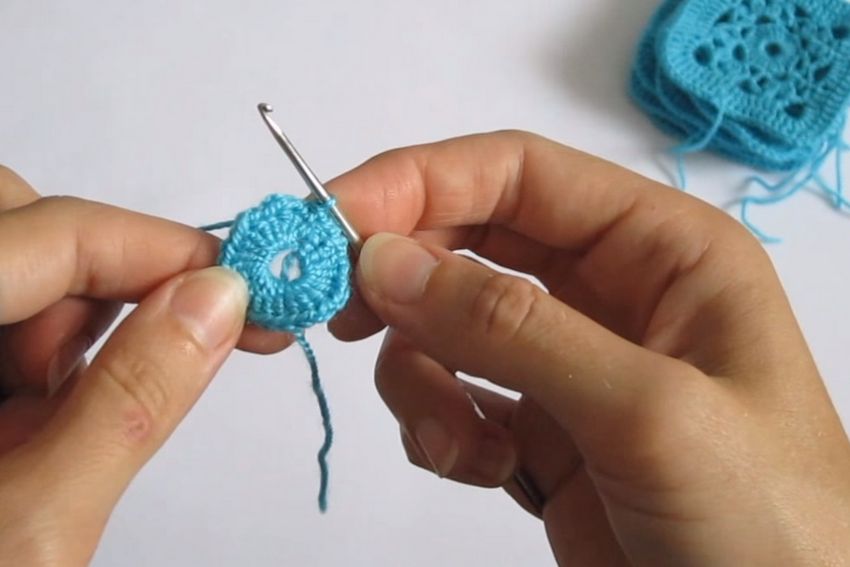
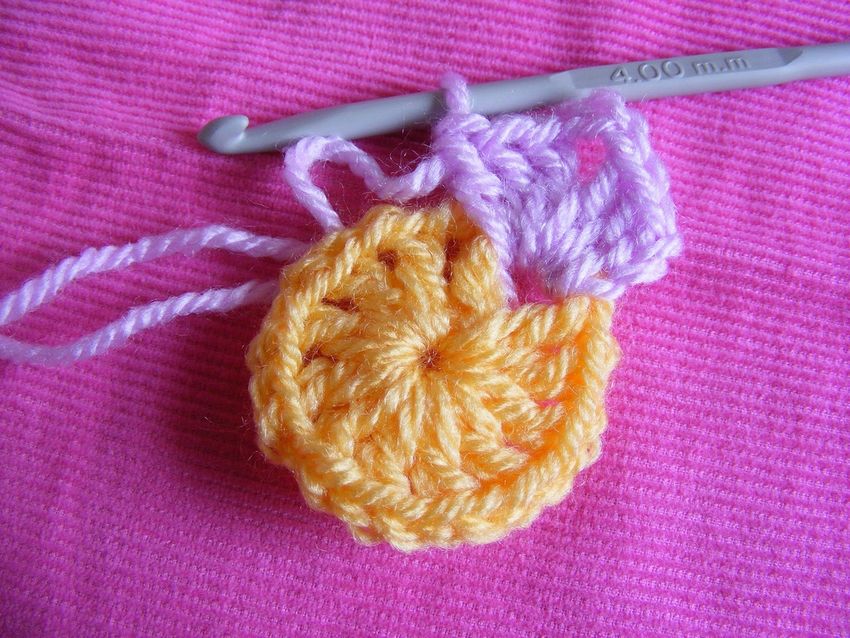
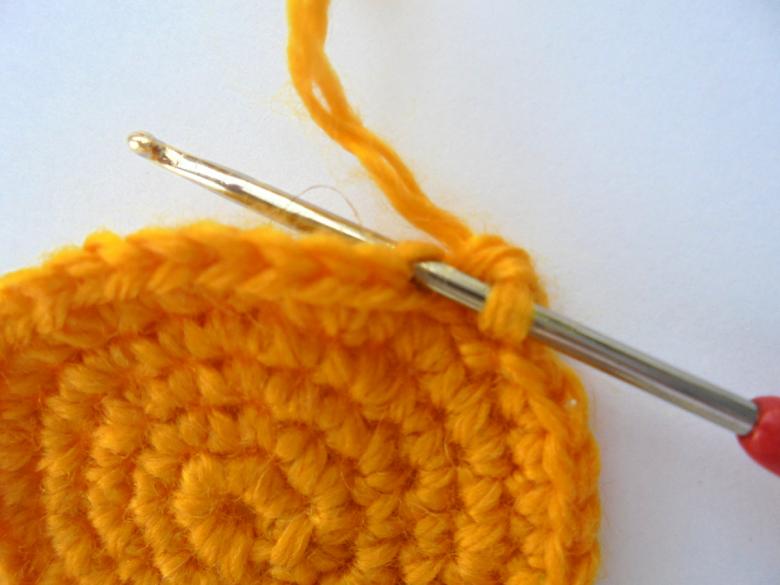
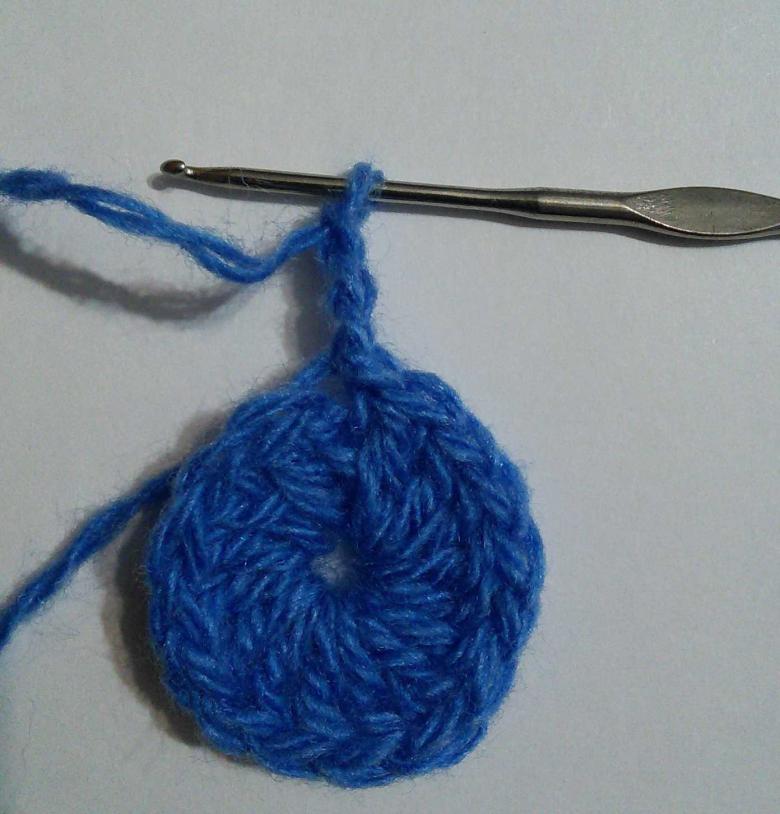
Half-column
Half-column is used to create circular knitting patterns and to bind parts of the product. Its introduction into the structure of the fabric gives that stiffness and does not allow much stretching.
Instructions for the steps:
- Recruit 20-25 air loops.
- Then the tool is pushed through the nearest loop. The thread is coiled and threaded through. The result should be two stitches in one buttonhole.
- The resulting loop is pierced into the next.
- Do this until the row is complete.
- Then it is time to turn the composition.
- The result is the desired trapezoidal half-column, tapering toward the end.
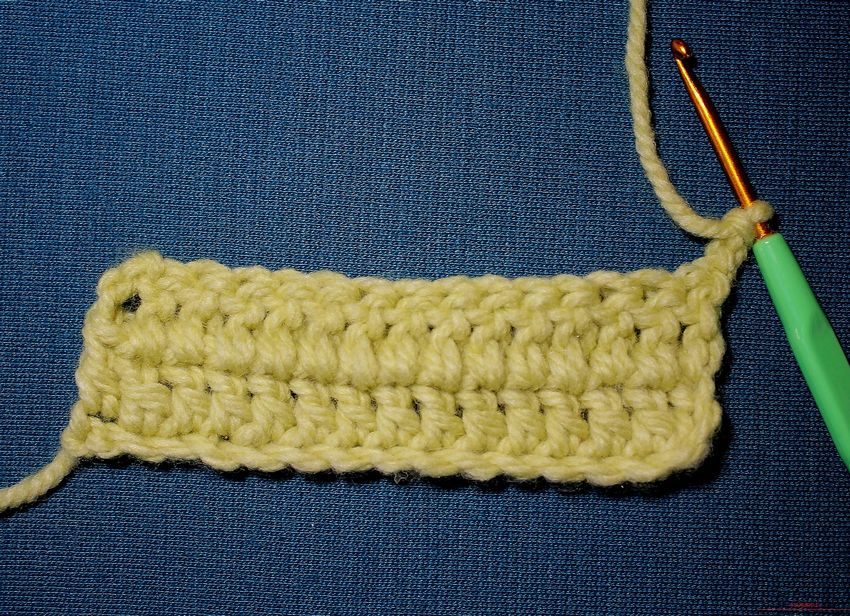
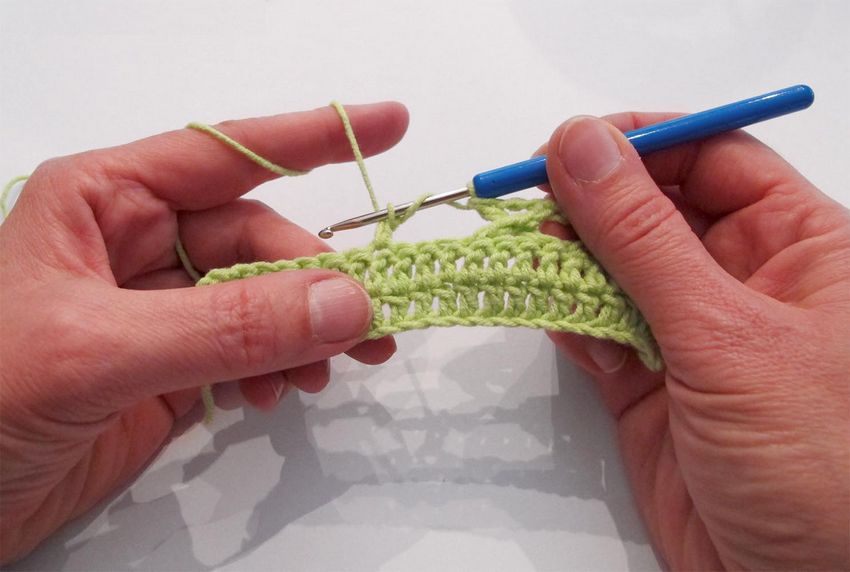
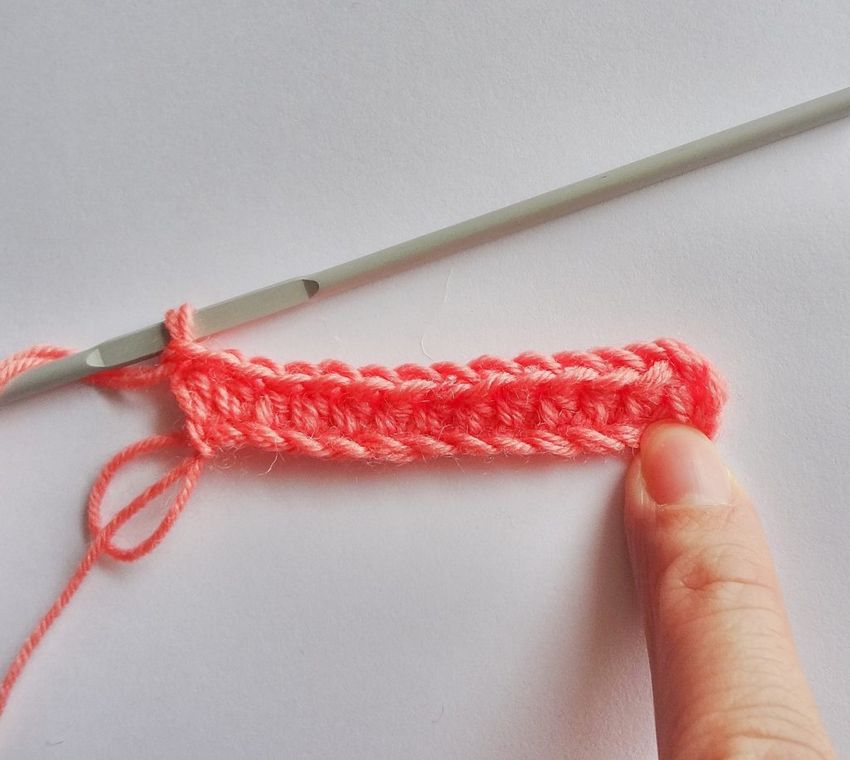
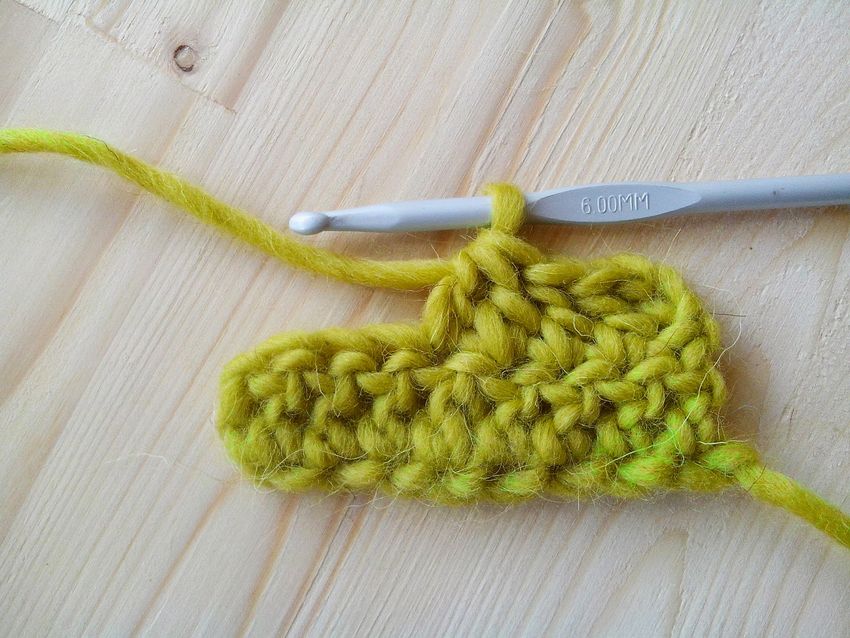
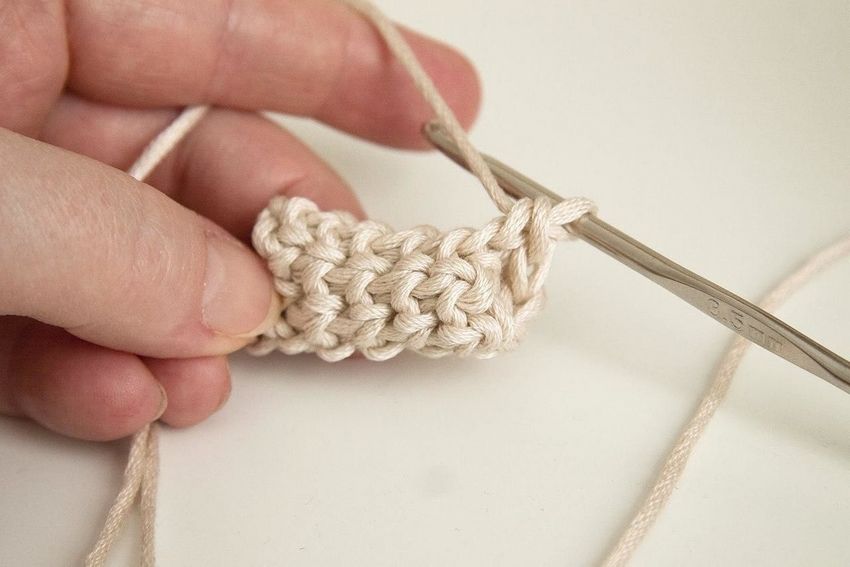
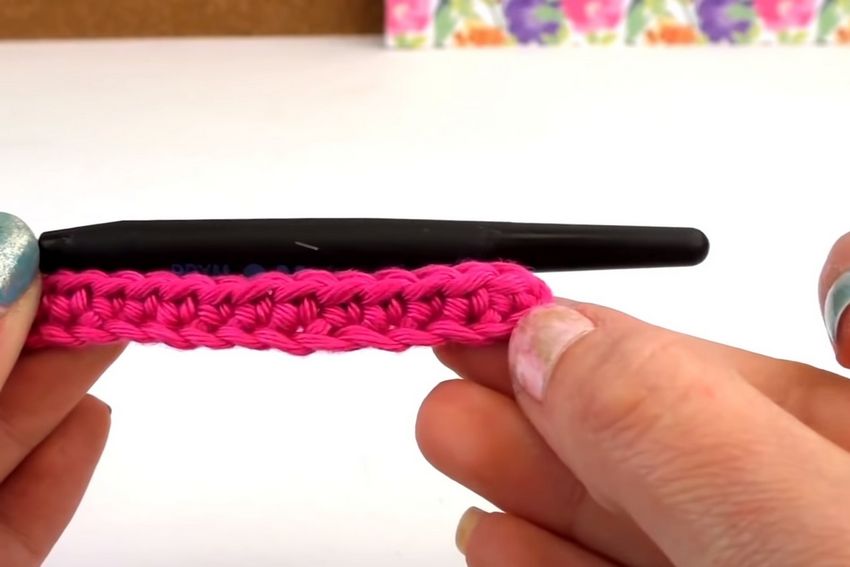
The no-flip stitch
Anyone who wants to master crochet work, this type of element is a must to learn. It is the most common piece used for most items.
Instructions:
- Recruit about twenty air loops, add 1 lift.
- Make a loop by inserting the hook into the second loop from it. Now you should get two of them.
- Put the yarn on and pull it through the resulting loops, there are two on the hook.
- Do the same until the row is over.
- To make a loop of lift, you need to turn the product.
- Then you need to make about seven rows of columns without throwing on the thread.
- Here you can experiment with the pattern. Creating five columns alternately for the right and left parts of the bottom loops, you can evaluate and choose the pattern most suitable for this work.
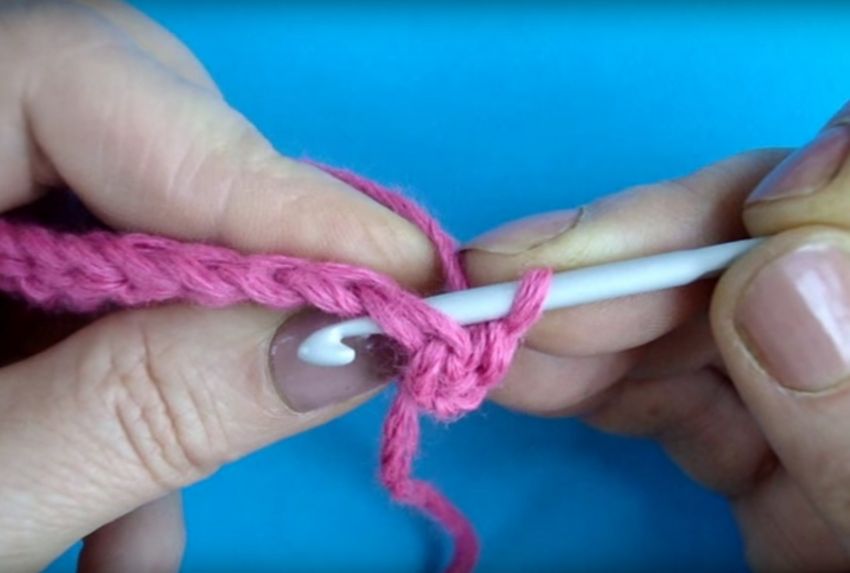
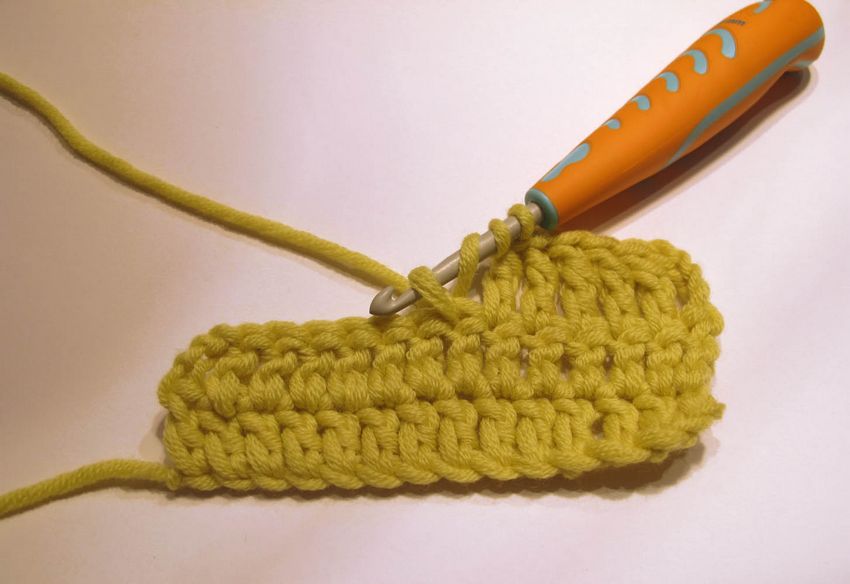
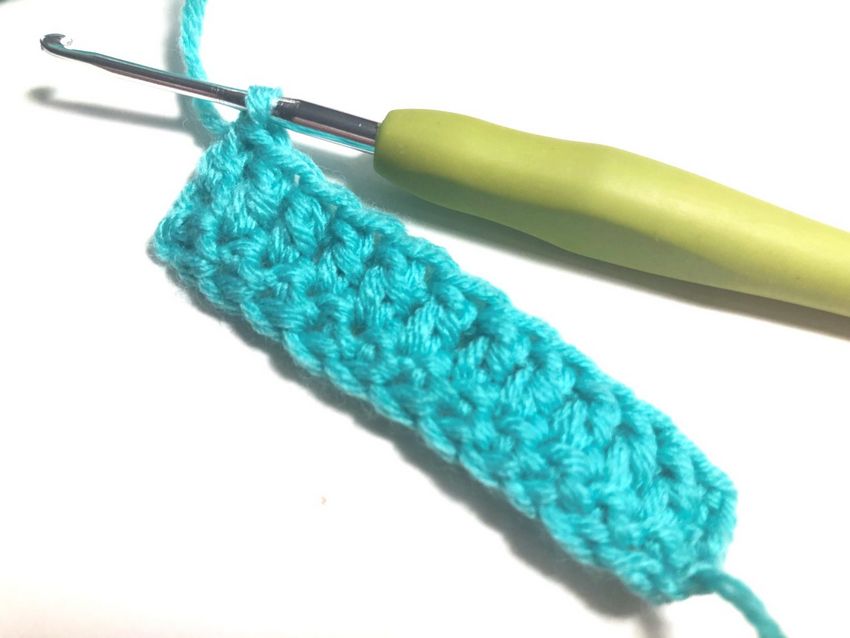
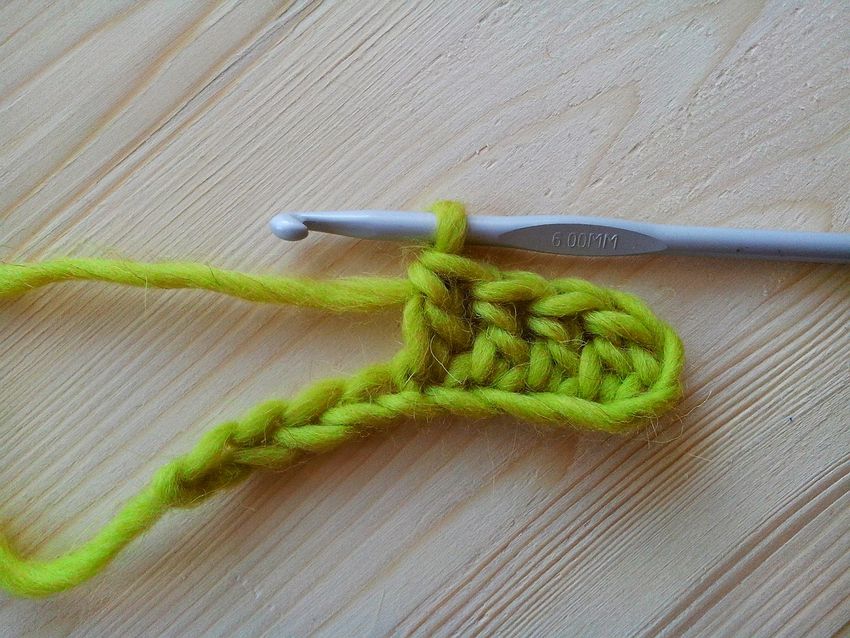
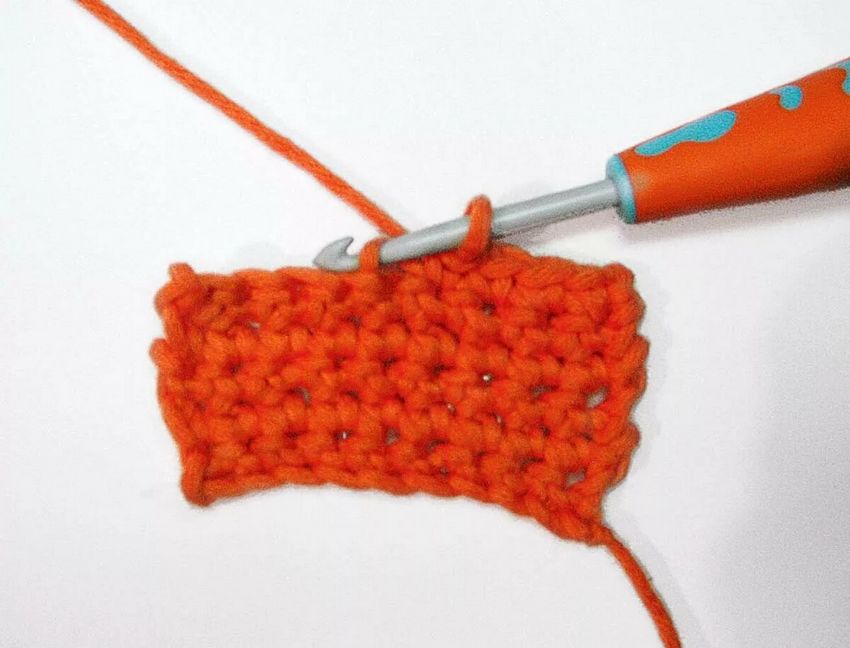
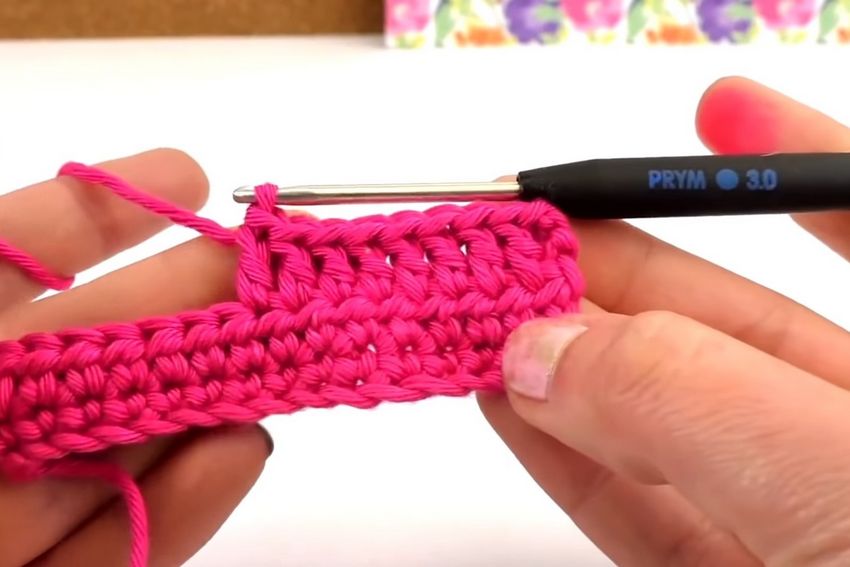
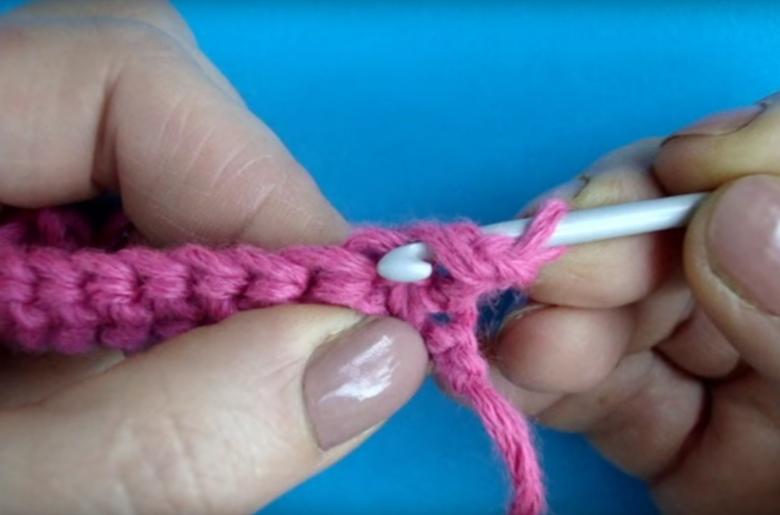
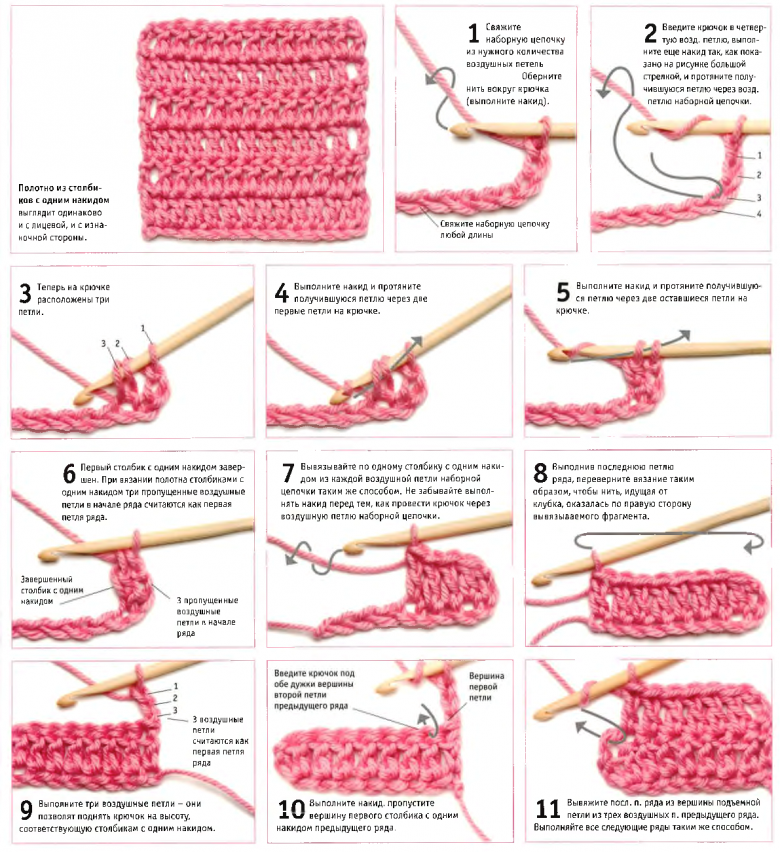
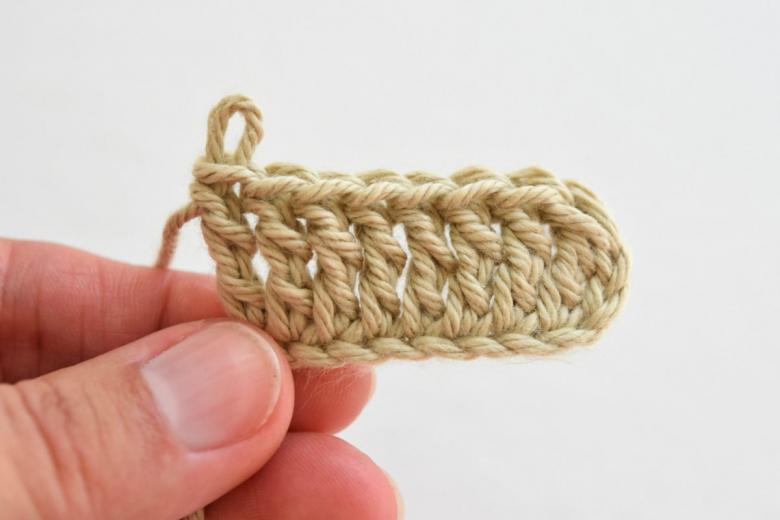
The stitch with a stitch.
A very common type of column. Being uncomplicated to create, the element is twice as long as the linked one without a slip. The best friend of beginners and people with limited time.
- Dial in 20 air loops plus two loops of lift.
- The thread is thrown on the tool and inserted into the third stitch from the bottom. Next, the thread should be pulled through so that there are three loops in one.
- Next, you need to cast on the thread and knit 2 stitches next to the tool.
- Throw it on again and knit the remaining two loops.
- Repeat until the end of the row.
- You need to make a total of eight rows.
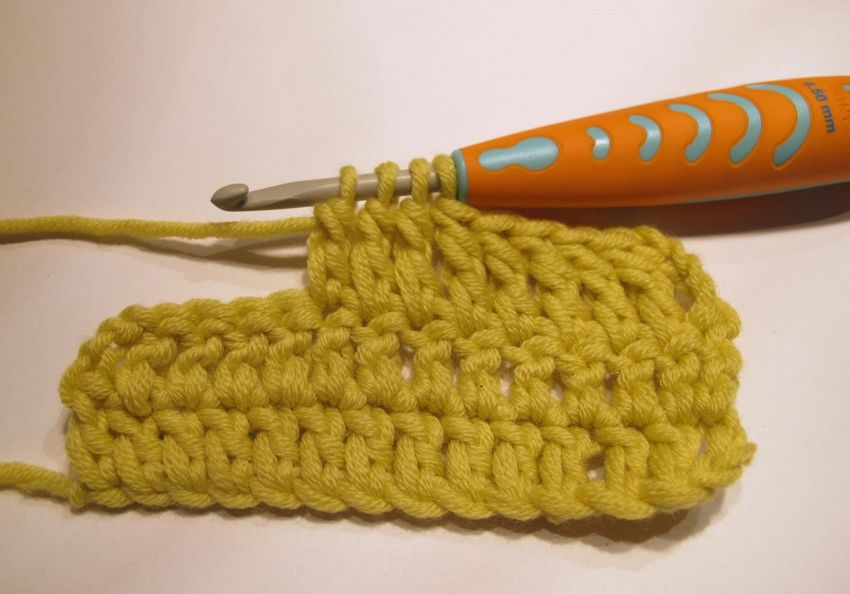
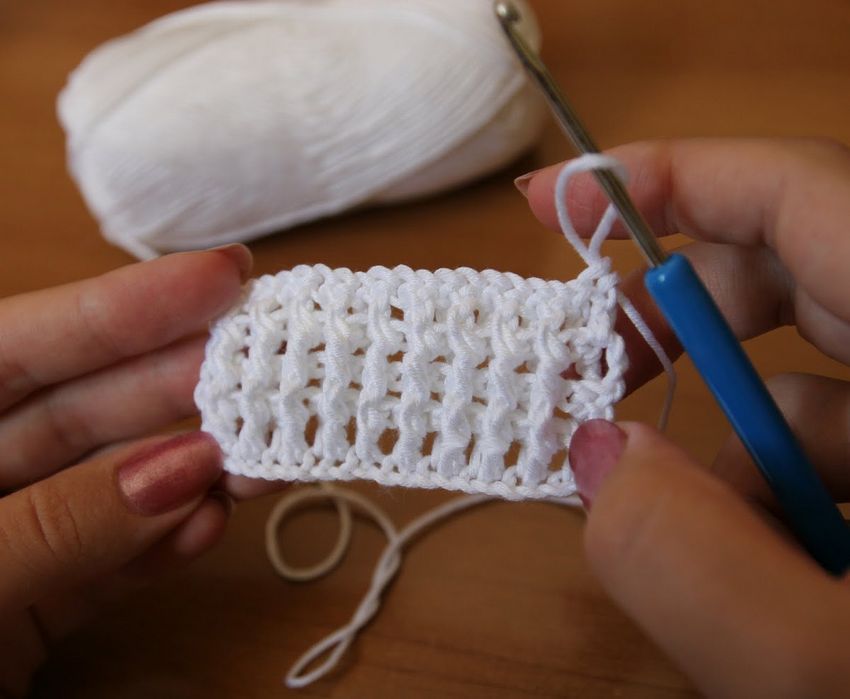
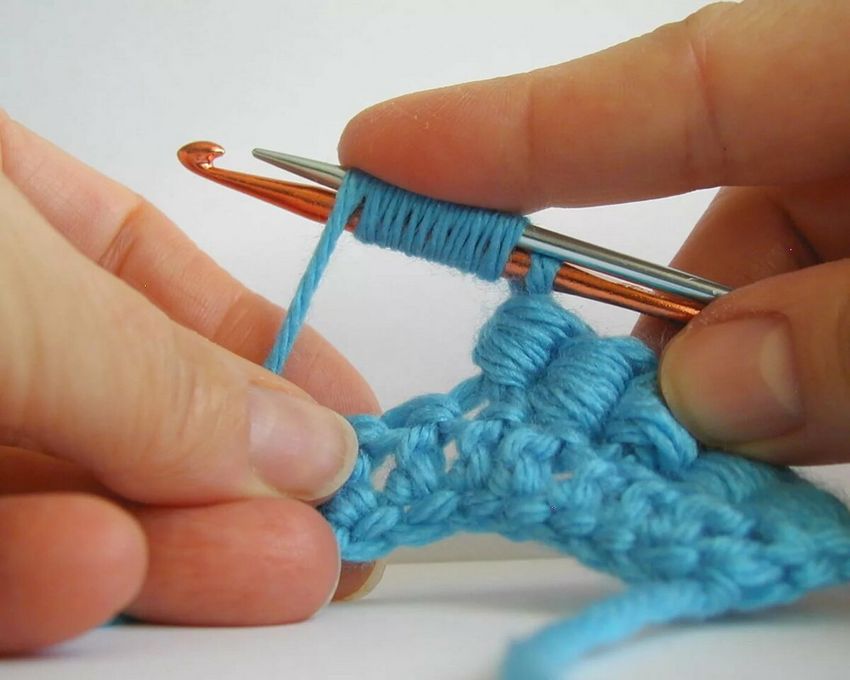
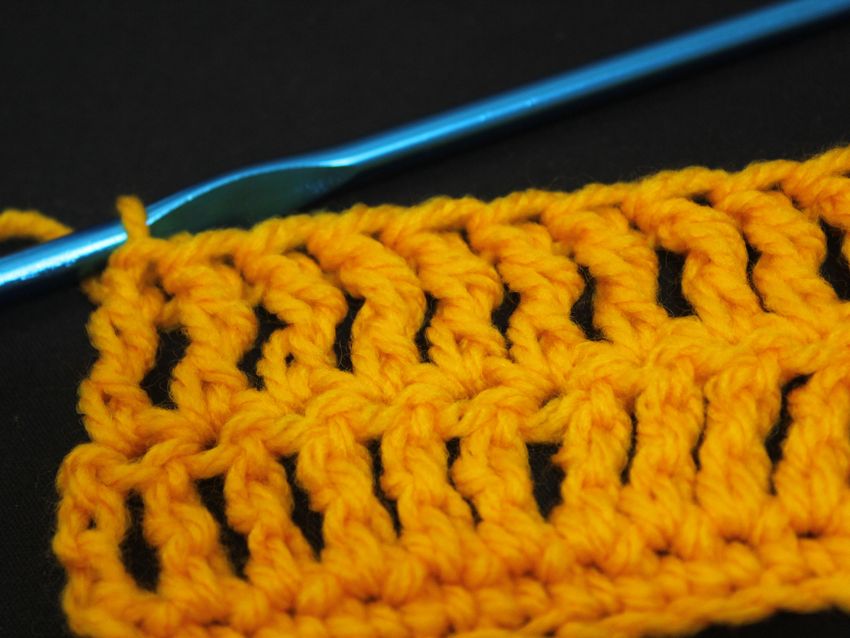
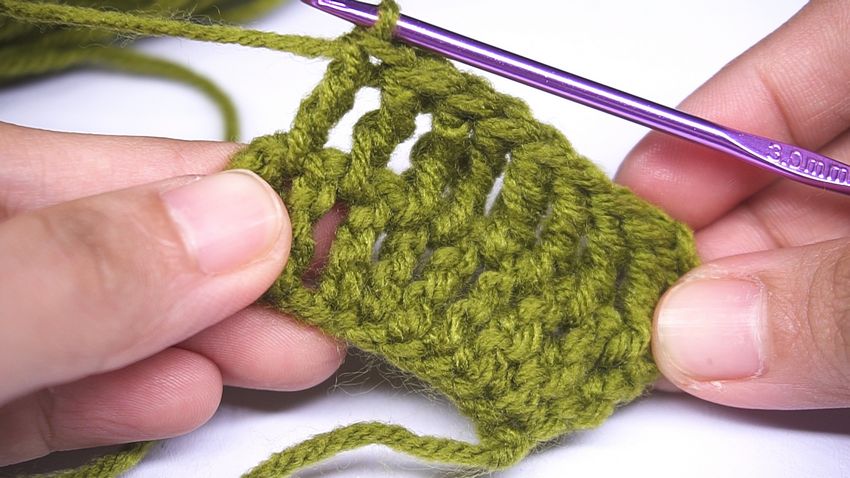
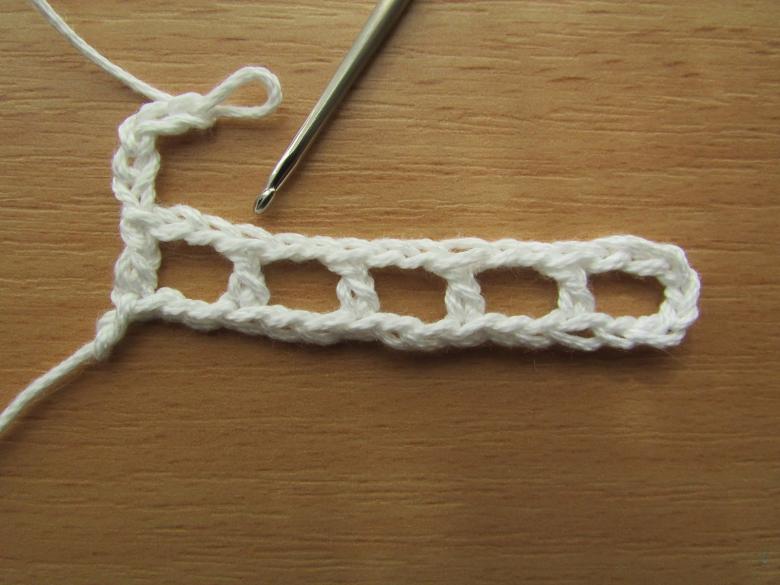
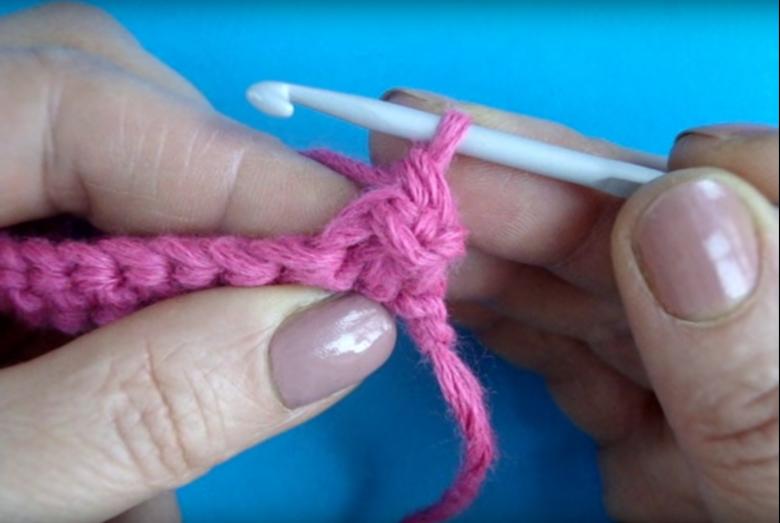
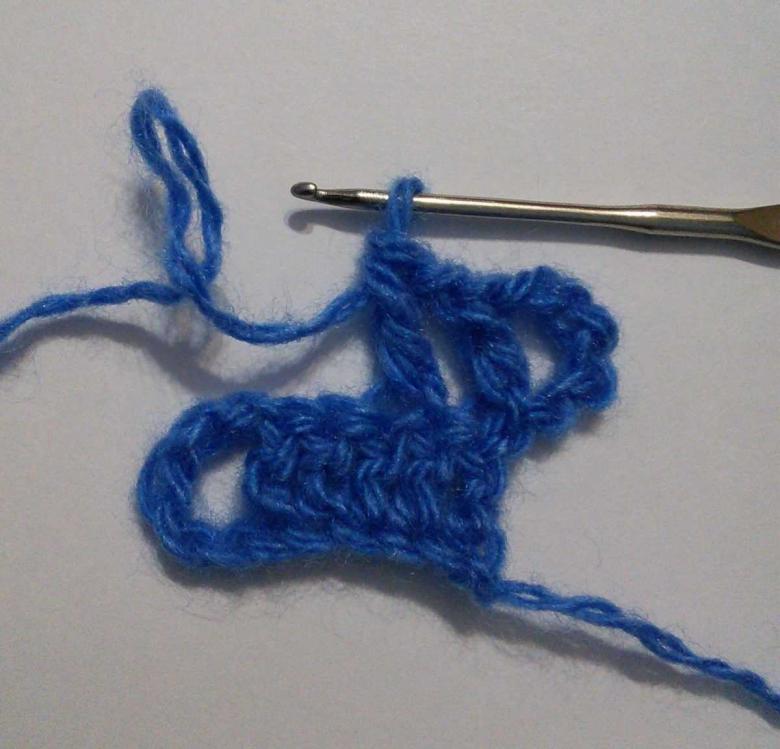
The column with two stitches
Such a column is ideal for making filigree products with a large mesh due to the large height of the loop. The characteristic feature of the resulting fabric is that it looks the same on the inside and on the outside. In addition, it is softer than most others and knits faster.
- Tie a set chain of desired length.
- Wrap the thread twice around the hook and make a loop.
- Now you need to pull it through the air loop of the set chain. There should be four pieces on the tool.
- Make a hinge. Pull through the loop, leaving them three on the hook.
- Repeat. There should now be two loops left.
- Again cast on the thread and pull through the loop.
- The column is ready. The four loops missing at the beginning are counted as the 1st stitch of the new set row.
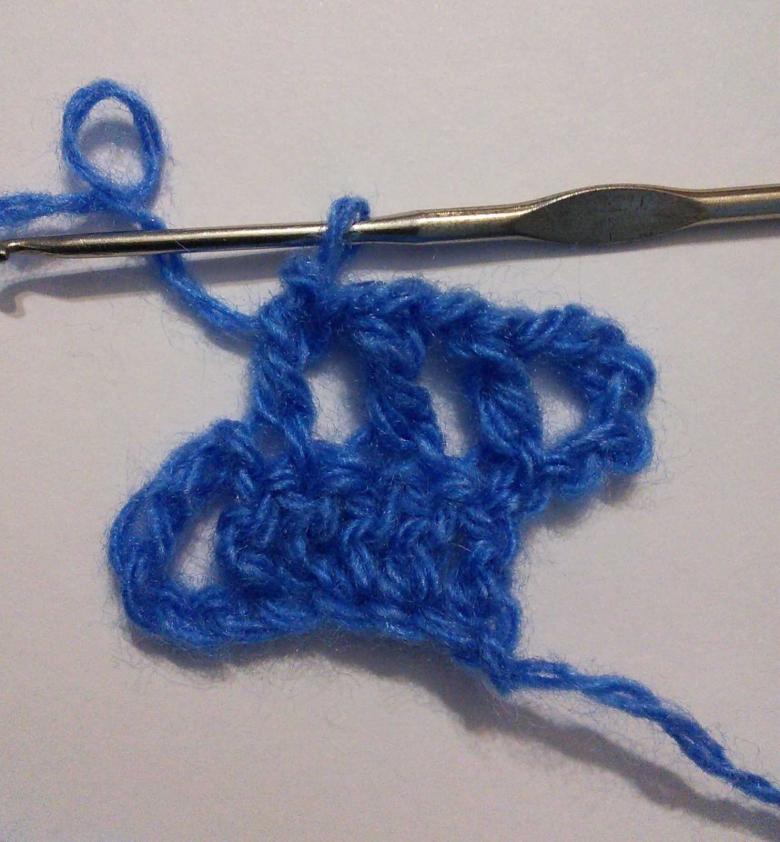
- Now, in the same way, from each buttonhole of the set row one of these columns.
- The very 1st column of the new row is taken from the top of the 2nd buttonhole of the previous row.
- Next, in the new row, the columns are tied on one of the previous row's columns.
- Finally, the last stitch of the new row is tied from the top of the lift stitch of the previous row. Subsequent rows are tied according to the pattern of the second row.
The elements listed above are basic elements that are both easy to learn and widely used. The following are techniques for creating more complex patterns that are useful to have in your arsenal.
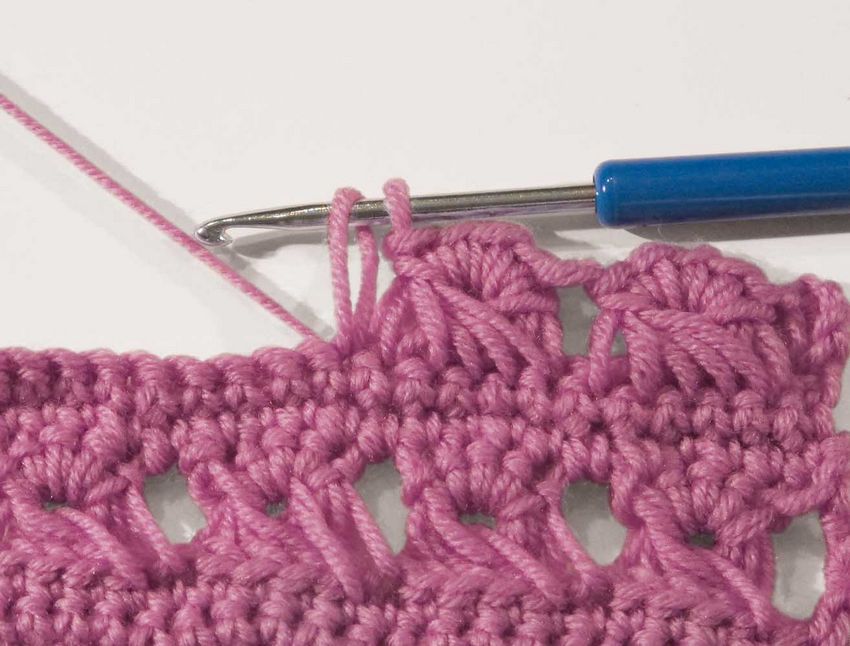
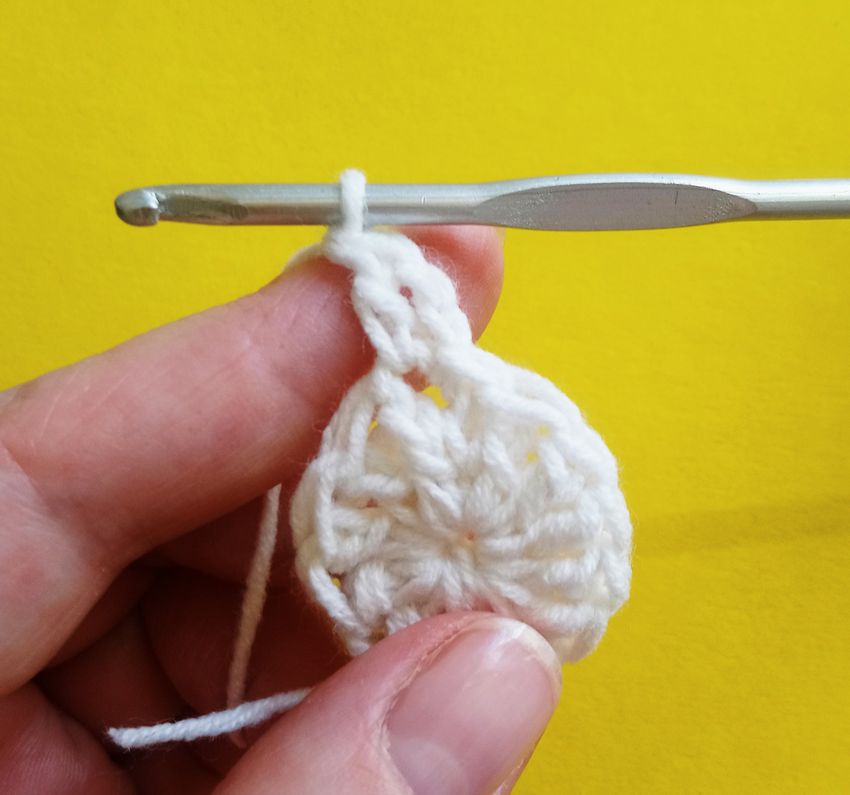
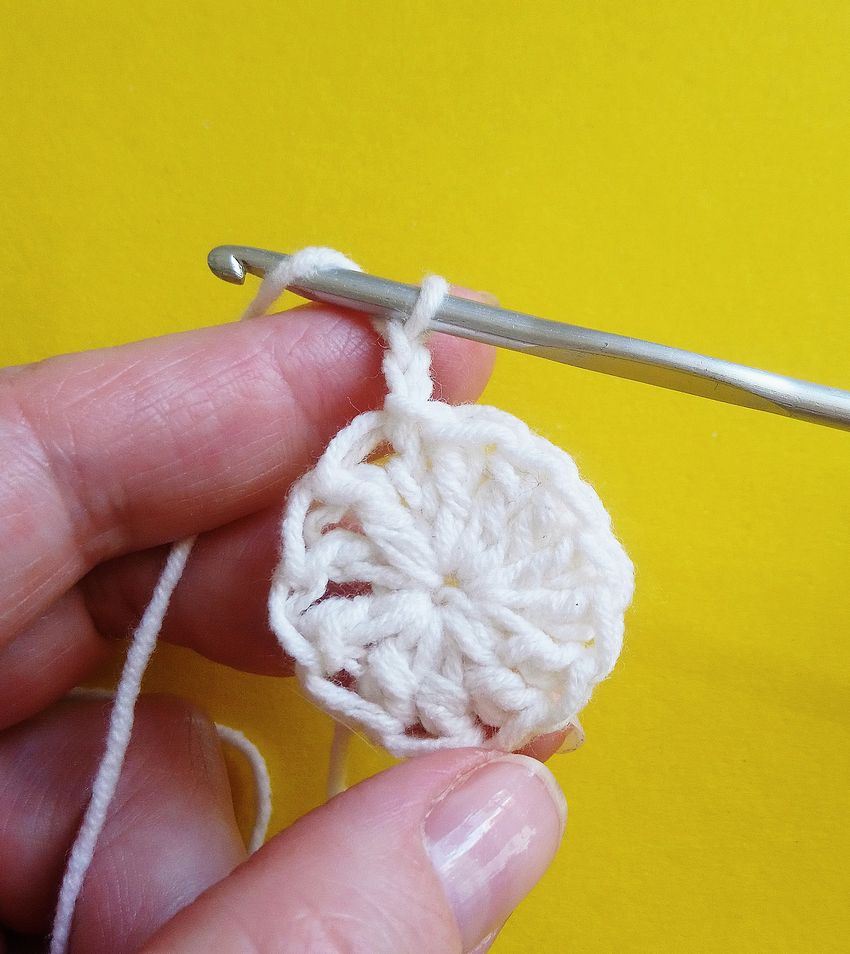
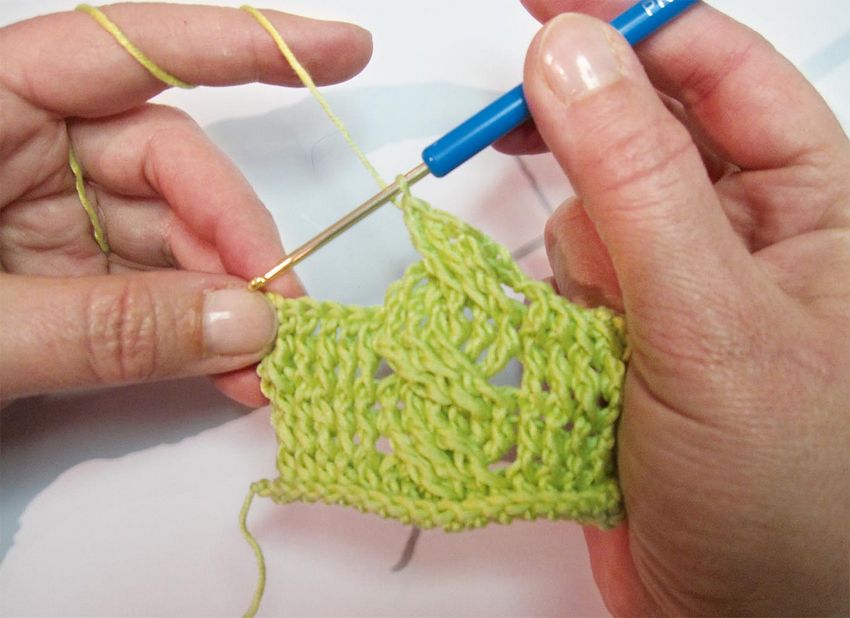
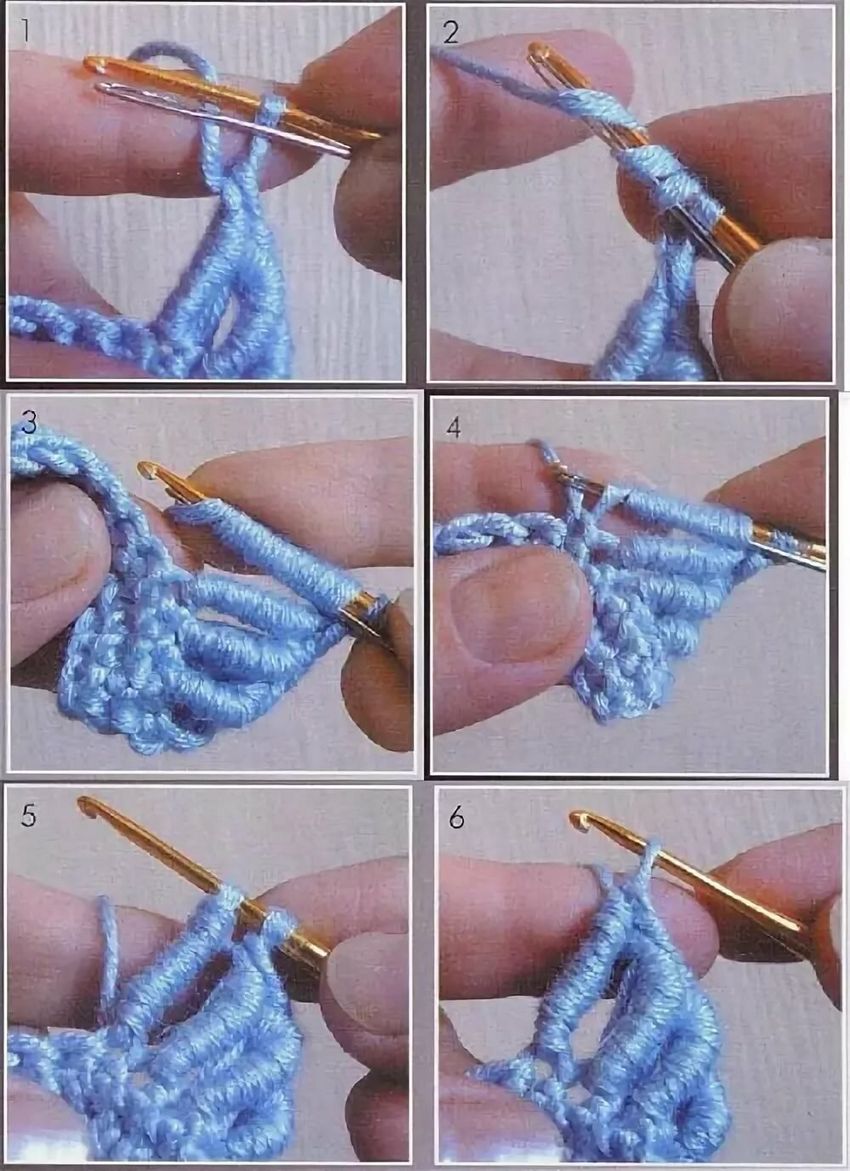
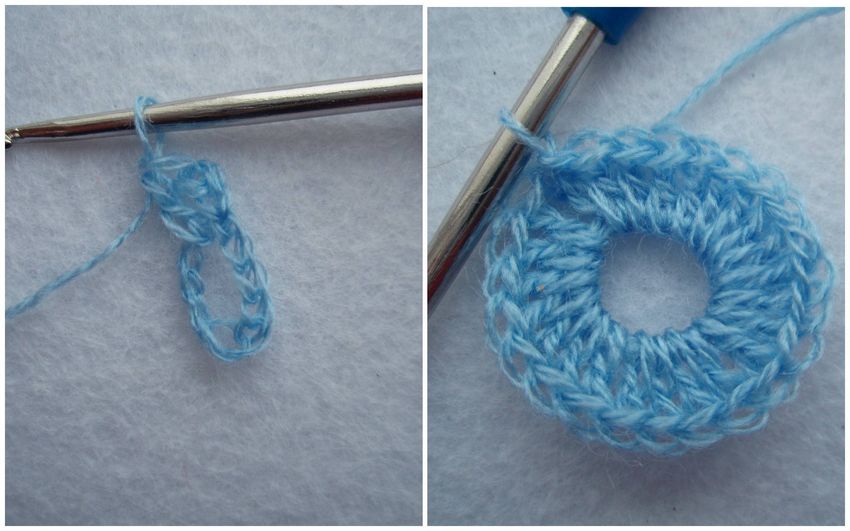
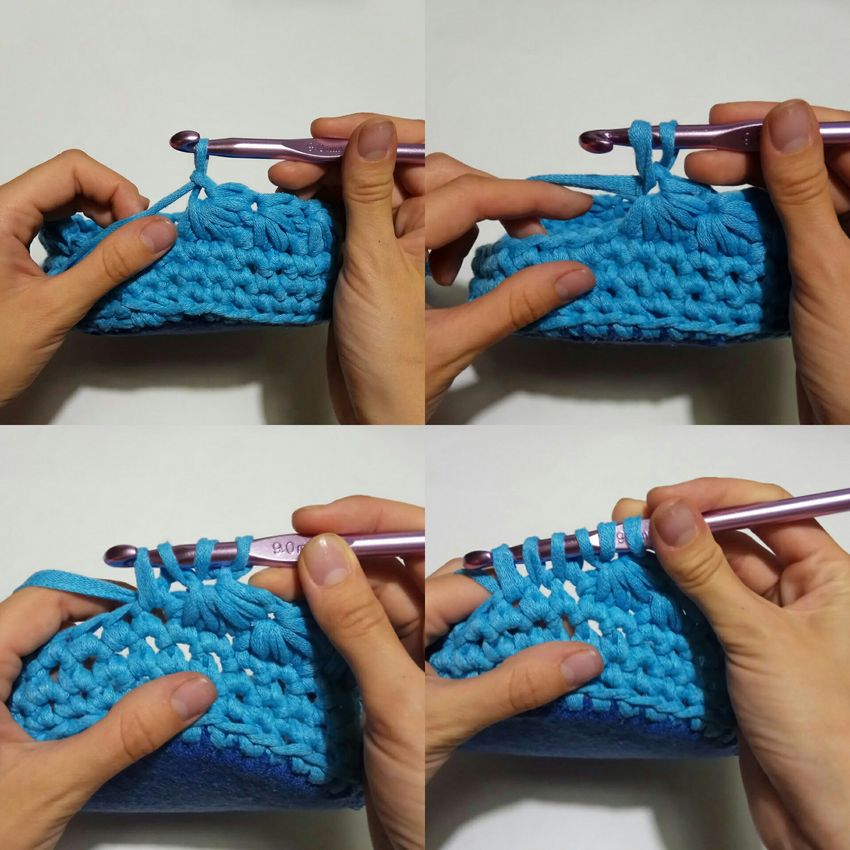
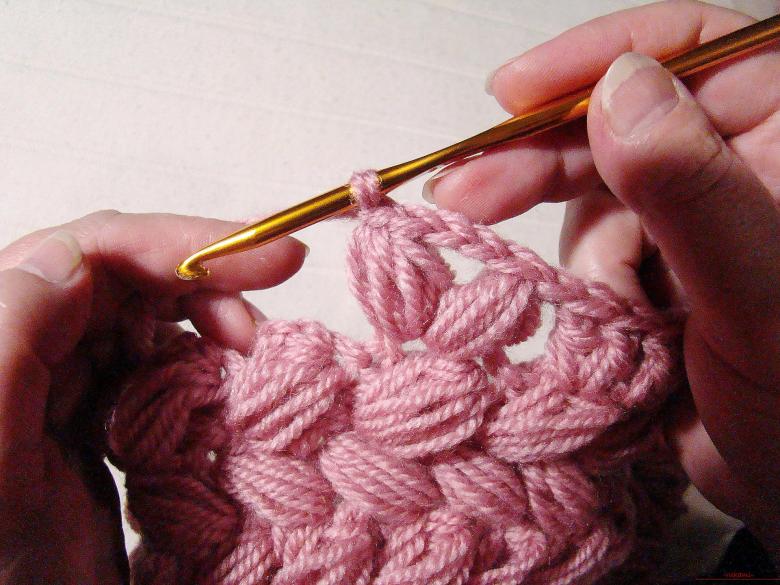
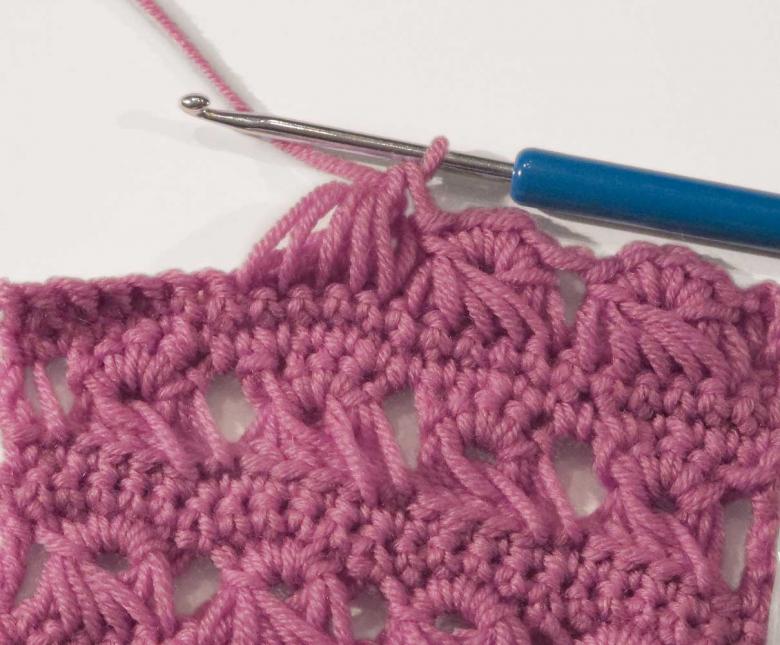
Fluffy Column
The bouffant column is used as the main element when crocheting openwork patterns with light thread. It is, as mentioned, more difficult to knit.
- The initial row is knitted, two air loops per row and two at the beginning of the first row.
- Knit air loops, a hinge is made. Then the hook is inserted into the seventh stitch from it, in the pigtail of the bottom row.
- The first loop - a column should be pulled out, cast on the thread and enter the hook into the same loop, pull the second loop - a column, the third cast on, the third loop - a column.
- Next, the working thread should be seized, and then tie off all the loops on the hook except the working one. When two stitches are left, both of them should be tied with one stitch, capturing the working thread.
- Skip the two air loops of the bottom row in the third stitch, similarly, the second bouffant column.
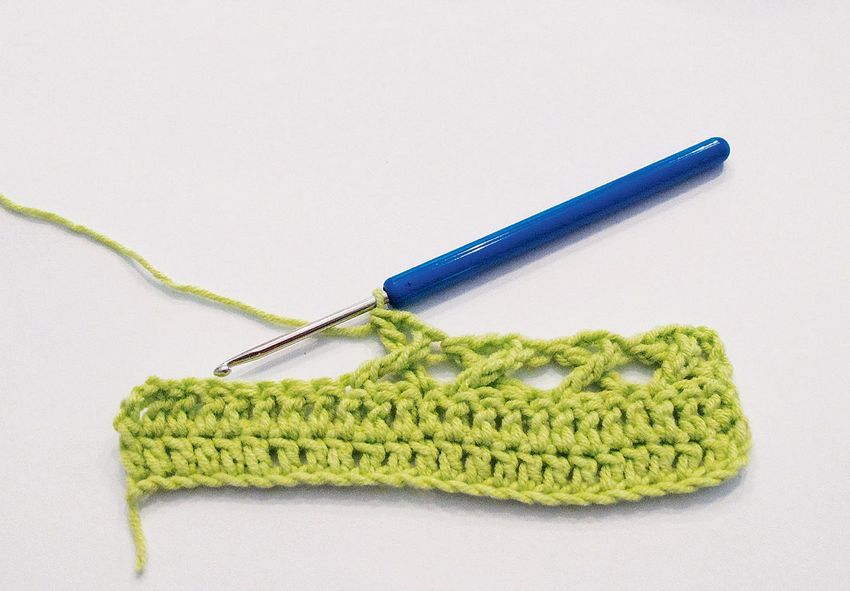
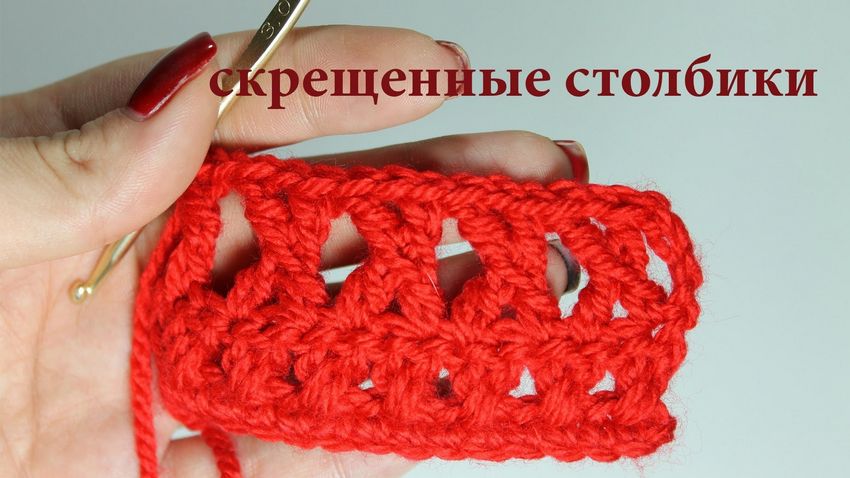
Scalloped column
By creating the appearance of a three-dimensional pattern, it is excellent for knitting decorative elements: patterns and ornaments. Stitches can be both convex and concave, and knit in different ways. Below are techniques for both options.
Convex column
- First you need to knit two rows with a slip. Then a cast on yarn is made and the tool winds the first column from the face, from left to right.
- Make a cast on and one extra loop. Should make three pieces.
- Make a column with a cast on, loops are tied in two pieces. To do this, grab the thread and knit two loops, then again and again.
- The output is a convex column.
Inverted concave column
- Make two rows of columns, cast on yarn, then hook from the wrong side, from right to left.
- Straddle the foot of the first row and pull through the loop.
- Then tie loops in pairs following the same pattern as for the curved one.

Inverted column with outstretch
Mastering the concave no-quilt or no-neck column is an important step for the skilled crocheter. It, like its kind, is used to create three-dimensional patterns. Execution:
- Make a canvas of no-flip stitches.
- From the front, insert the tool behind the two arcs of the loop of the previous row and grab the thread.
- Pull out the buttonhole and grab the thread again.
- Knit a column.
- Done.
Once you've mastered the types of patterns shown here, you can open up a wide range of creativity. Add imagination and perseverance, and life will be decorated with numerous knitting masterpieces.
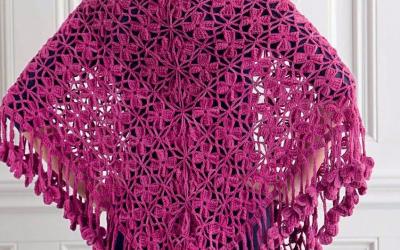
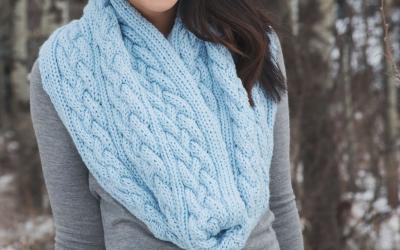
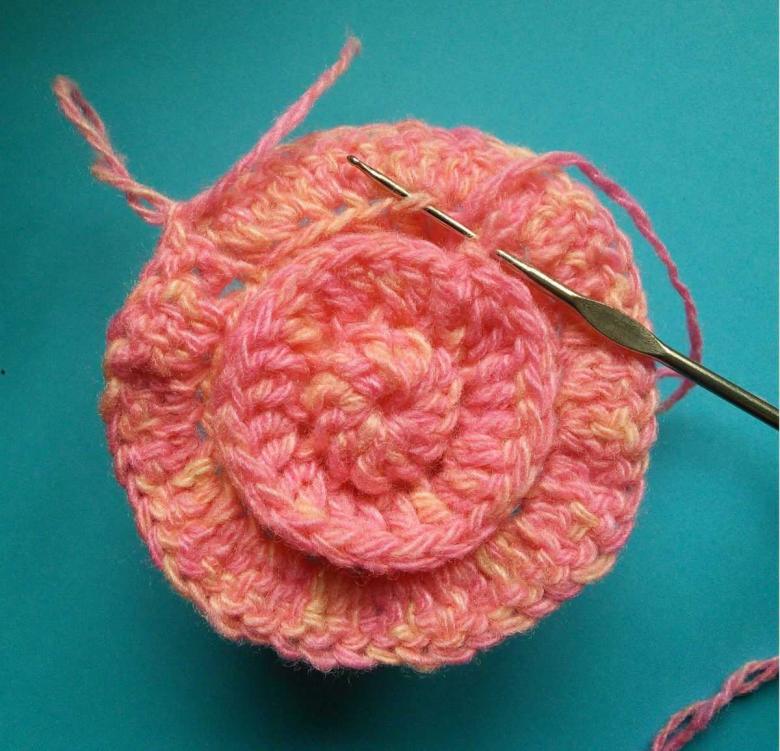
Photo examples of crochet stitches